初台ラボ デジタルツインプロジェクト
PlayCanvasでスポットライトを追加して、キーボードを押すと、ランプがOn/Offするプログラムを作成します。
プロジェクト新規作成
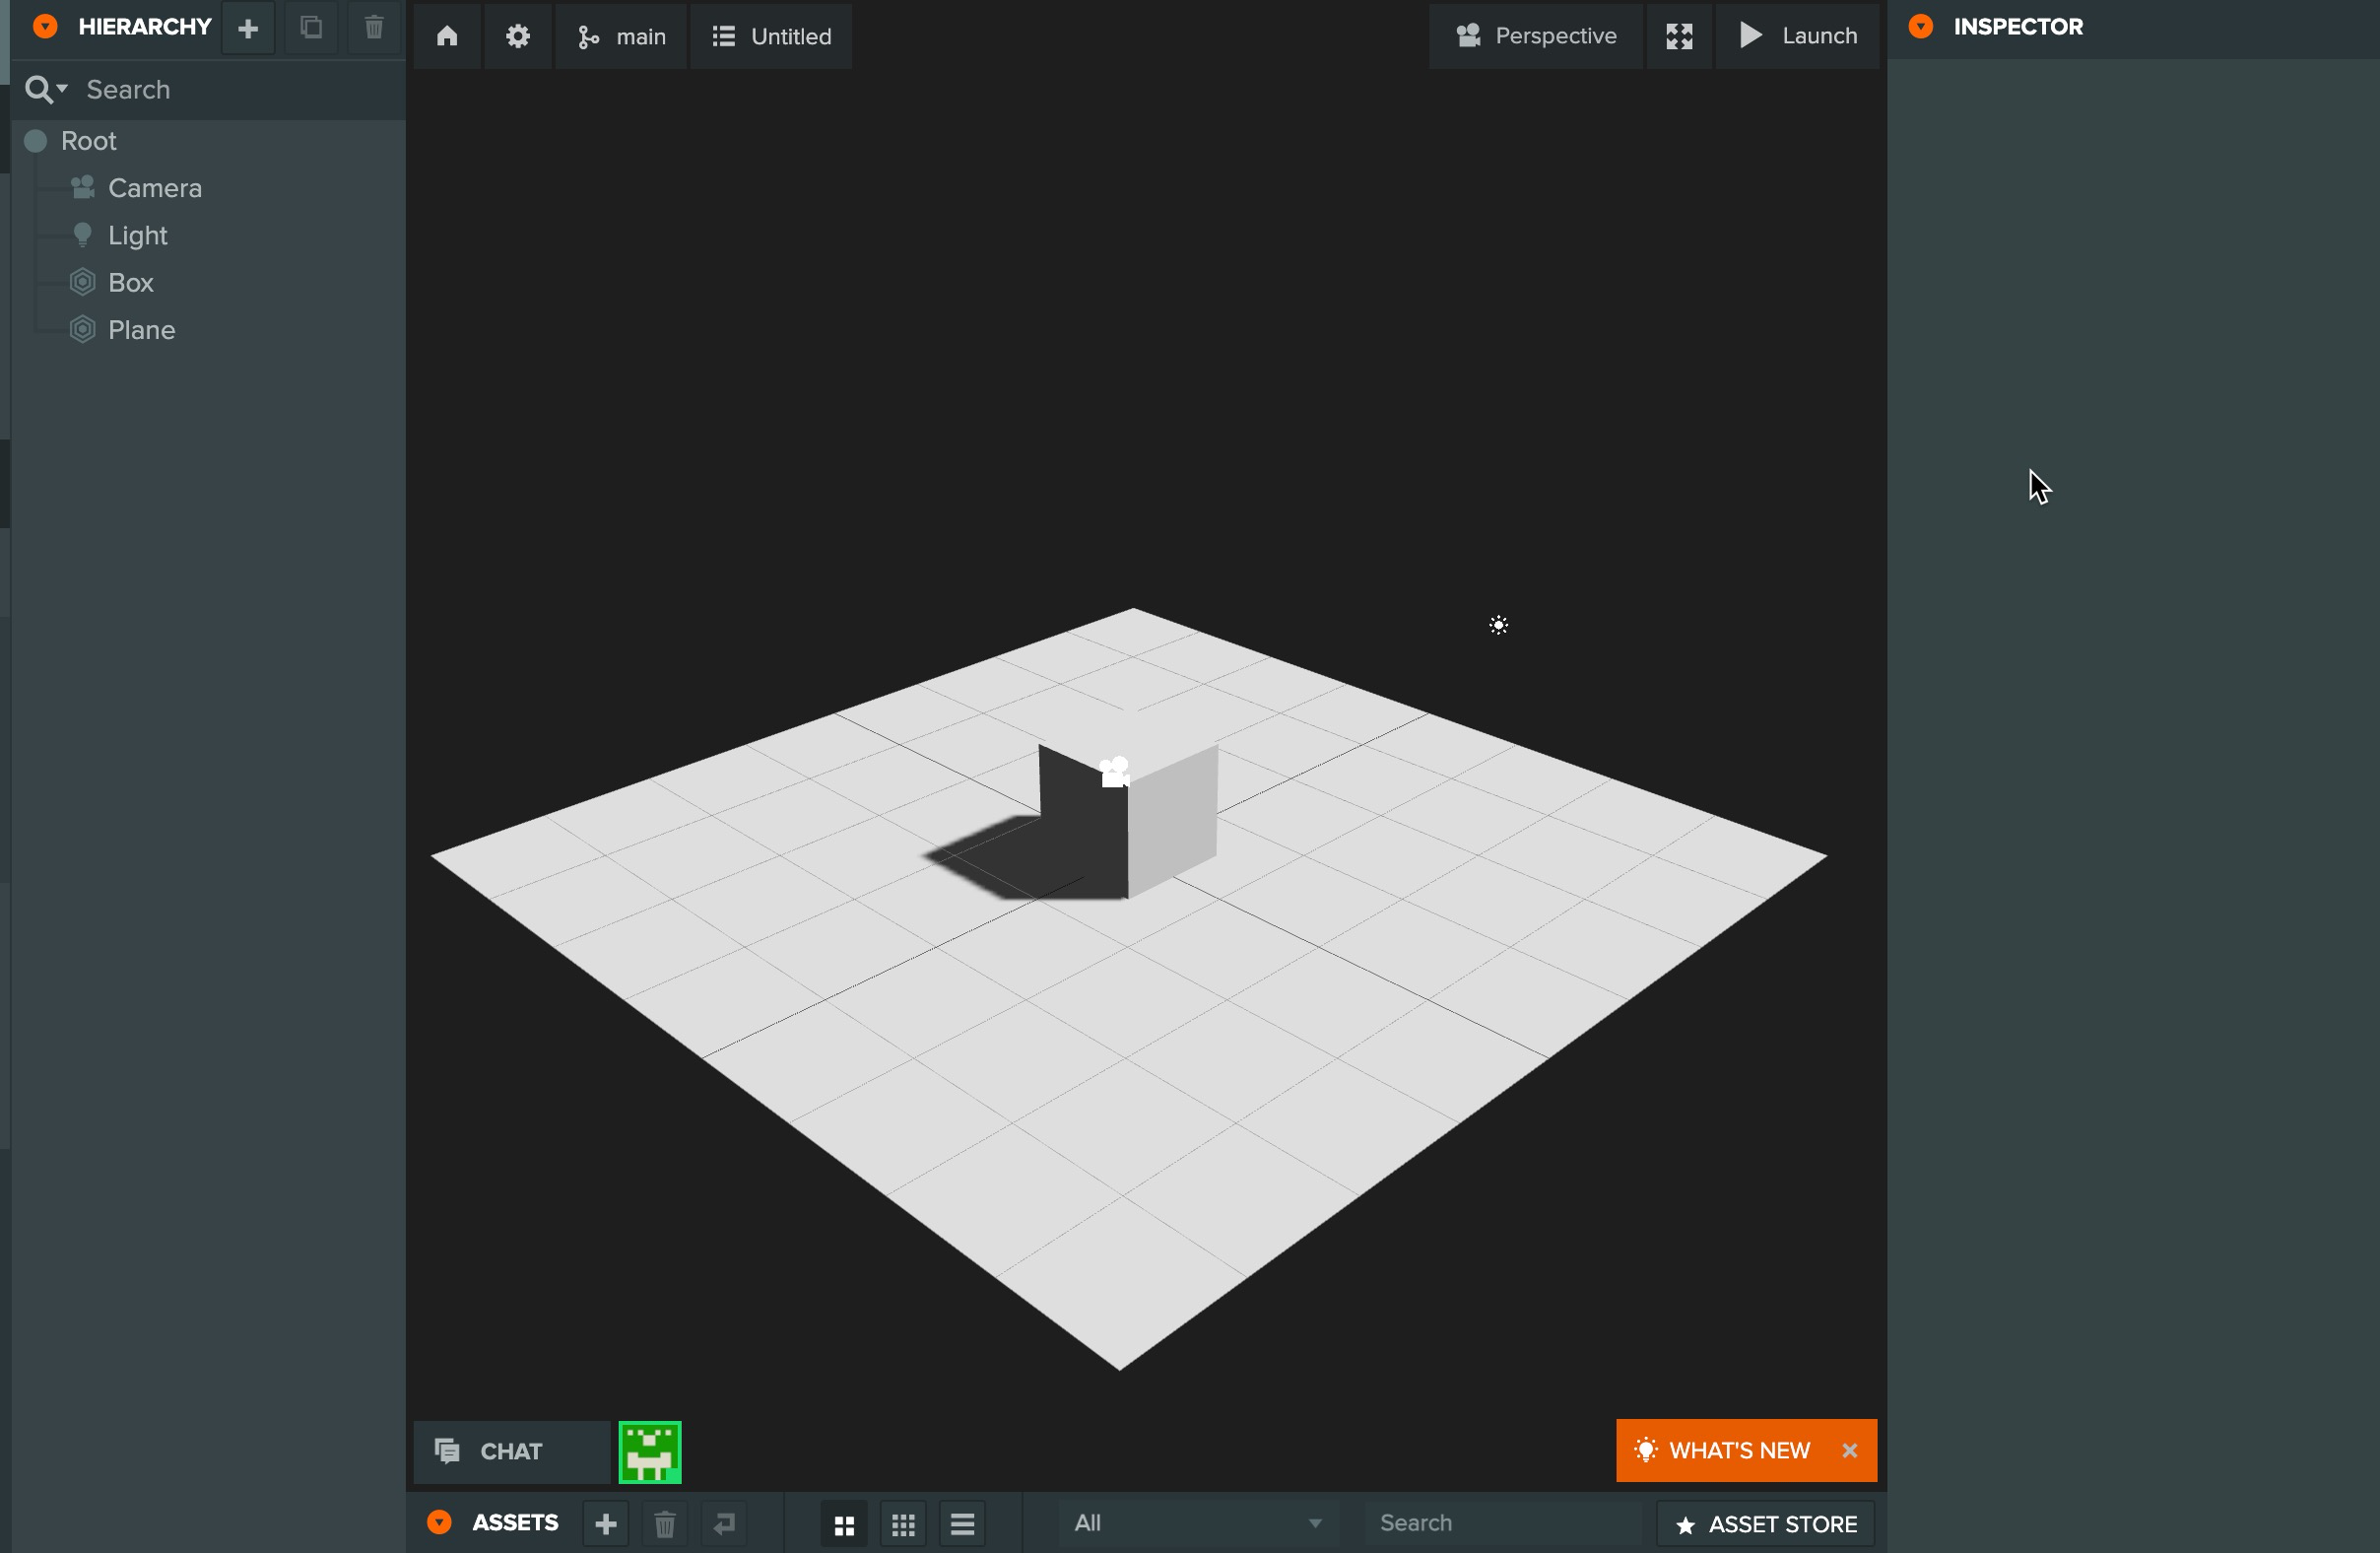
新しくプロジェクトを立ち上げます。
SpotLightの追加
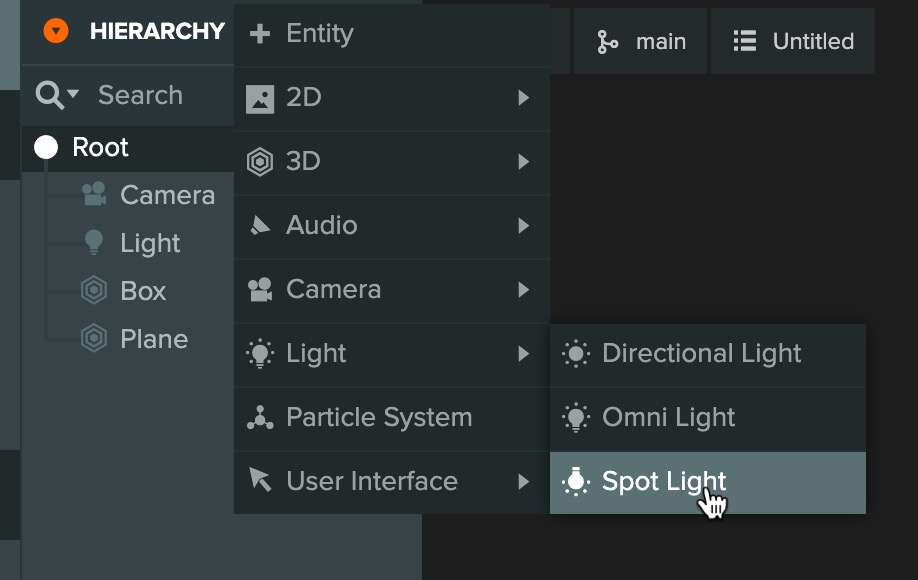
HIERARCHYのRootをクリックした状態でSpot Lightを追加します。
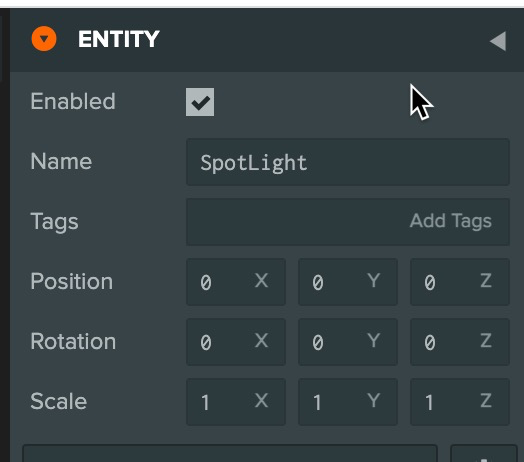
Spot LightのEntityでnameを”SpotLight”に変更します。
SCRIPTの追加
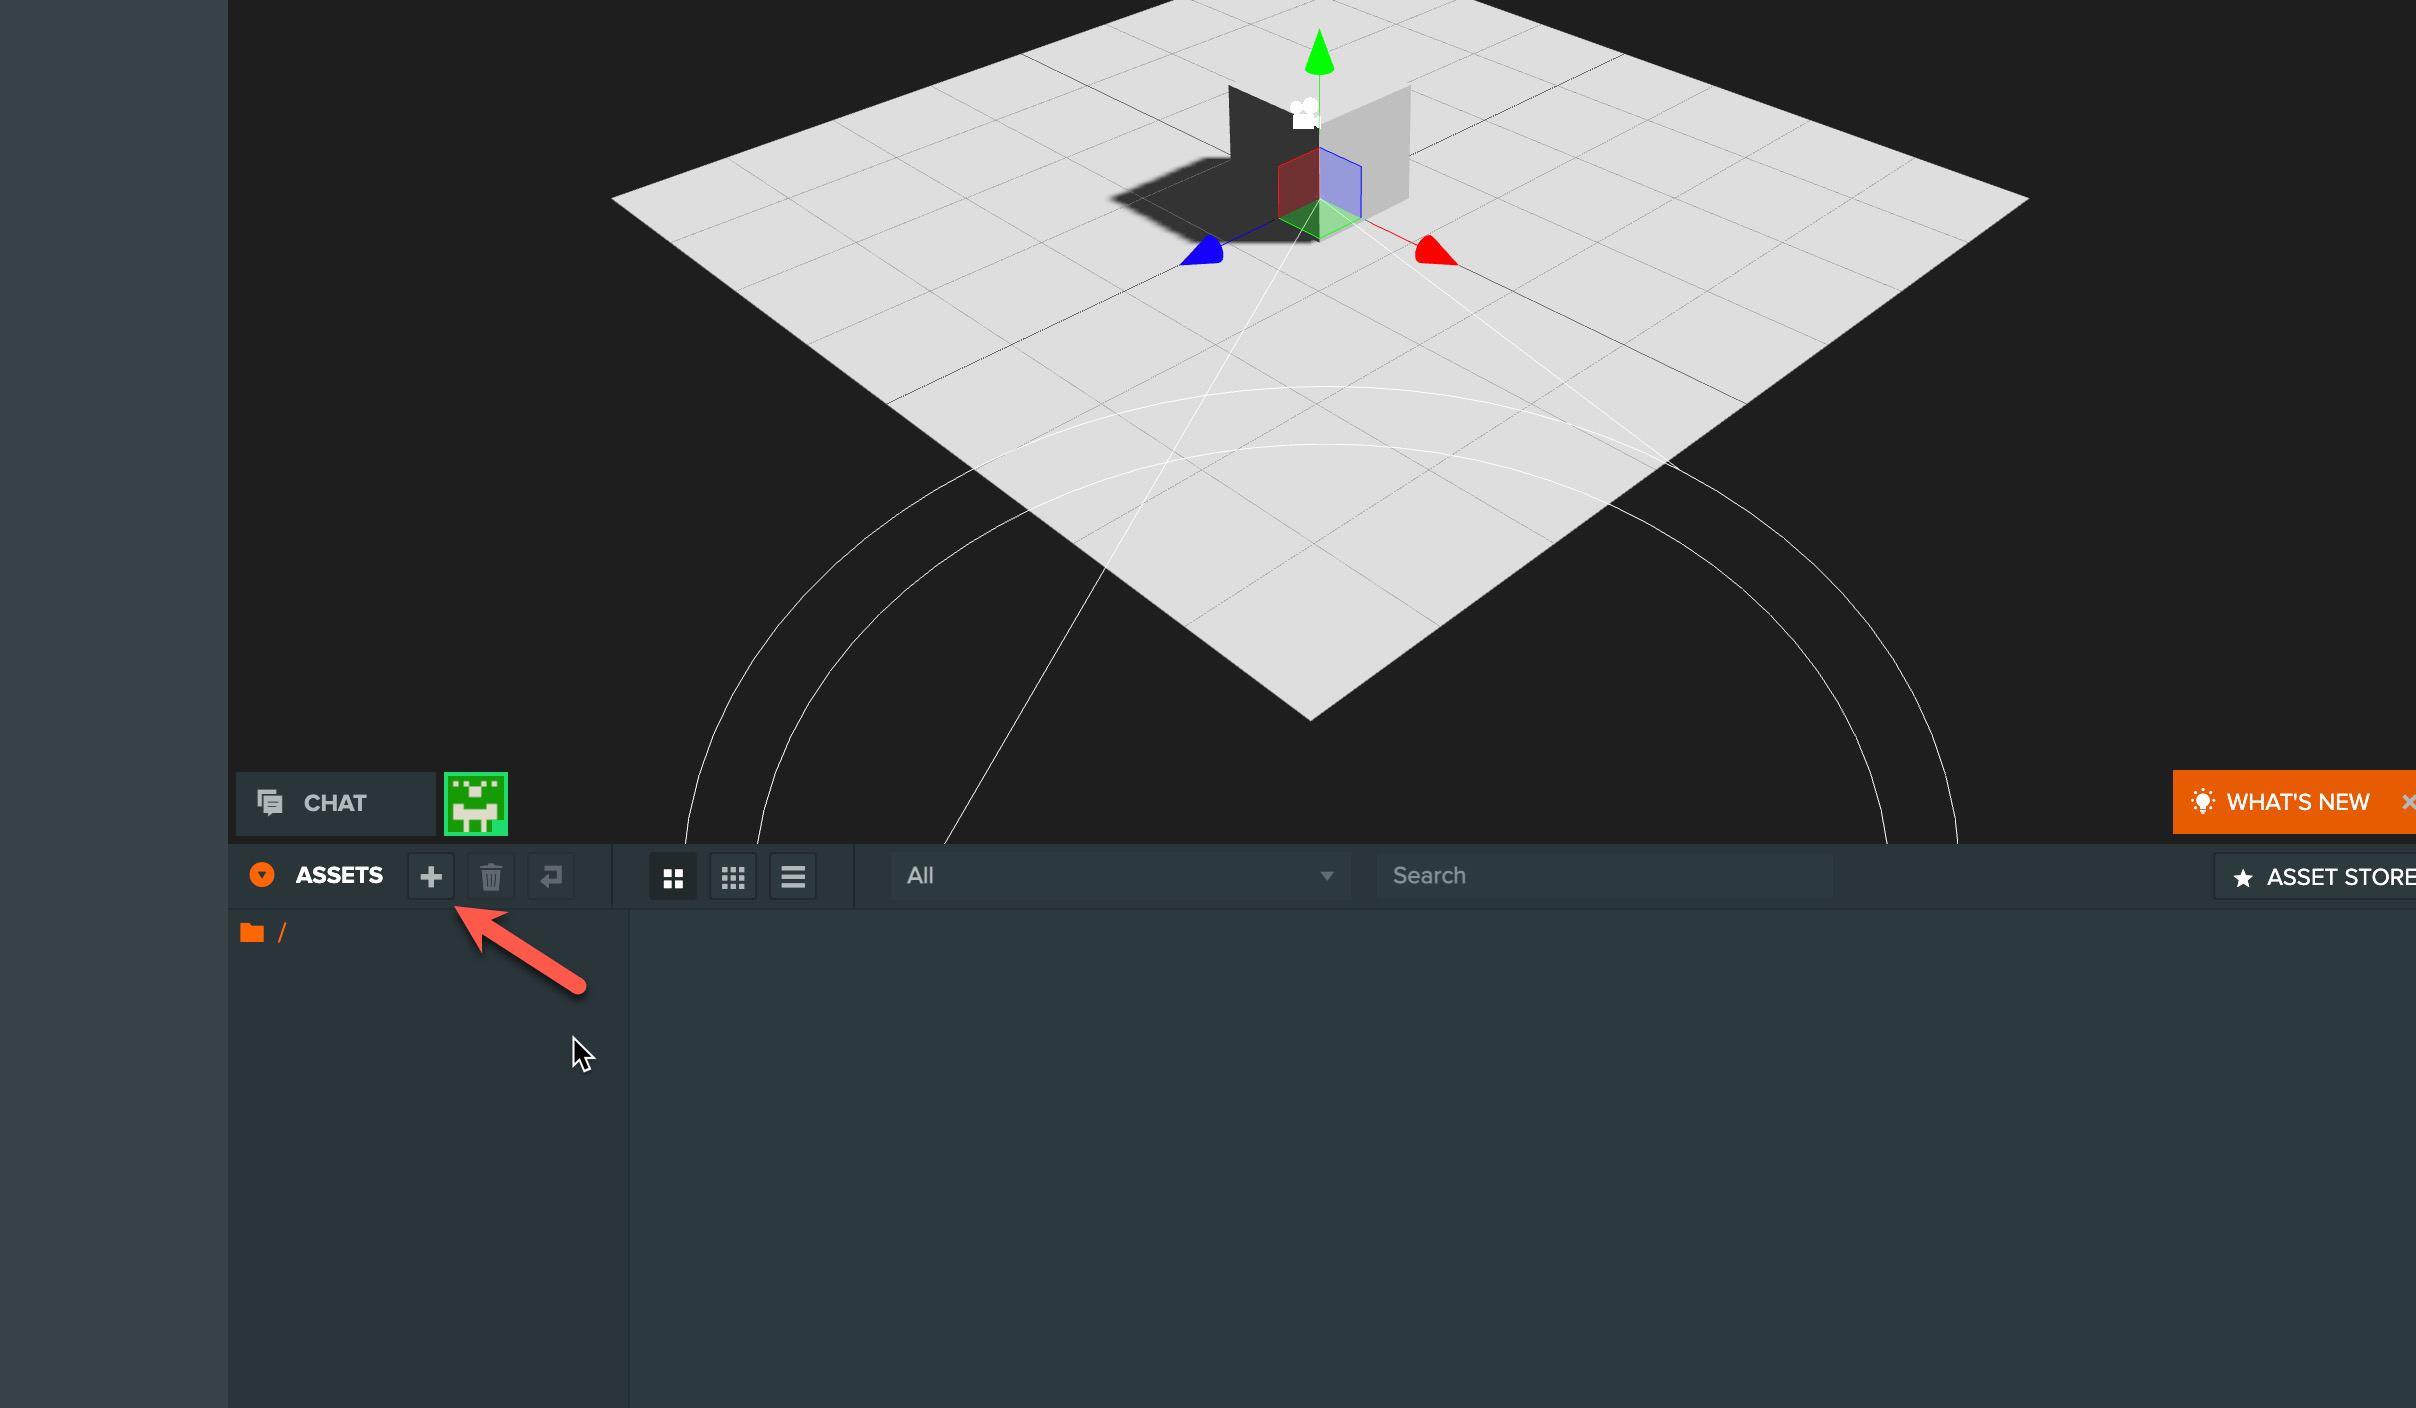
ASSETSの+ボタンを押して、scriptsというフォルダを作成。その中にlightHandler.jsというscriptを作成します。
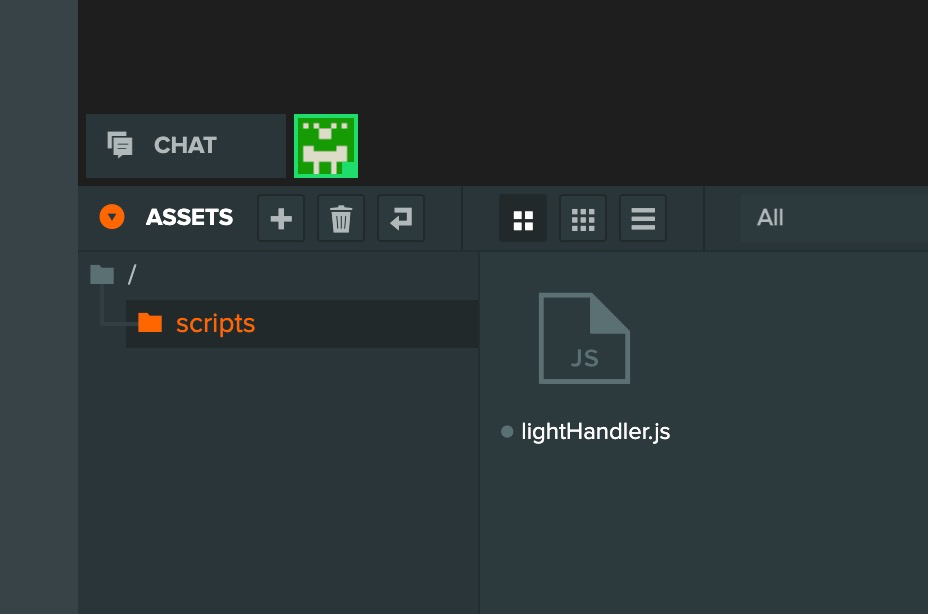
Folderの名前の変更はEntityのnameで変更します。
lightHandler.jsは下記のようにします。
var LightHandler = pc.createScript('lightHandler');

// initialize code called once per entity
LightHandler.prototype.initialize = function() {
    var app = this.app;

    this.spot = app.root.findByName("SpotLight");

};


// update code called every frame
LightHandler.prototype.update = function(dt) {
    var app = this.app;

    if (app.keyboard.wasPressed(pc.KEY_1)) {
        this.spot.light.enabled = !this.spot.light.enabled;
    }

};


// swap method called for script hot-reloading
// inherit your script state here
// LightHandler.prototype.swap = function(old) { };

// to learn more about script anatomy, please read:
// https://developer.playcanvas.com/en/user-manual/scripting/
RootにlightHandler.jsを紐づけ
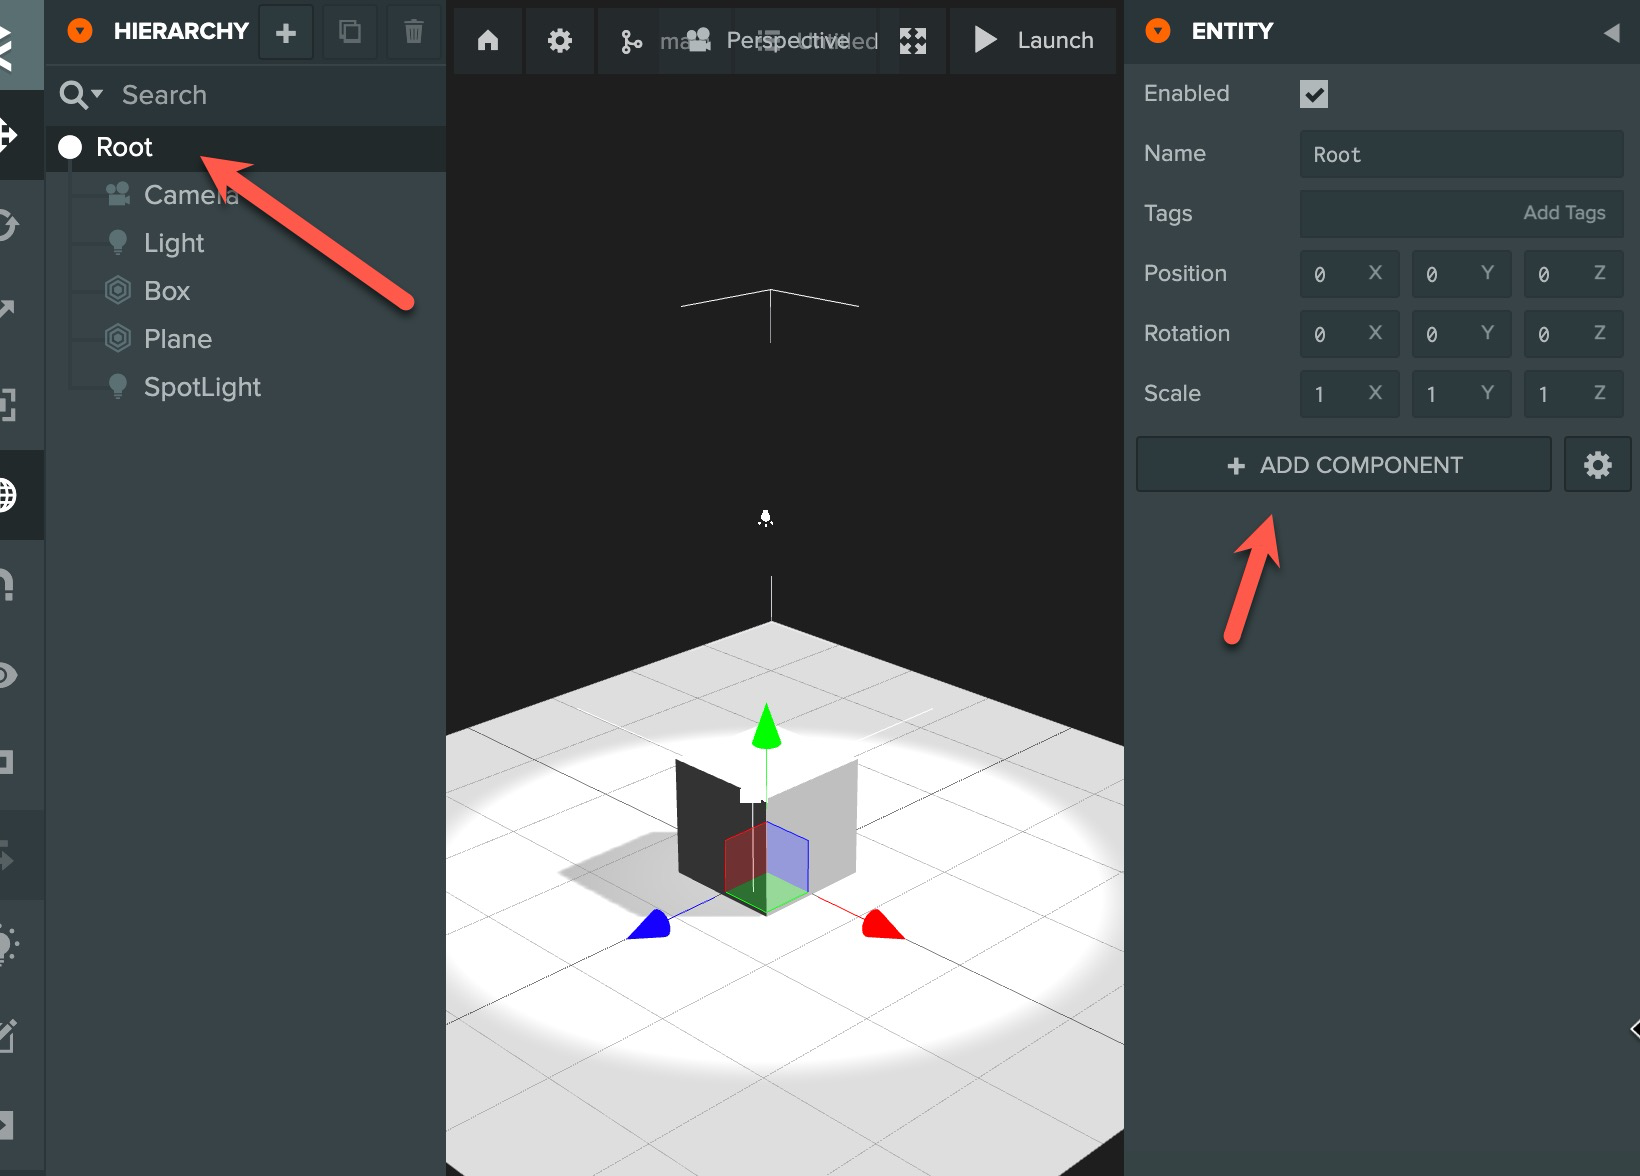
HIERARCYのRootをクリックして、ENTITYのADD COMPONENTでSCRIPTを選択、lightHandler.jsを追加します。
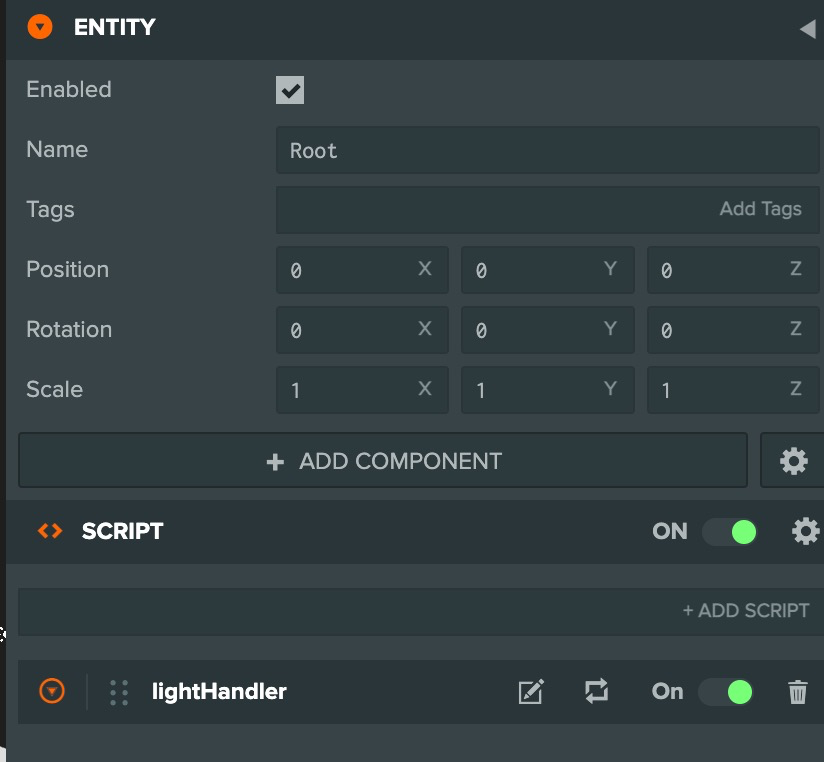
このようになります。
実行確認
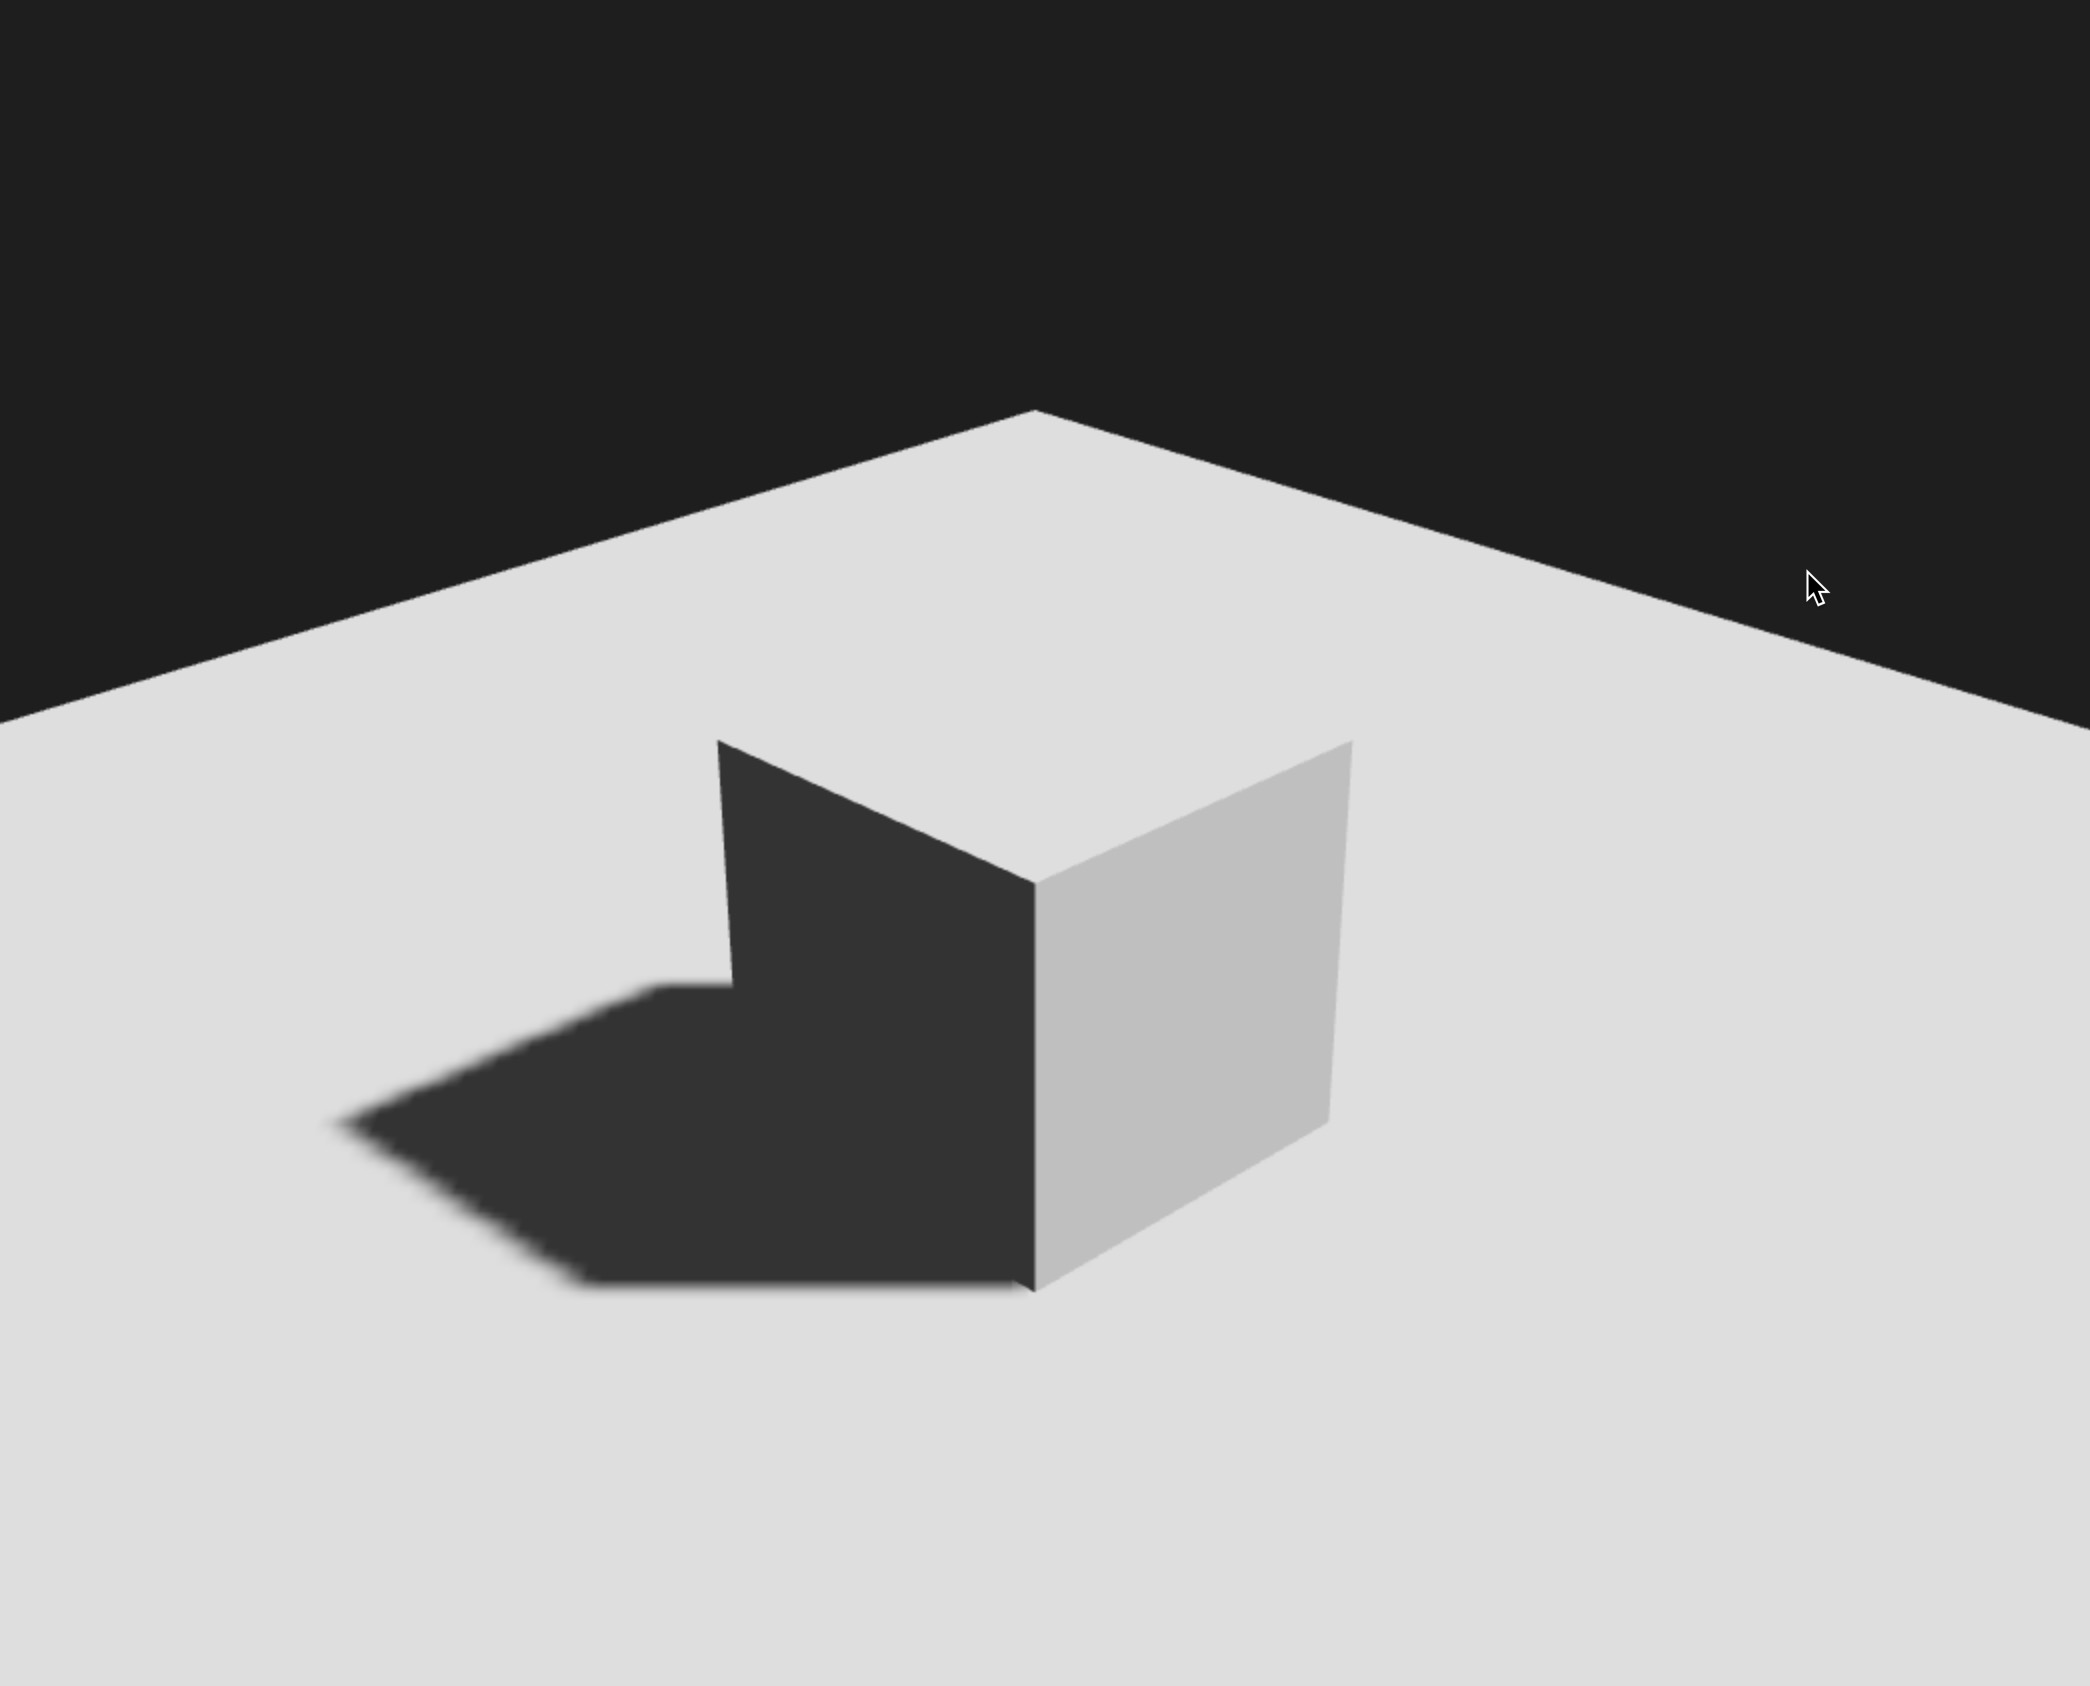

数字の1のキーを押すと、SpotLightがOn/Offと切り替わります。
