設備の稼働状況やセンサーデータをクラウドにあるinfluxDBに送る際、ローカルサーバーからMQTTを使うとデータ量が少なく手軽に送ることができます。
その際、MQTTのBrokerが必要になりますが、SakuraVPSにMQTTのMosquittoをインストールする方法と、ローカルのNode-REDからデータの送受信する方法を紹介します。
Sakura VPSにMosquittoをインストール
まずはシステムのパッケージリストを更新
sudo apt update
MosquittoとMosquittoクライアントのインストール
sudo apt install mosquitto mosquitto-clients
インストールが完了したら、Mosquittoサービスを有効化して開始します。
sudo systemctl enable mosquitto
sudo systemctl start mosquitto
Mosquittoが正常に動作しているか確認するために、以下のコマンドを実行します。
sudo systemctl status mosquitto
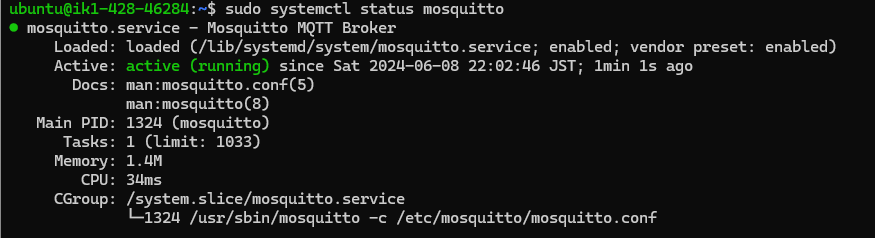
このように表示されていればMosquittoが動いています。
Mosquittoブローカーの設定
このままだと外部からのデータを受け付けないので、mosquitto.confファイルを編集します。
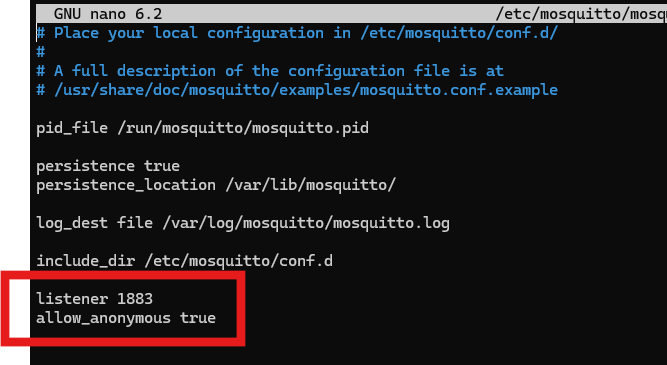
sudo nano /etc/mosquitto/mosquitto.conf
以下のように、リスニングアドレスを指定します。
編集後、Mosquittoを再起動。
sudo systemctl restart mosquitto
Sakura VPSのパケットフィルター設定
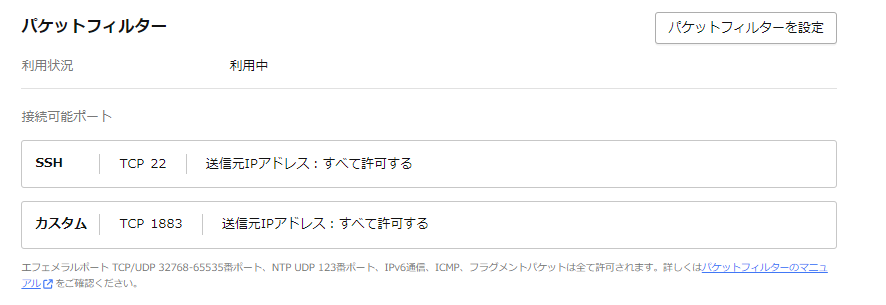
Sakura VPSでパケットフィルターの設定をしておきます。
ローカルのNode-RED
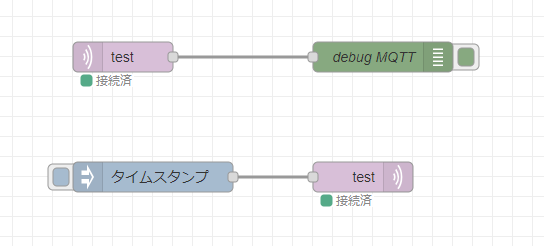
mqtt-inとmqtt-outノードを使いフローを作成。
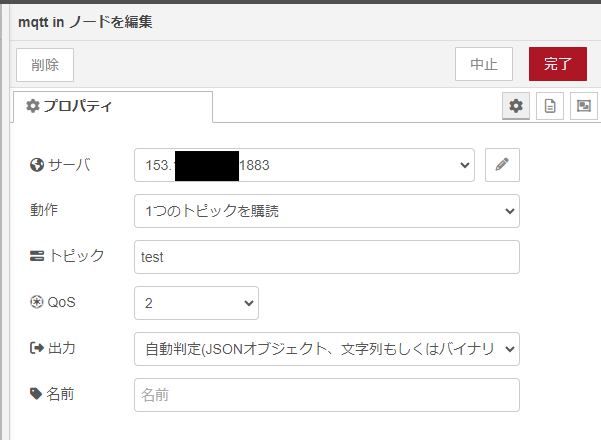
mqttのサーバはSakura VPSのIPアドレス、トピックは”test”にします。
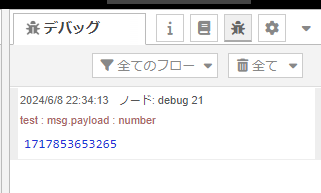
Injectノードを押して、このように表示されれば成功です。
まとめ
以上、SakuraVPSにMQTTブローカーのMosquittoをインストールし、ローカルで動くNode-REDからMQTTデータの送受信を行いました。
mosquitto.confの
listener 1883
allow_anonymous true
を設定しておかないと、接続状態にならないので気をつけてください。