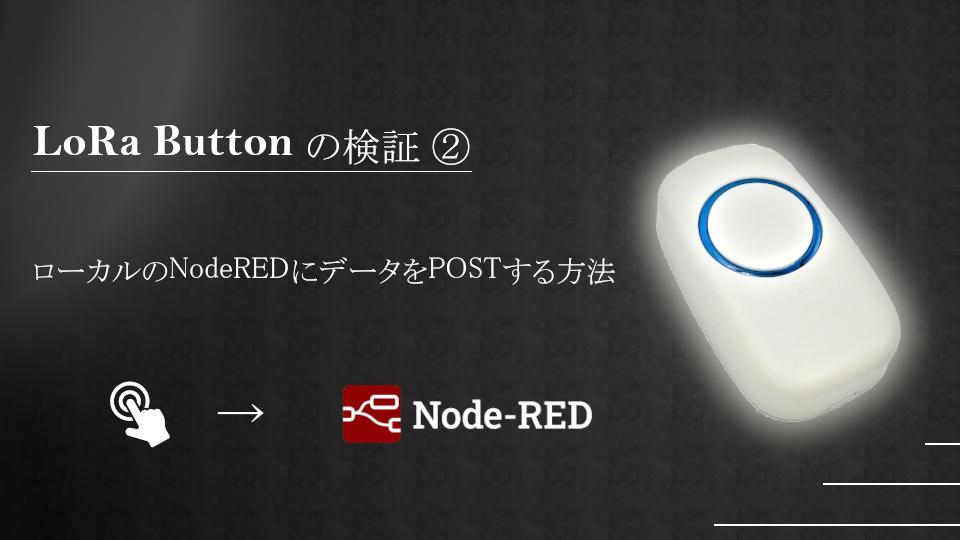
はじめに
今回はLoRaButtonからのデータをLoRaWANサーバー(ChirpStack)を通して、ローカルの別端末で動作するNodeREDでHTTPでデータを受信する方法をまとめてます。
LoRaWANサーバーの送信設定
はじめに、CharpStackのApplicationから Integrationを開きます。
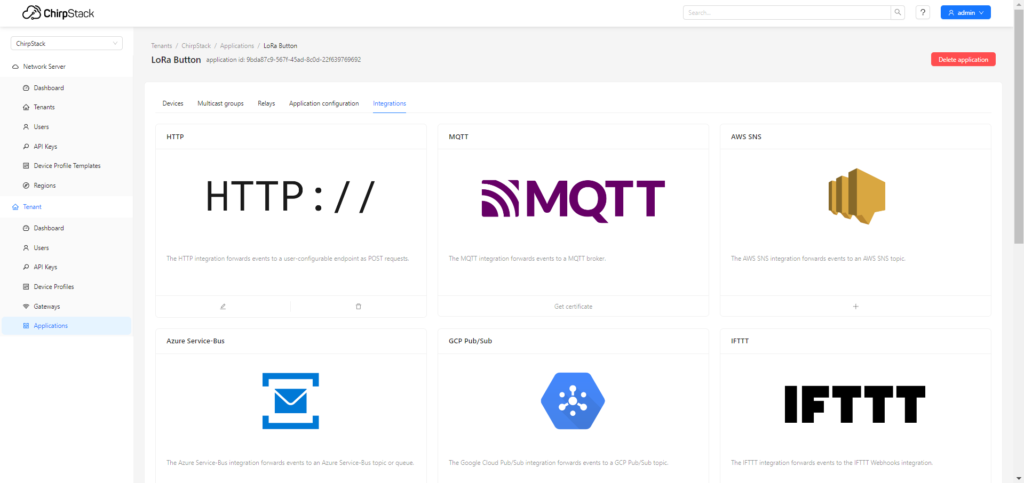
HTTP:// から「+」で設定を追加します。(画像は設定済のため鉛筆マーク)
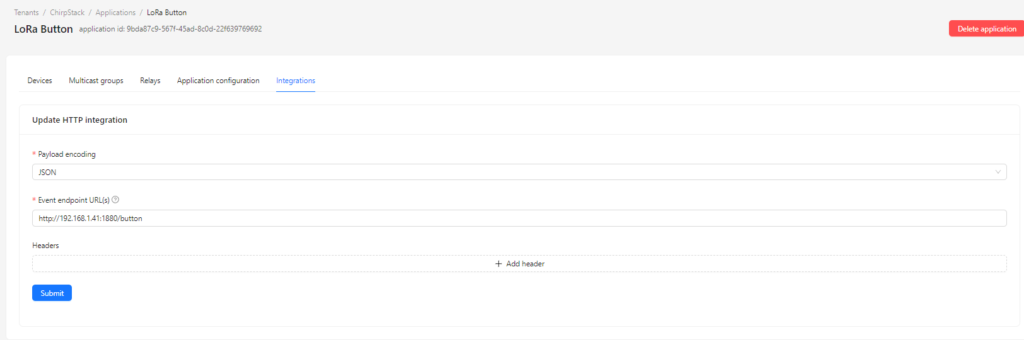
Event endpoint URLから、送信先のURLを指定します。
Submitして設定は完了です。
NodeREDフローの設定
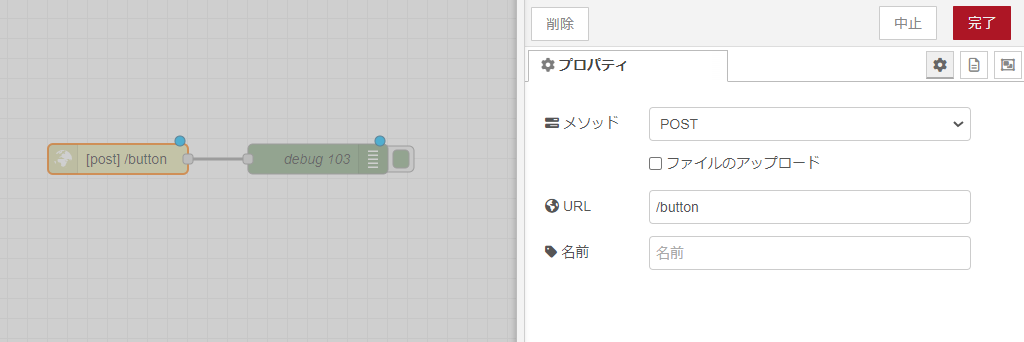
フローはシンプルで、HTTP in ノードを使用して、
Event endpoint URL に指定したURLを挿入します。
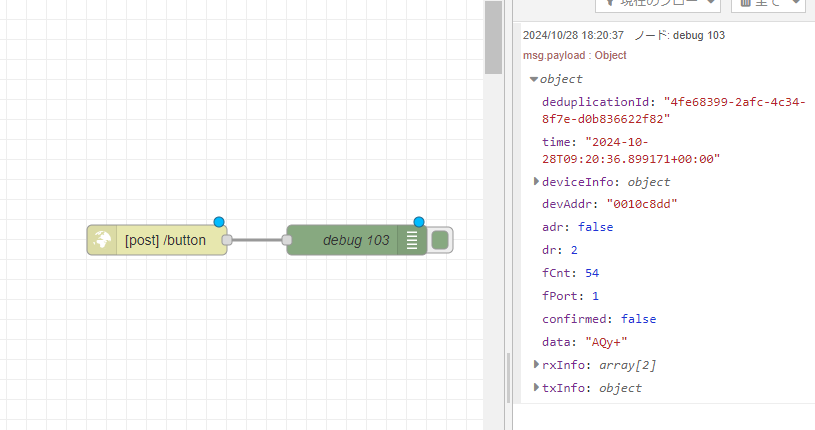
実際にLoRa Buttonを押すとこのようにJSONフォーマットでデータがきます。