
MediaPipeとは?
MediaPipeはGoogleが開発した、ライブメディア処理のためのオープンソースの機械学習フレームワークです。画像や動画の解析、特にリアルタイムでの処理を効率的に行うためのツールとして広く利用されています。主な機能としては、顔検出、手のランドマーク検出、ポーズ推定、物体検出などがあります。
実行環境
・VisualStudio Code
・Python 3.9.0 (Windows)
・WEBカメラ (ノートPCに内蔵されているものでも可)
※Pythonの仮想環境に必要なライブラリ(mediapipe)をインストールしてください。
ソースコード:FaceStatus-Camera.py
import cv2
import mediapipe as mp

mp_face_mesh = mp.solutions.face_mesh
face_mesh = mp_face_mesh.FaceMesh(
    static_image_mode=False,
    max_num_faces=1,
    refine_landmarks=True,
    min_detection_confidence=0.5,
    min_tracking_confidence=0.5
)
mp_drawing = mp.solutions.drawing_utils
mp_drawing_styles = mp.solutions.drawing_styles

cap = cv2.VideoCapture(0)
while cap.isOpened():
    success, image = cap.read()
    if not success:
        print("Ignoring empty camera frame.")
        continue

    # To improve performance, optionally mark the image as not writeable to pass by reference.
    image.flags.writeable = False
    image = cv2.cvtColor(image, cv2.COLOR_BGR2RGB)
    results = face_mesh.process(image)

    # Draw the face mesh annotations on the image.
    image.flags.writeable = True
    image = cv2.cvtColor(image, cv2.COLOR_RGB2BGR)
    if results.multi_face_landmarks:
        for face_landmarks in results.multi_face_landmarks:
            mp_drawing.draw_landmarks(
                image=image,
                landmark_list=face_landmarks,
                connections=mp_face_mesh.FACEMESH_TESSELATION,
                landmark_drawing_spec=None,
                connection_drawing_spec=mp_drawing_styles
                .get_default_face_mesh_tesselation_style())
    cv2.imshow('MediaPipe FaceMesh', image)
    if cv2.waitKey(5) & 0xFF == 27:
        break
cap.release()
実行結果
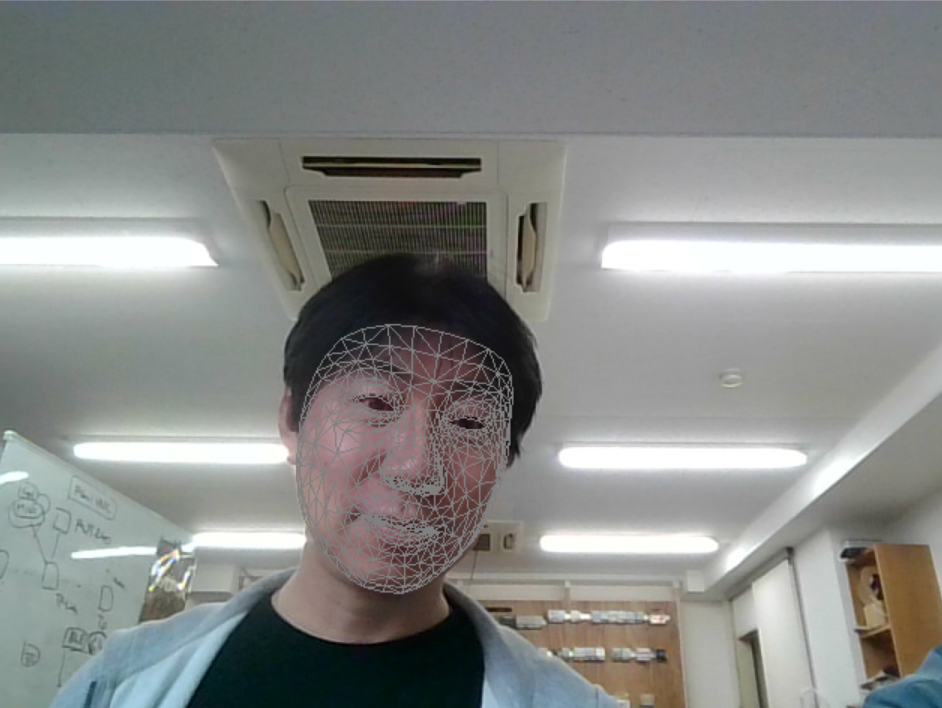
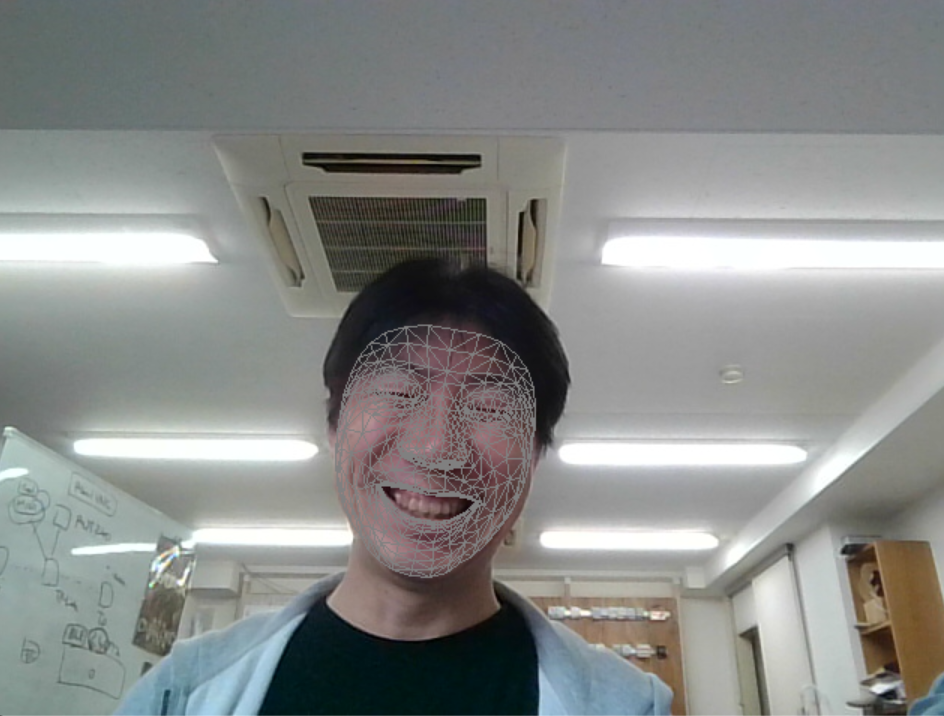
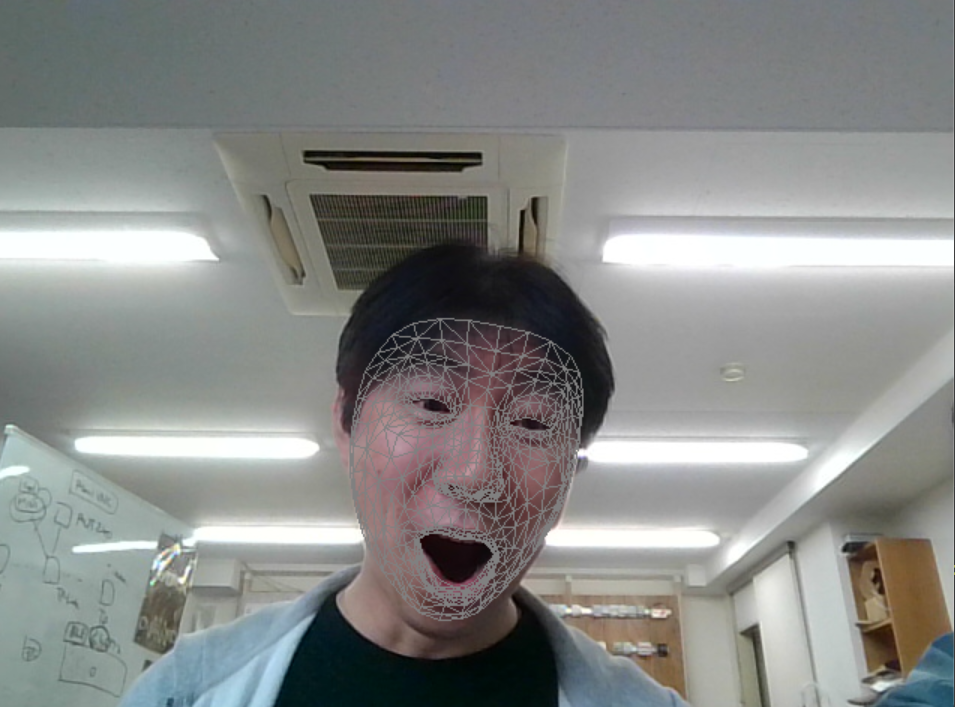
こちらのソースコードを実行すると、PCに接続されたカメラに対して顔を認識させるとフェイシャルボーンのようなグリッドがカメラの映像に合成されます。
まとめ
手始めに顔認証のベースとなるプログラムを組んでみました。
こちらの内容をベースに表情スコアなどをリアルタイムに分析し、結果を出力という内容を次回記載したいと思います。