初台ラボ デジタルツインプロジェクト
今回はボタンを押すと照明が点灯・消灯するようにします。
ボタンのスクリプト
前回は、ボタンを押すとメッセージが表示されるスクリプトでしたが、今回はボタンを押すと照明のOn/Offになるスクリプトにします。
1回目のlightHandler.jsを確認します。
var LightHandler = pc.createScript('lightHandler');

// initialize code called once per entity
LightHandler.prototype.initialize = function() {
    var app = this.app;
    this.spot = app.root.findByName("SpotLight");
};


// update code called every frame
LightHandler.prototype.update = function(dt) {
    var app = this.app;
    if (app.keyboard.wasPressed(pc.KEY_1)) {
        this.spot.light.enabled = !this.spot.light.enabled;
    }

};
上記ではKEY_1が押されたらlight.enabledの状態を反転させていましたが、それをボタンで操作するようにします。

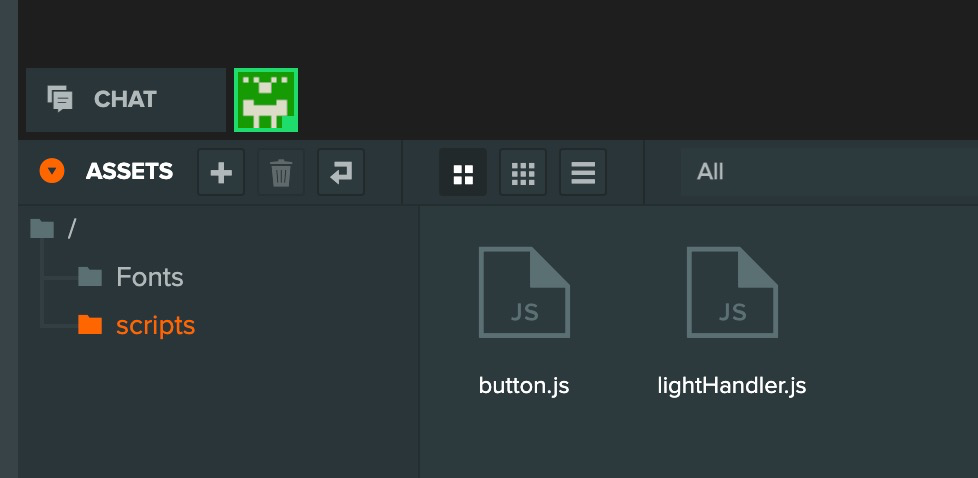
ASSETSにあるbutton.jsを編集。
var Button = pc.createScript('button');

//Button.attributes.add("message", {type: "string", default: "message"})


// initialize code called once per entity
Button.prototype.initialize = function() {

    var app = this.app;
    this.spot = app.root.findByName("SpotLight");


     // タッチできる端末だったら
    if(this.app.touch){
         // element componentがタッチされたらattributes: messageアラートとして表示する
        //this.entity.element.on(pc.EVENT_TOUCHSTART, () => this.show(this.message))
          this.entity.button.on('click', function(event) {
            this.spot.light.enabled = !this.spot.light.enabled;
        }, this);

    }else{
         // element componentがクリックされたらattributes: messageアラートとして表示する
        //this.entity.element.on("click", () => this.show(this.message))

           this.entity.button.on('click', function(event) {
            this.spot.light.enabled = !this.spot.light.enabled;
        }, this);

    }

};

// update code called every frame
Button.prototype.update = function(dt) {

};

//Button.prototype.show = (message) => alert(message)
このように修正。
確認

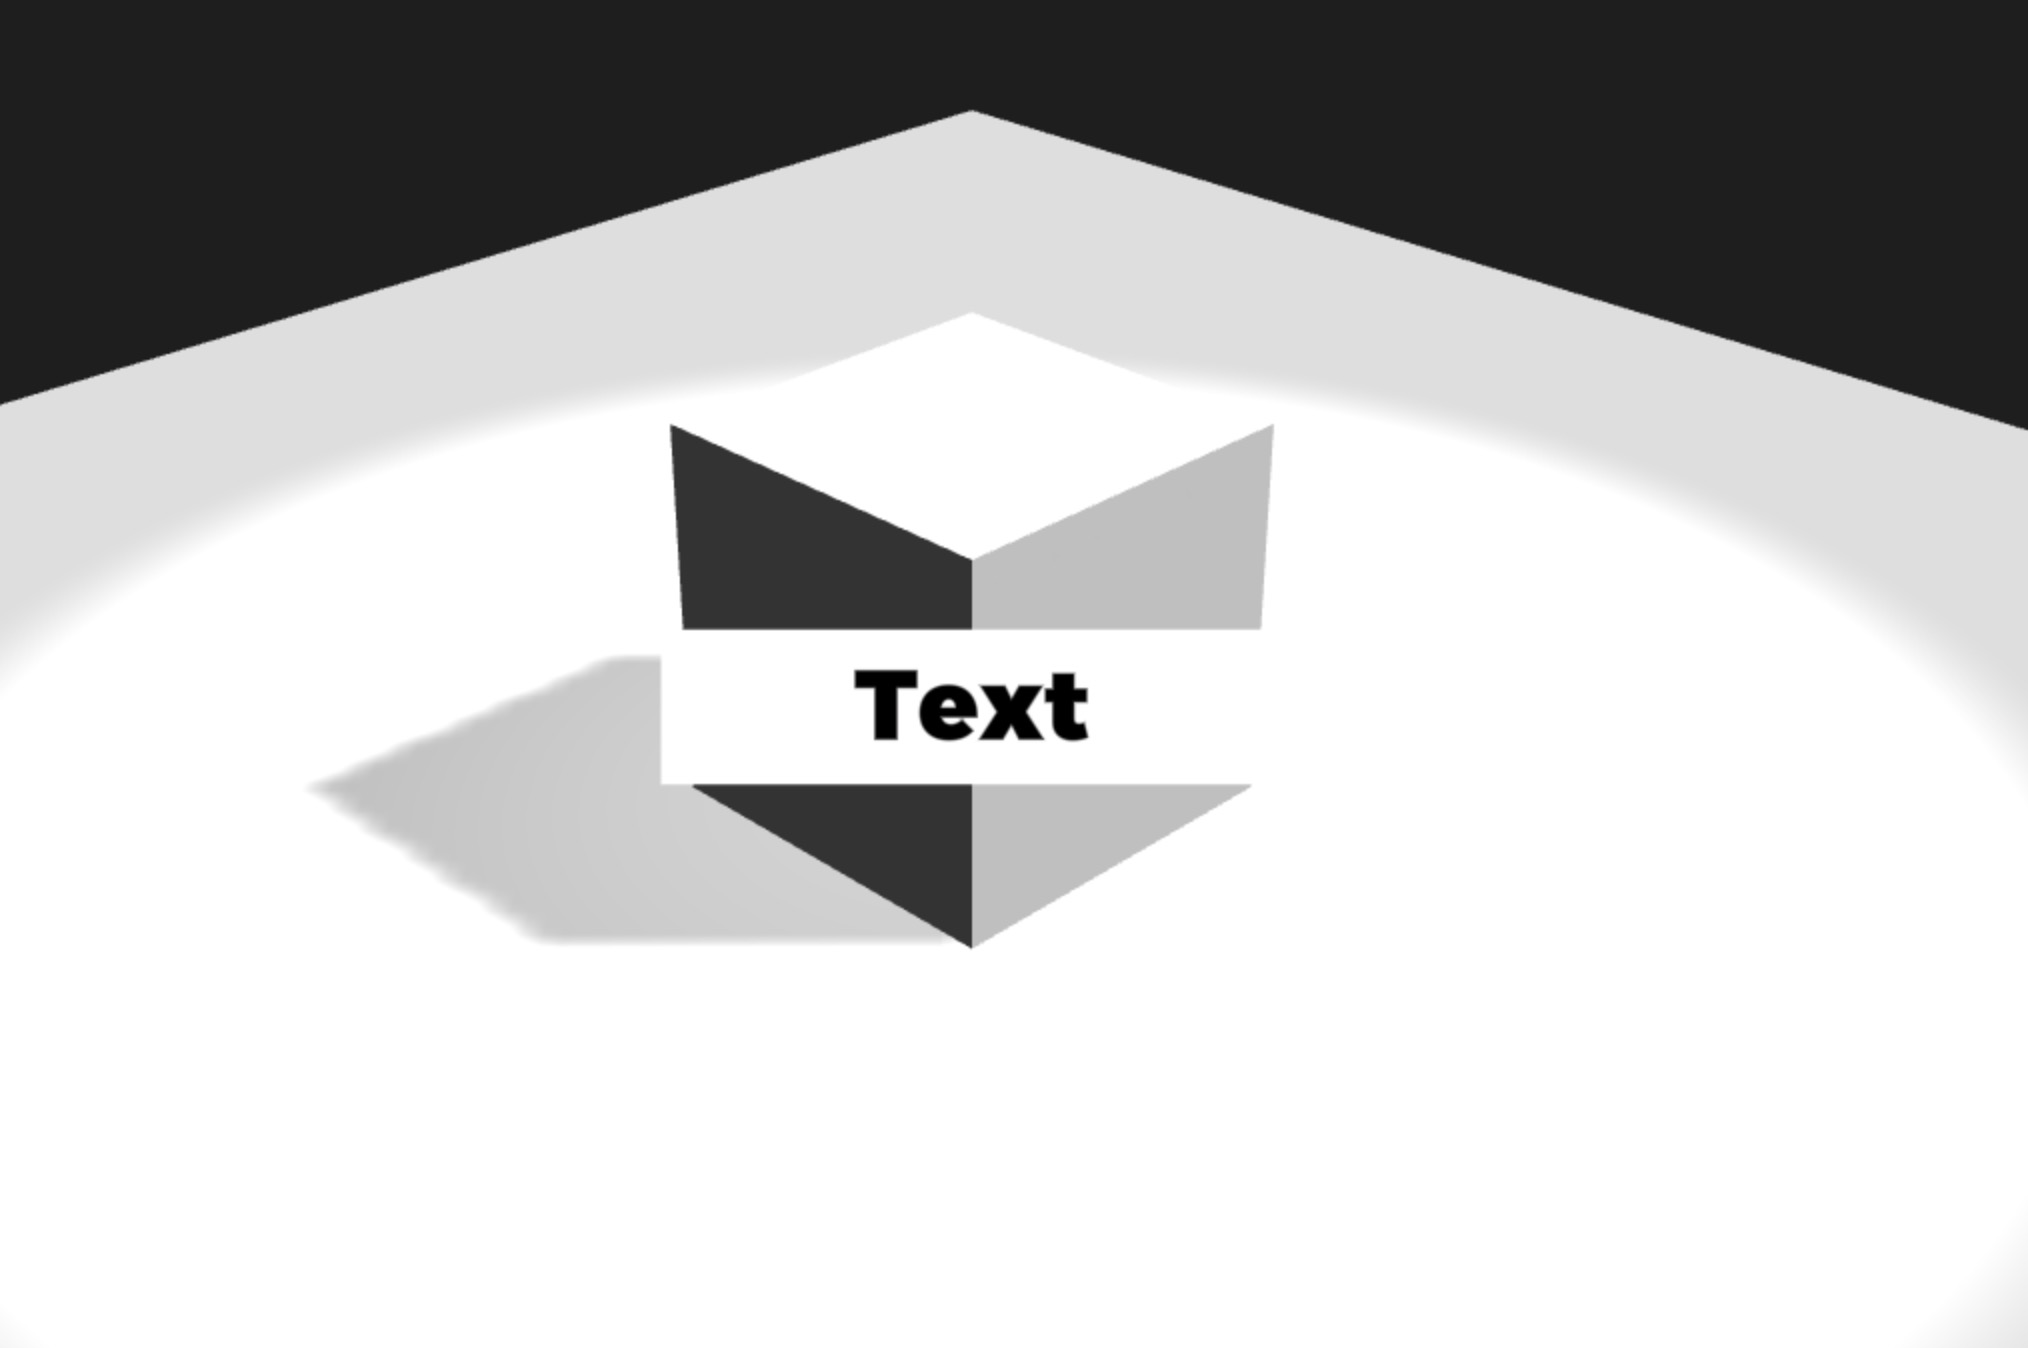
ボタンを押すことで、LampがOn/Offするようになりました。
