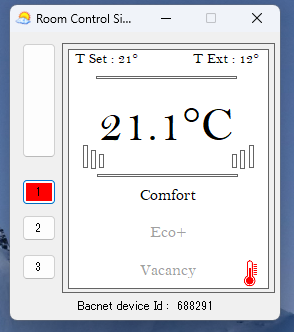
BACnetの勉強を始める際、BACnetデバイスのシュミレーターYet Another BACnet Explorerの検証 のように、Yet Another BACnetExplorer(YABE)をBACnet RoomSimulatorを使う人も多いとおもいます。
今回はKNXの視覚化サーバーComfortClickでBACnet RoomSimulatorのデータを表示する方法をご紹介します。
bOS Configuratorの設定
まずはbOS ConfiguratorからComfortClickサーバーに接続します。
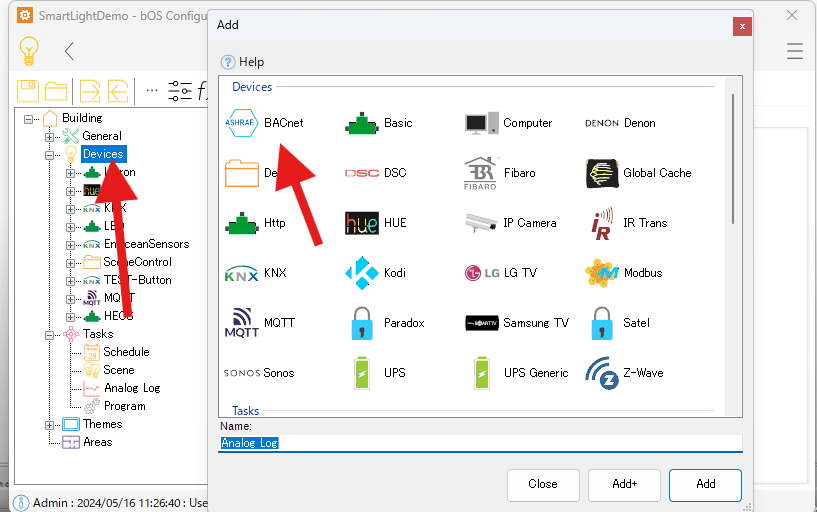
DeviceからAddボタンを押しBACnetを追加します。
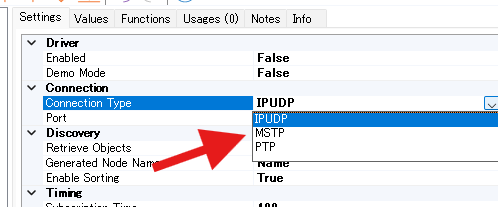
RoomSimulatorはIP経由なのでConnection TypeはIPUDPにします。
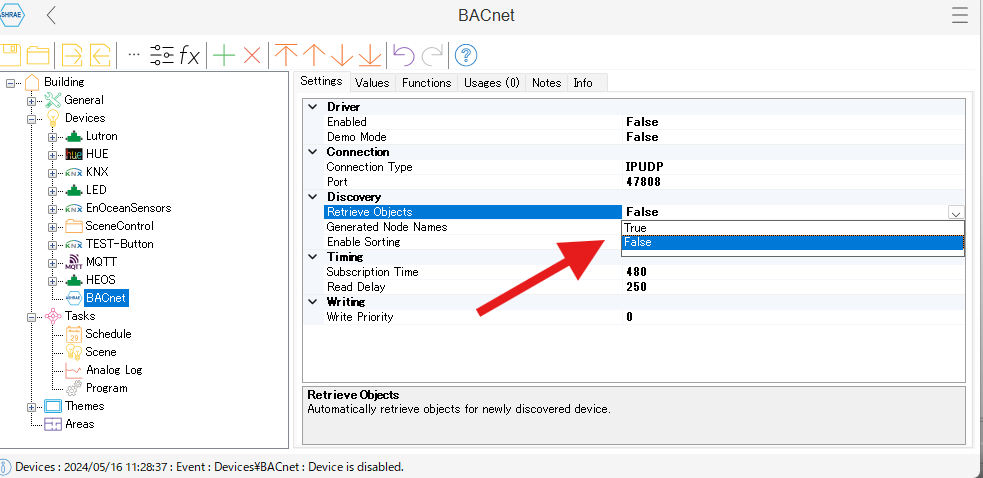
Retrieve ObjectsをTrueにするとネットワークのBACnetオブジェクトを自動的に見つけてくれます。
もし見つからない場合は、Deviceを自分で追加する方法もあります。
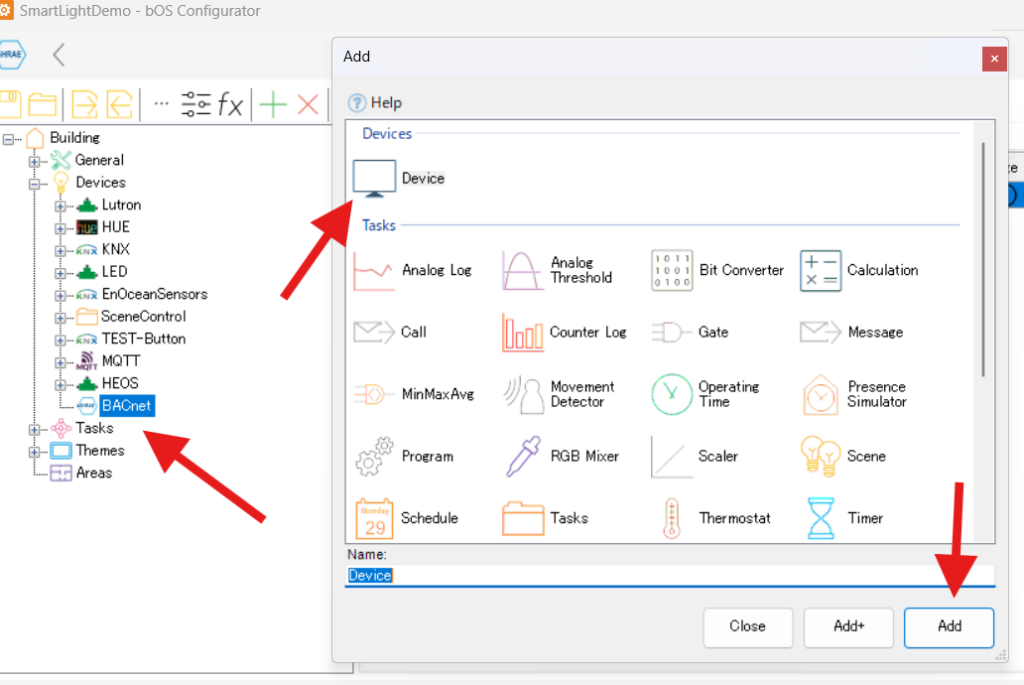
DevicesからADDでDeivceを追加
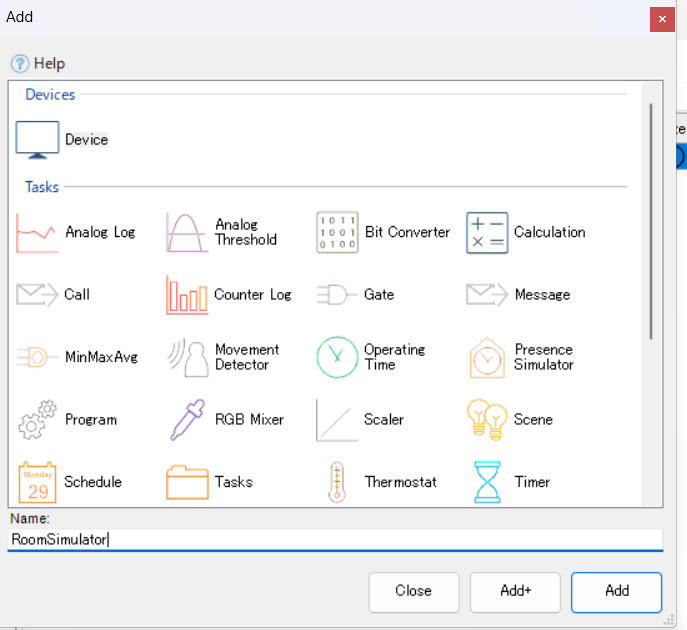
名前はRoomSimulatorにします。
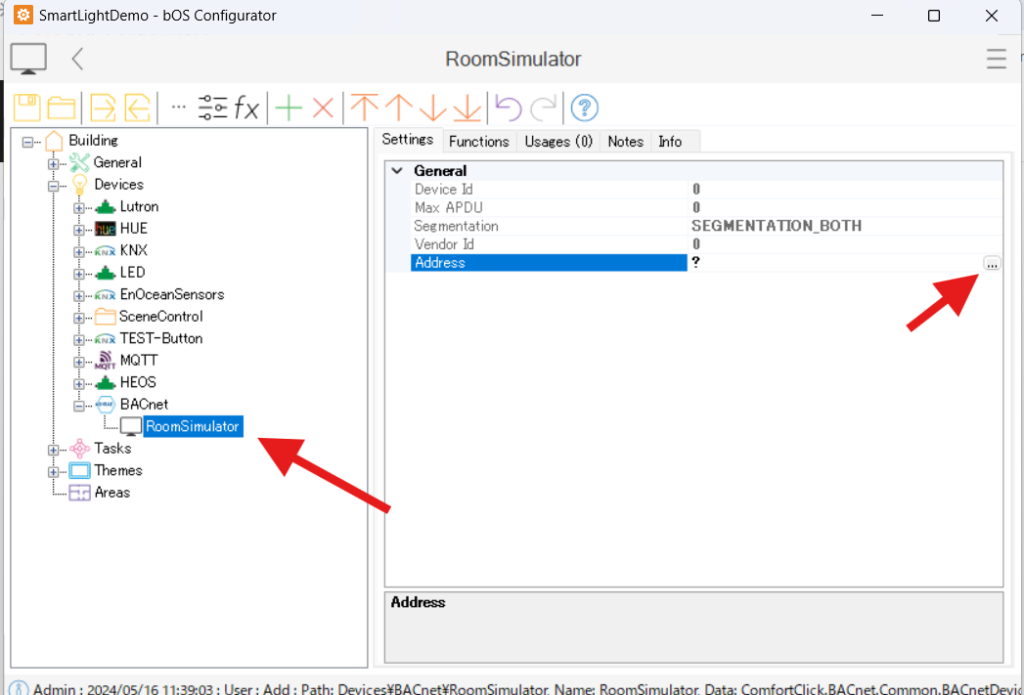
追加したRoomSimulatorのAddressをクリック
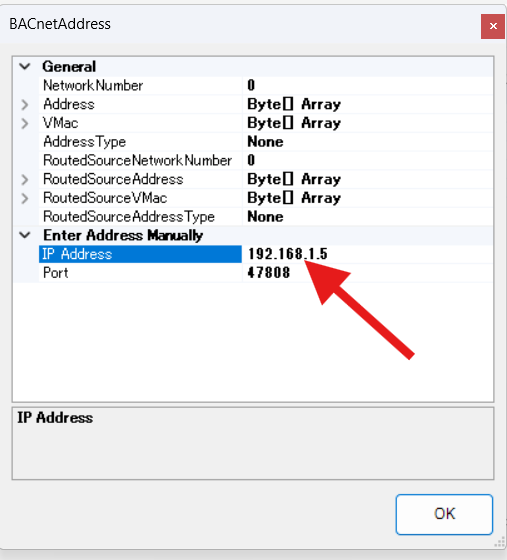
RoomSimulatorを動かしているPCのIPアドレスを入力します。
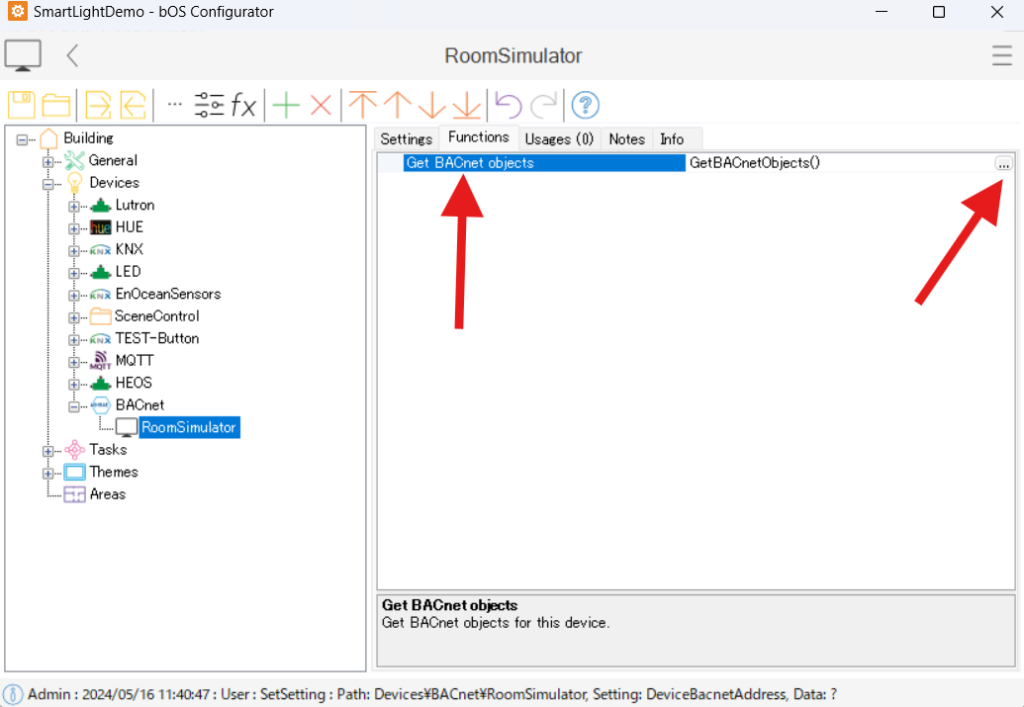
Functionsタブから”Get BACnet objects”をクリックします。
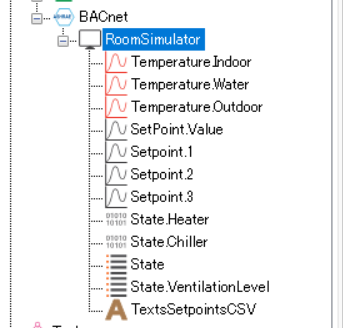
RoomSimulatorのBACnetオブジェクトが表示されました。
RoomSimulatorの値をComfortClickで表示させる
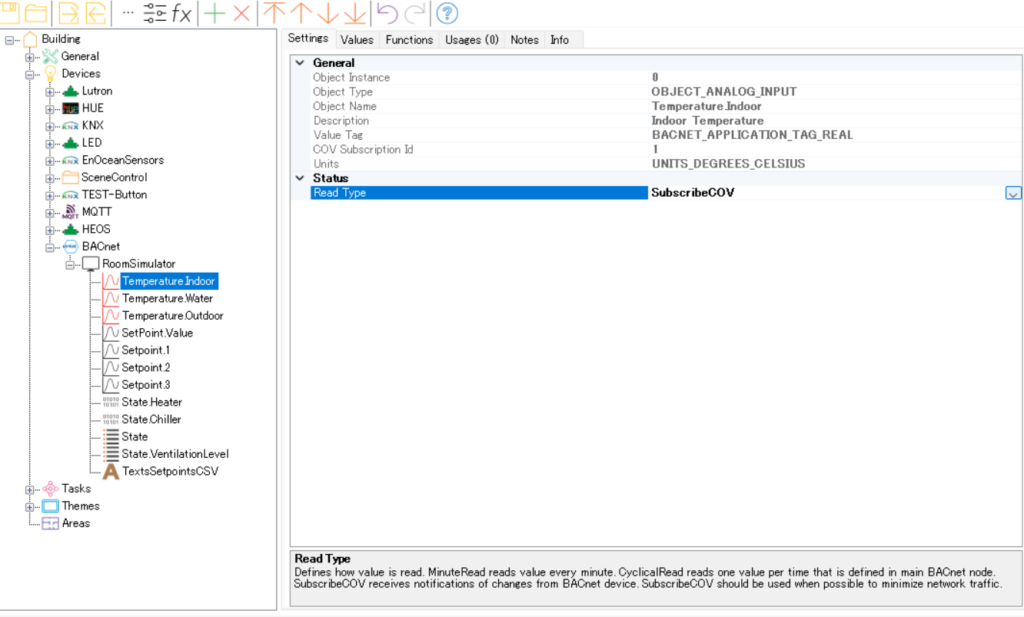
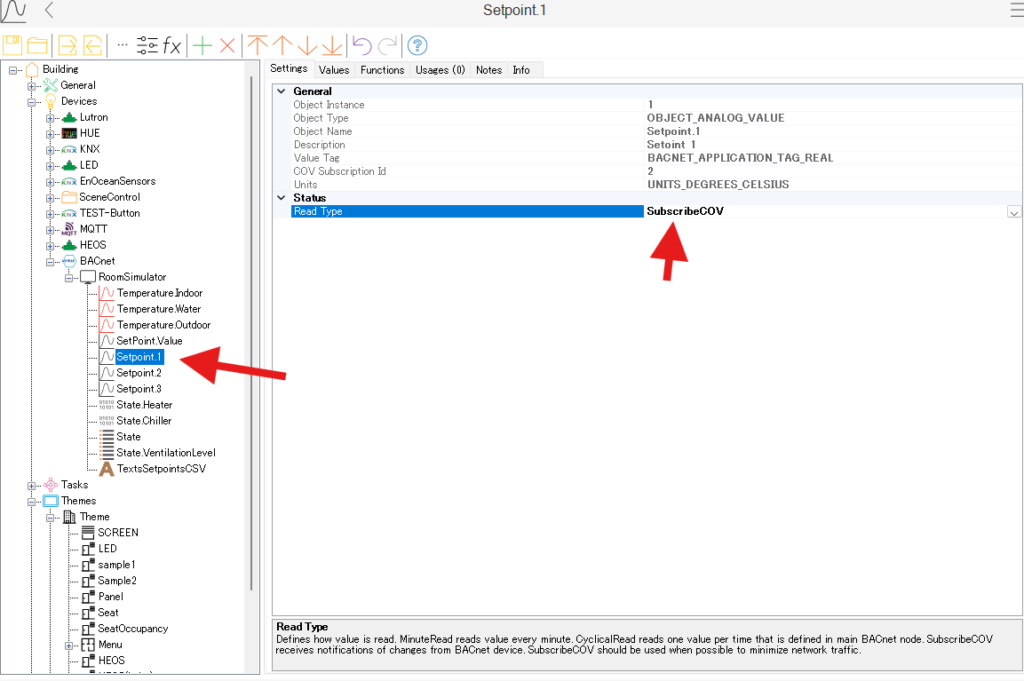
RoomSimulatorに表示される温度はTemperatureIndoorというオブジェクトなので、DeviceからクリックしてStatusのReadTypeを変更します。
今回はSubscribeCOVを選択。
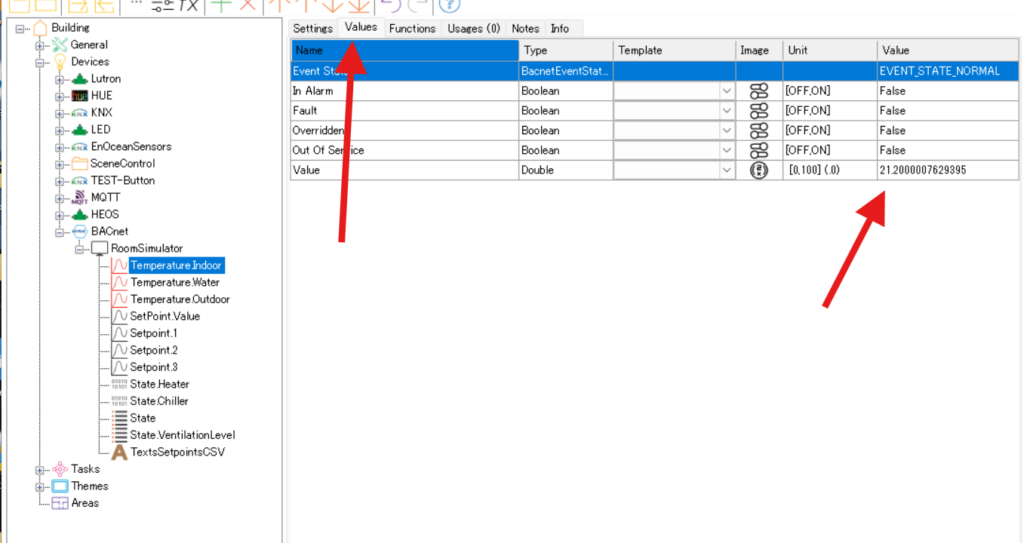
ValuesのタブでValueをチェックするとRoomSimulatorに表示される温度がリアルタイムに反映されます。
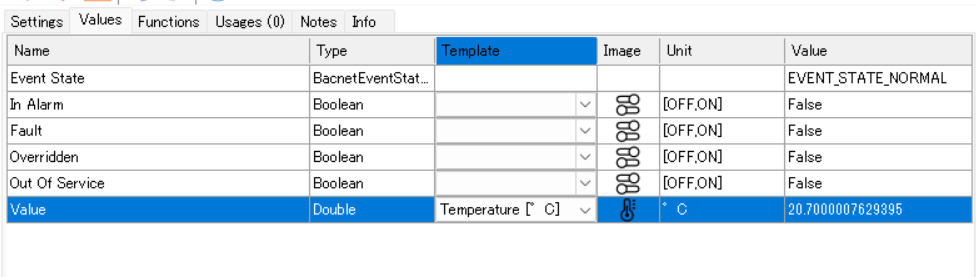
Templateから温度を選択。
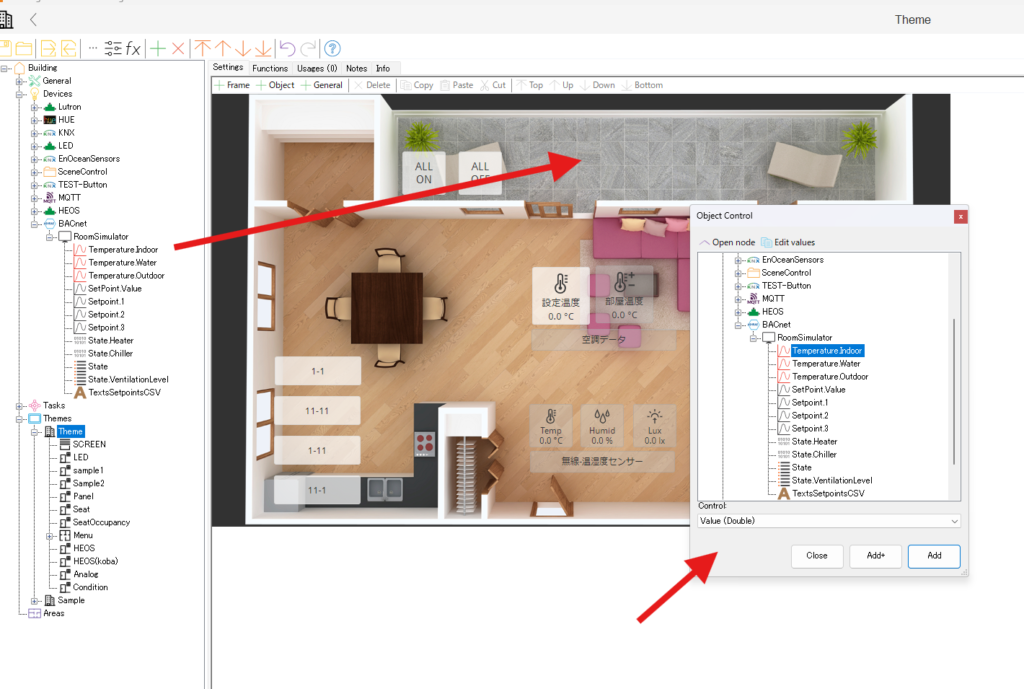
表示させたいComfortClickのThemeを開き、TemplatureIndoorをドラッグ&ドロップ。ControlはValue(Double)にします。
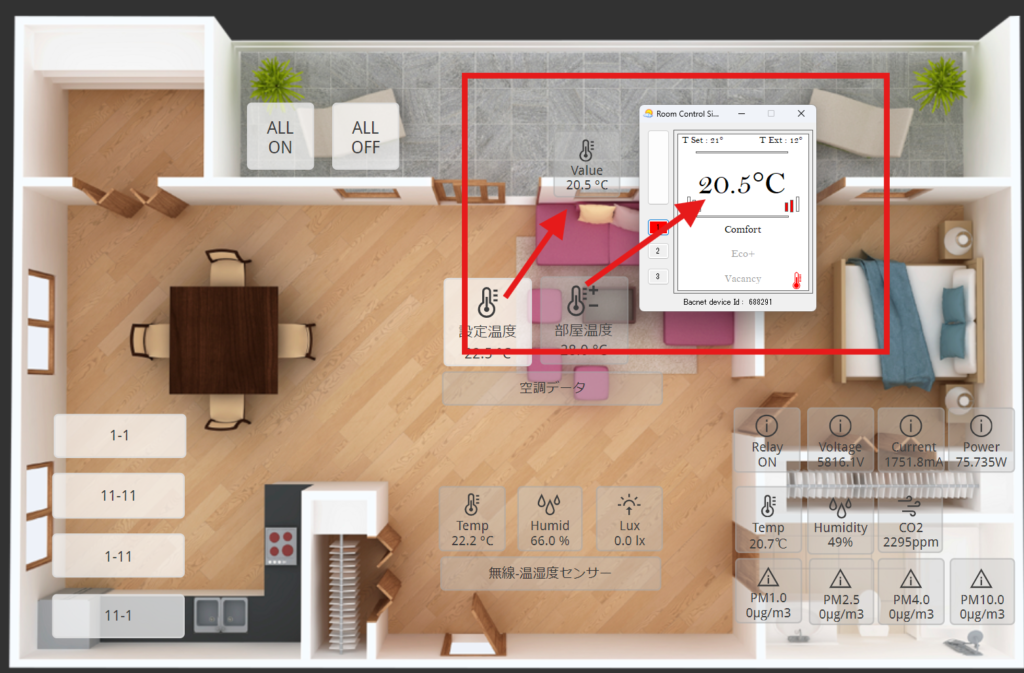
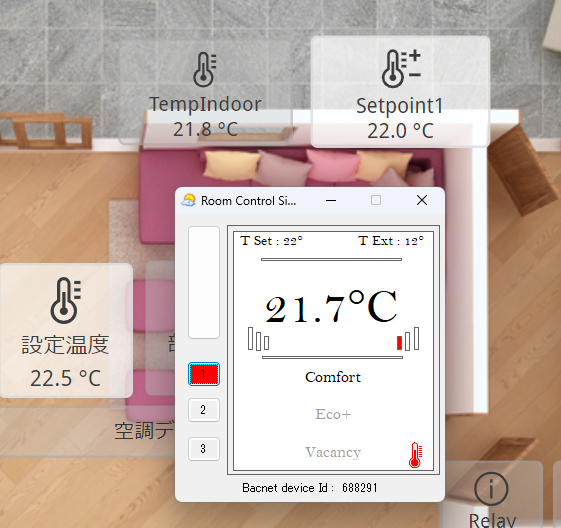
アプリから表示させると、このようにRoomSimulatorの値がBACnetでComfortClickと通信を行い操作画面に表示させることができます。
Setpointの操作
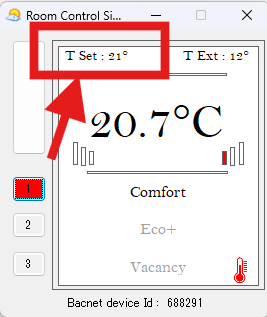
次はこのSetpoint温度をComfortClickから操作します。
Setpoint1のStatusをSubscribCOVに変更
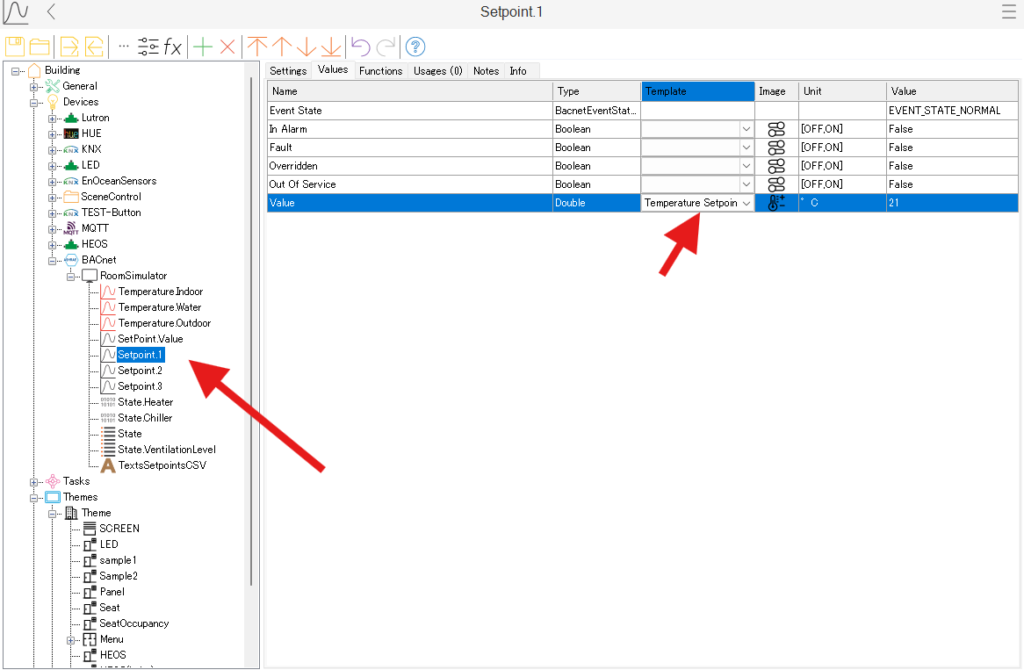
TemplateはSetpointを選びます。
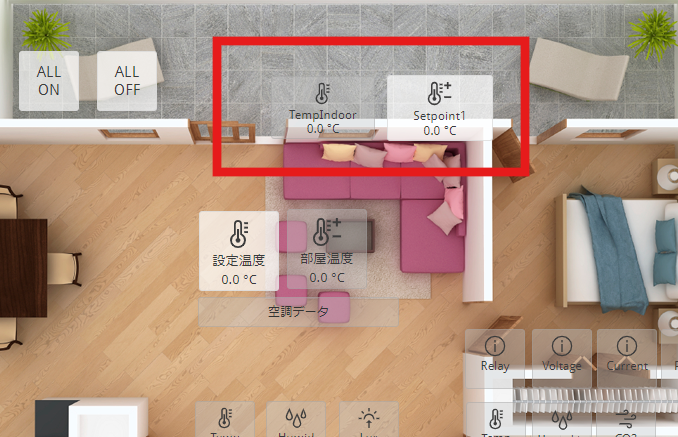
Themeを開きSetpoint1をドラッグ&ドロップ。表示名をSetpoint1に変更。先ほどのIndoorの温度もTempIndoorと変更しました。
このようにRoomSimulatorの温度とSetpointが表示されました。
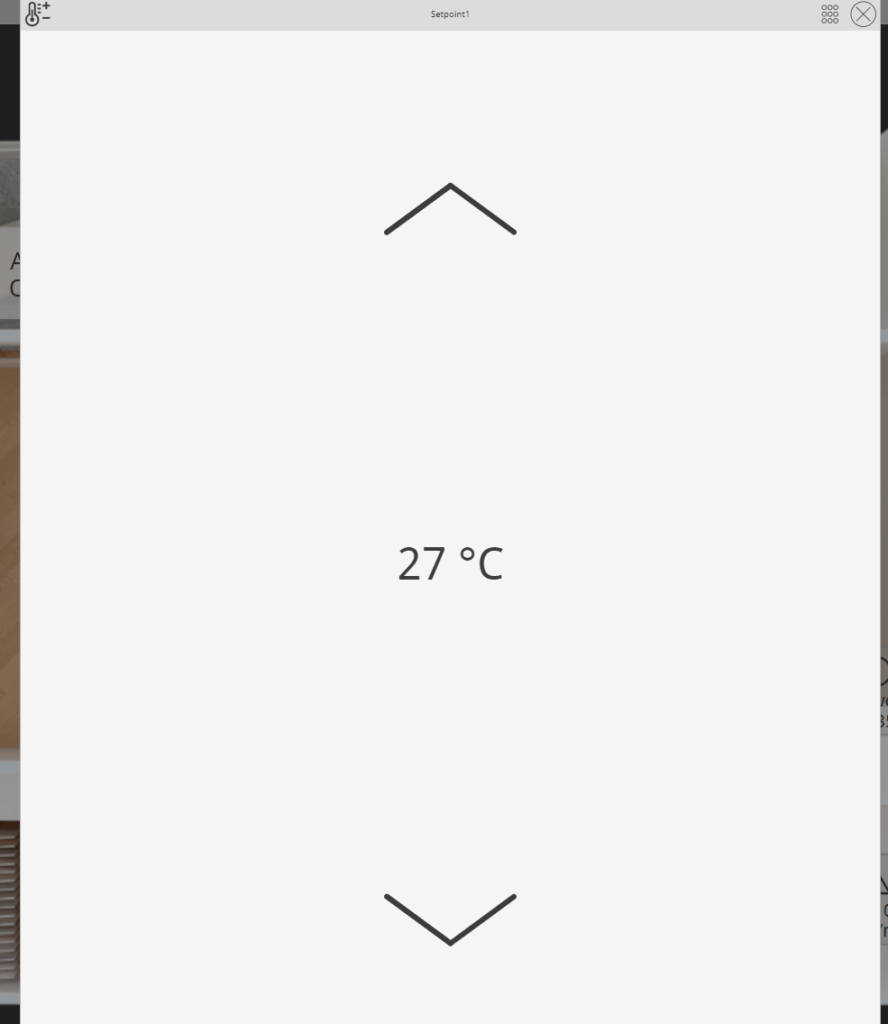
Setpointをクリックすると操作できるので27℃にします。
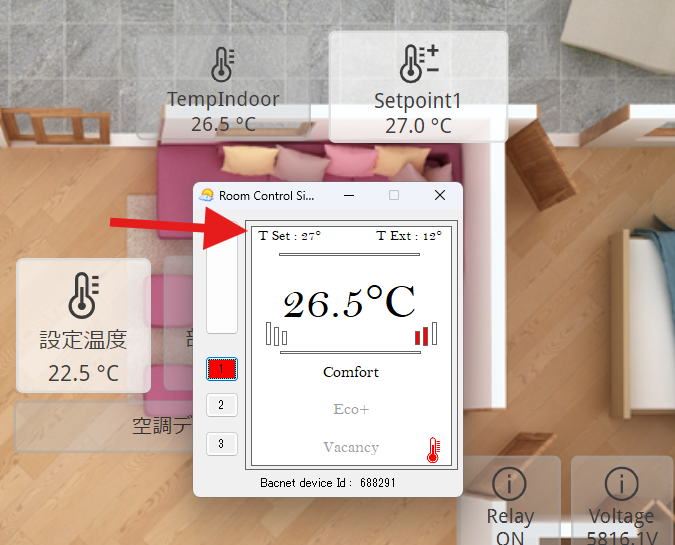
RoomSimulatorのSetpointも変更されて27℃になりました。
まとめ
以上、BACnet RoomSimulatorの温度をComfortClickで表示させSetpointを操作する方法をご紹介しました。
他にも知りたいことなどありましたら、気軽にスマートライトまでお問合せください。