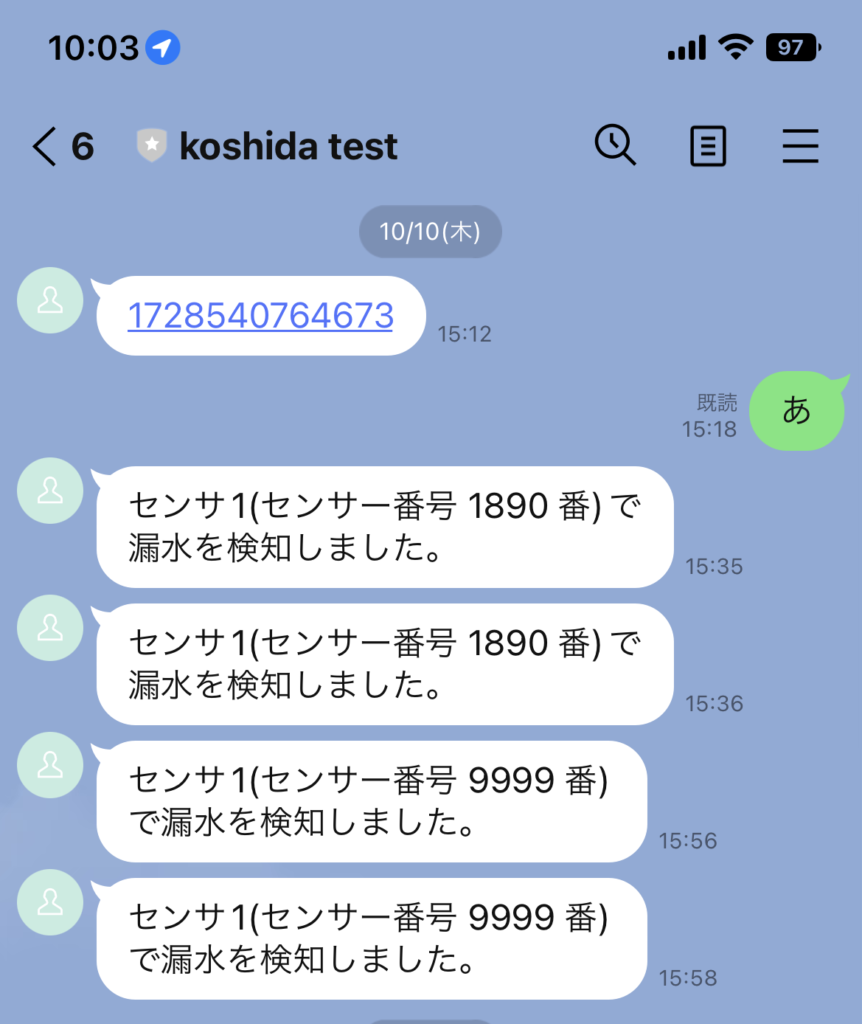
今回はABLICのPH-Aシリーズを使って、異常検知された際にLINEに通知が行くよう設定していきたいと思います。
LINE Notifyを使うと簡単だったのですが、サービスが終わってしますということで、今回はLINE Developersというものを使って設定していきたいと思います。
LINE developersの登録
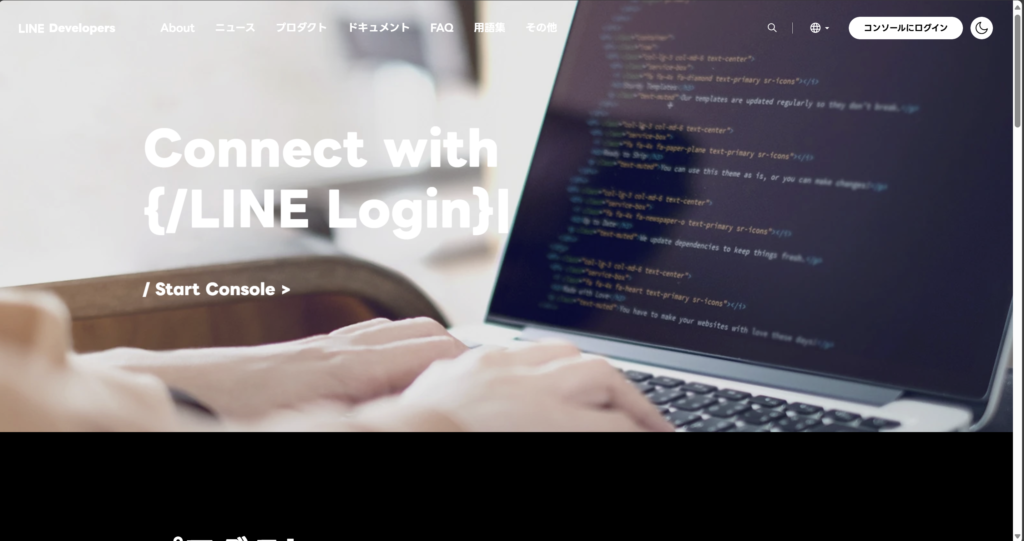
次のURLからホームページを開いていただき、右上のコンソールをクリックしてください。
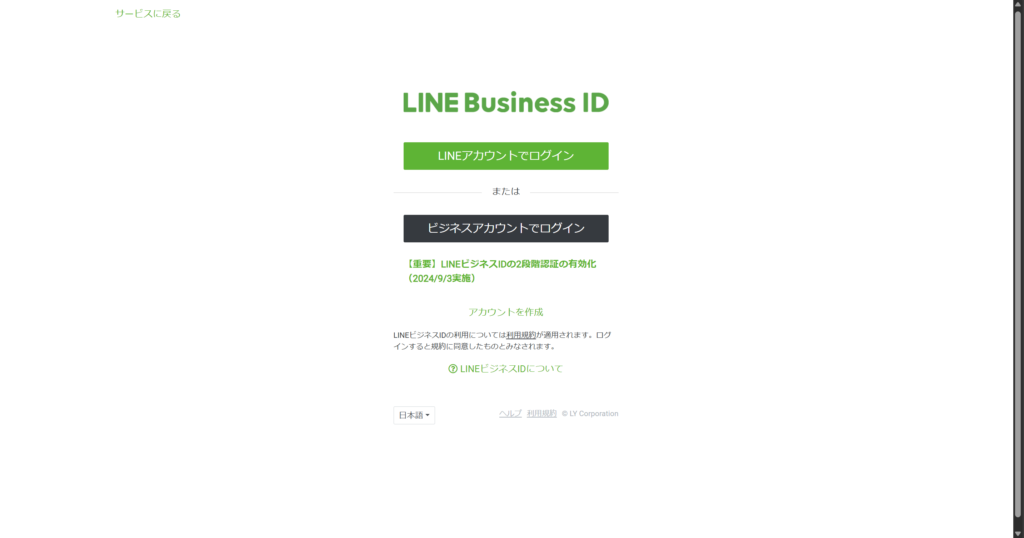
以下の画面が出てきますので、どちらかでログインしてください。
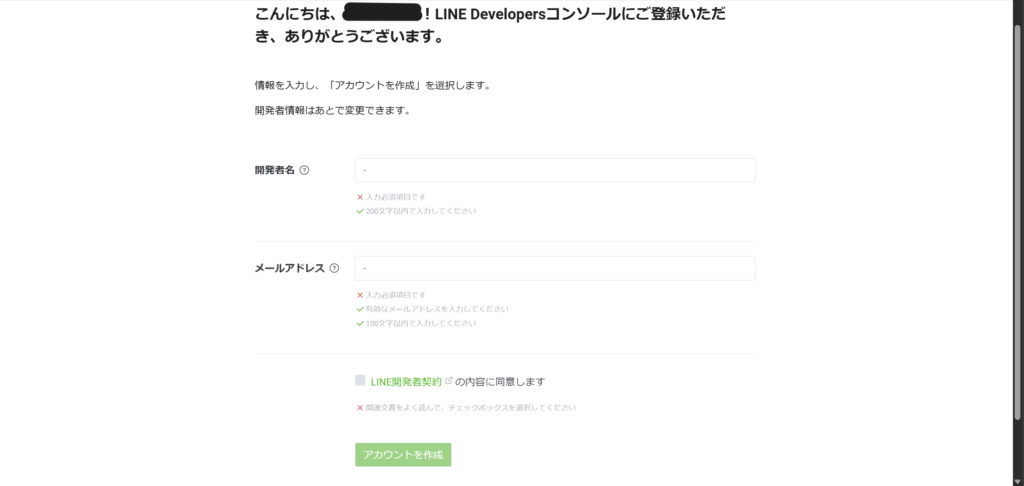
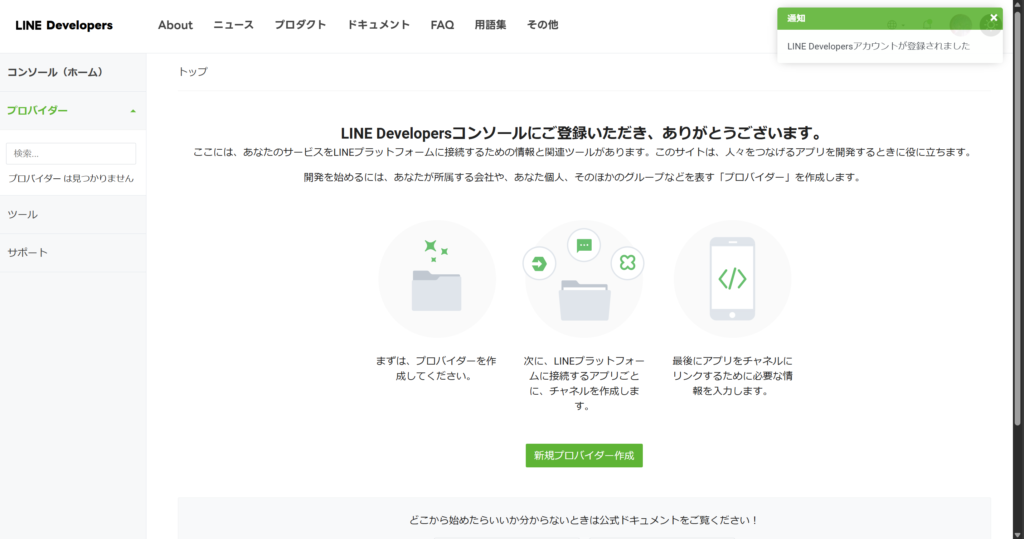
ログインするとアカウント作成が出てきますので、そのままアカウントを作成してください。
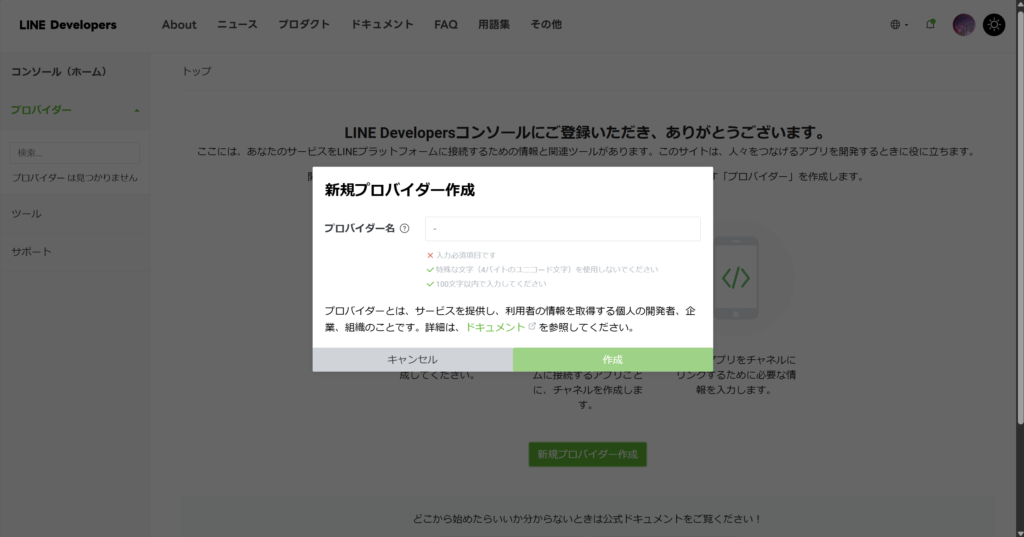
作成が終わりましたら、ホームページに飛びます。そうしましたら、左のプロバイダーを選択し新規プロバイダー作成を選択してください。
プロバイダー名は何に使うボットなのかをわかるようにして下さい。
このプロバイダーは空のボットを作っている感じです。
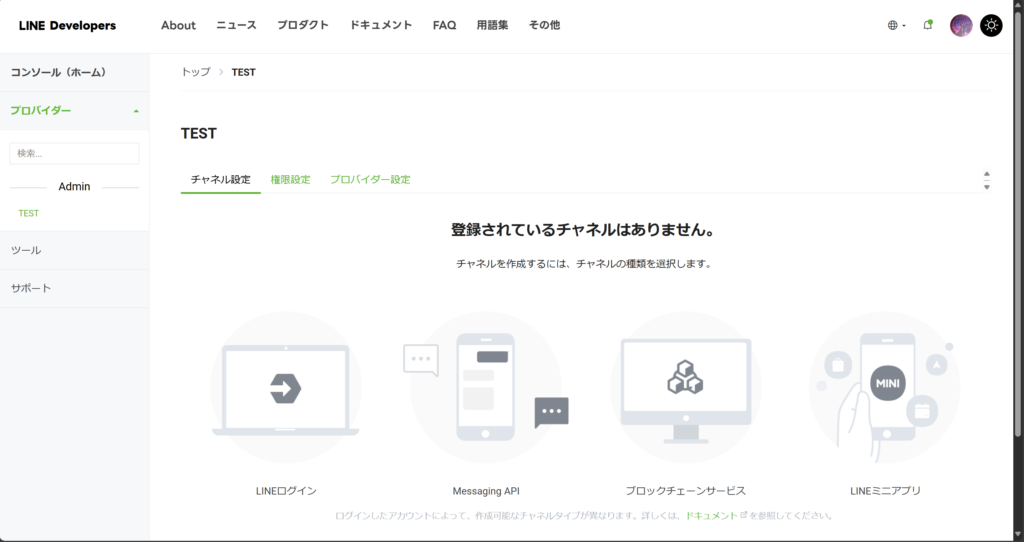
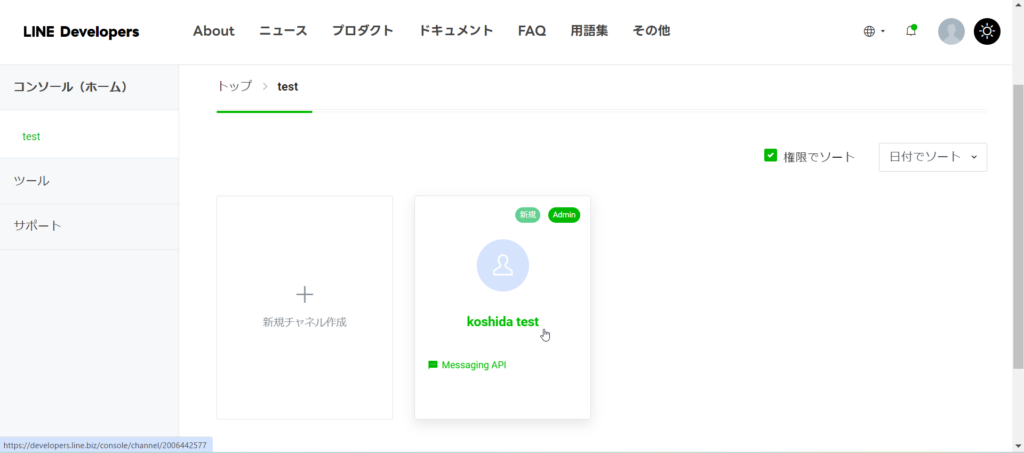
プロバイダーを作成しましたら、作成したプロバイダーのチャンネル設定をします。
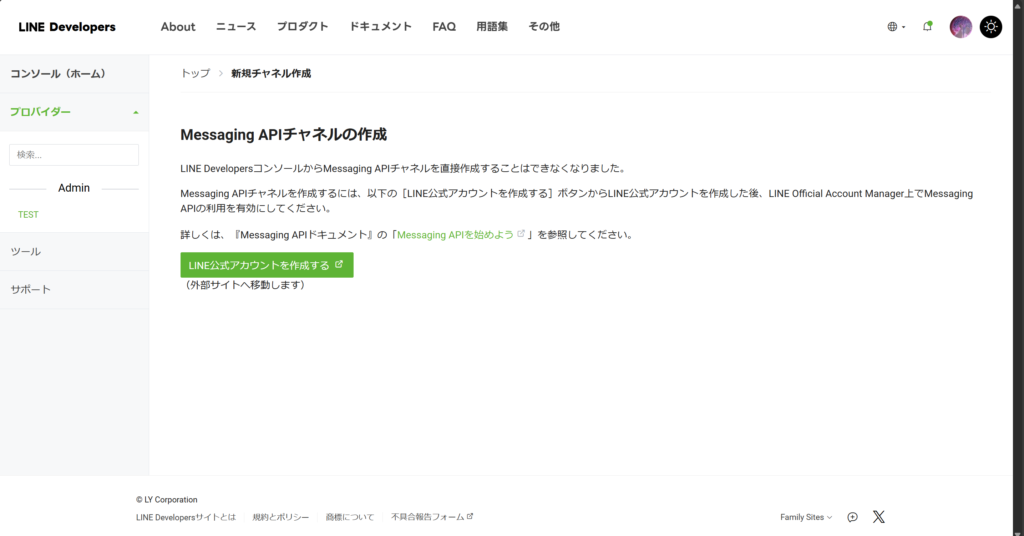
Messaging APIを選択してください。(絵がクリックできます)
するとLINE公式アカウントを作成すると出てきますので、こちらをクリックします。
以下のような画面が出てきますので、登録を進めてください。
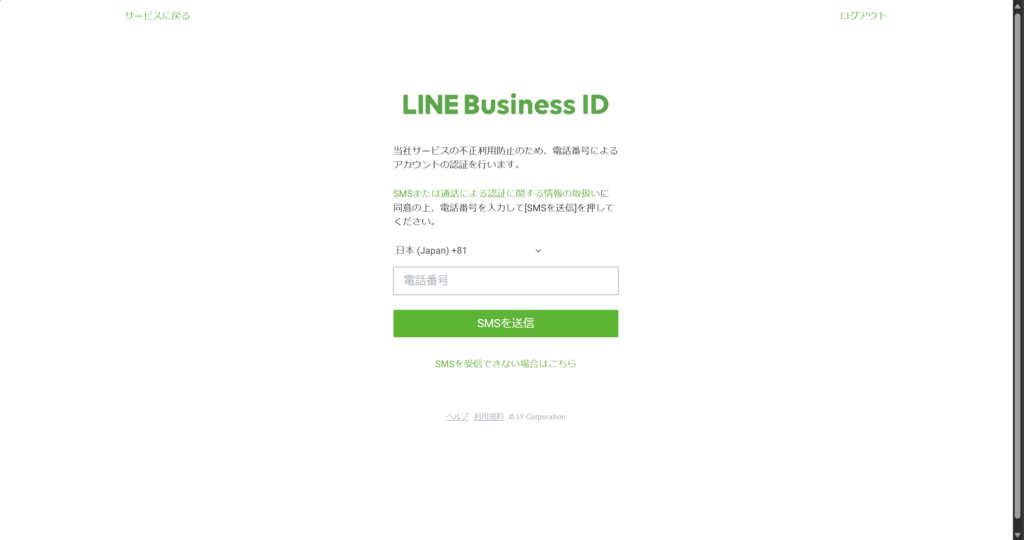
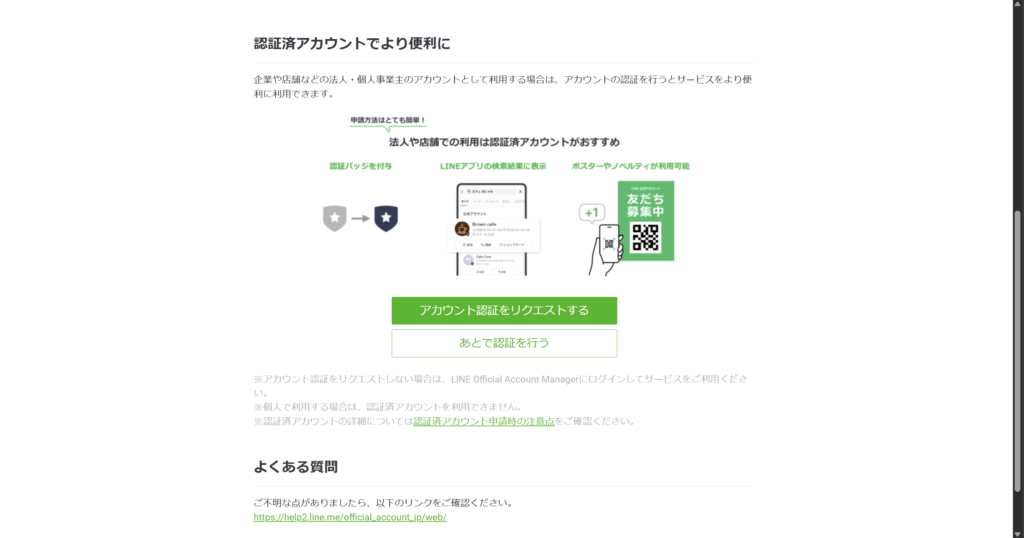
登録が終わると、アカウント認証を聞かれますのでここを
「あとで認証を行う」
にしてください。
すると「LINE Official Account Manager」という別のページに飛びます。
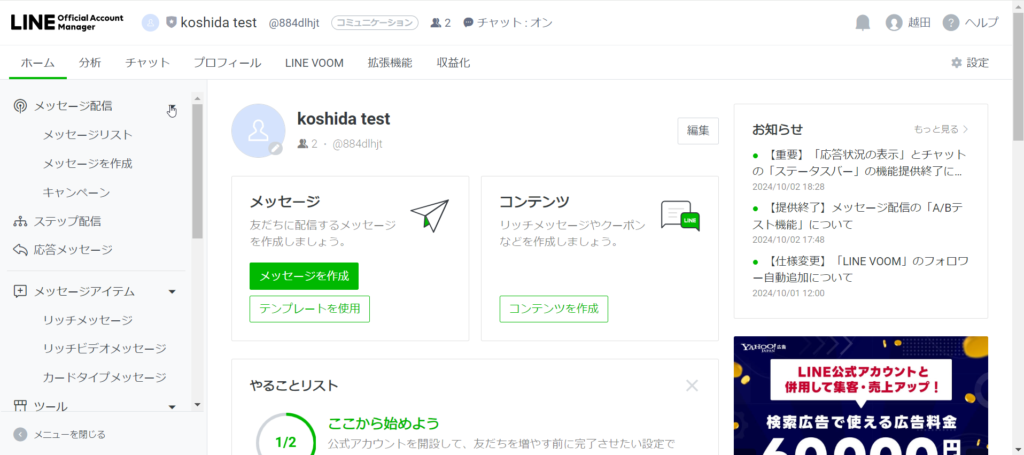
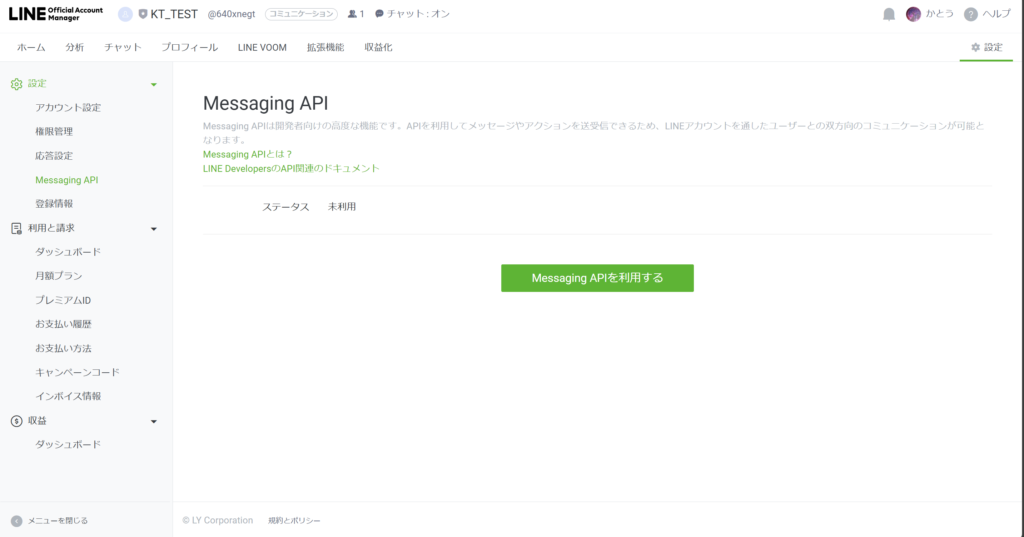
このページの右上にある設定を開きます。
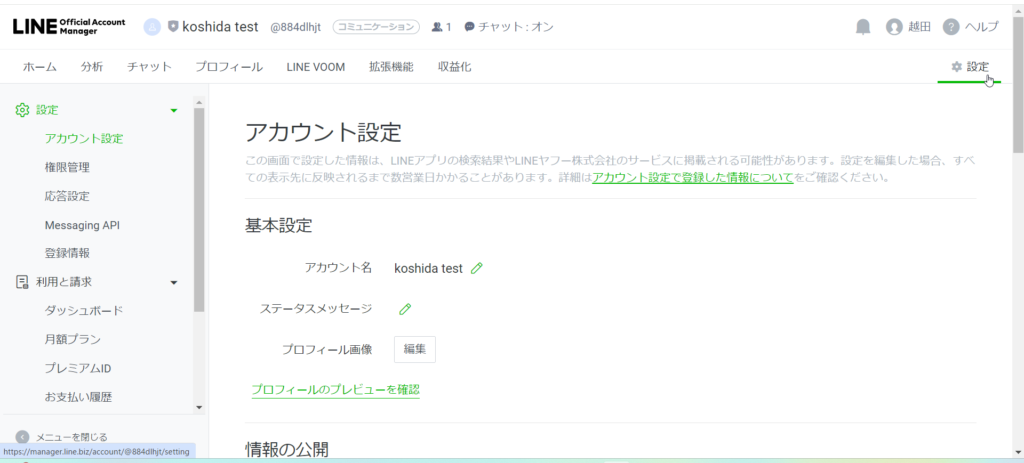
開いたら、左の設定内Messaging APIを選択し、Messaging APIを利用するをクリックします。
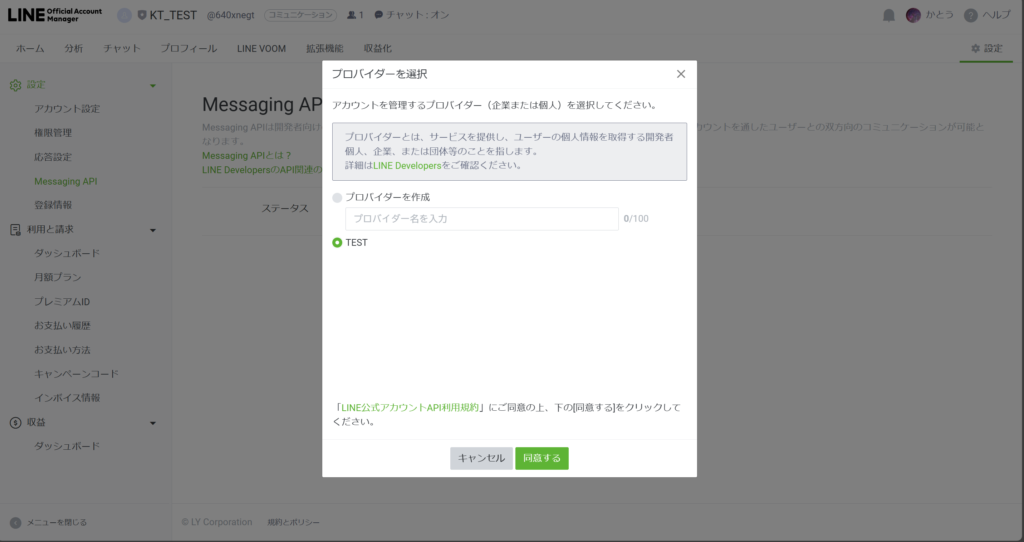
ここで、初めに作ったプロバイダーが出てきますので、それを選択して同意するをクリックします。
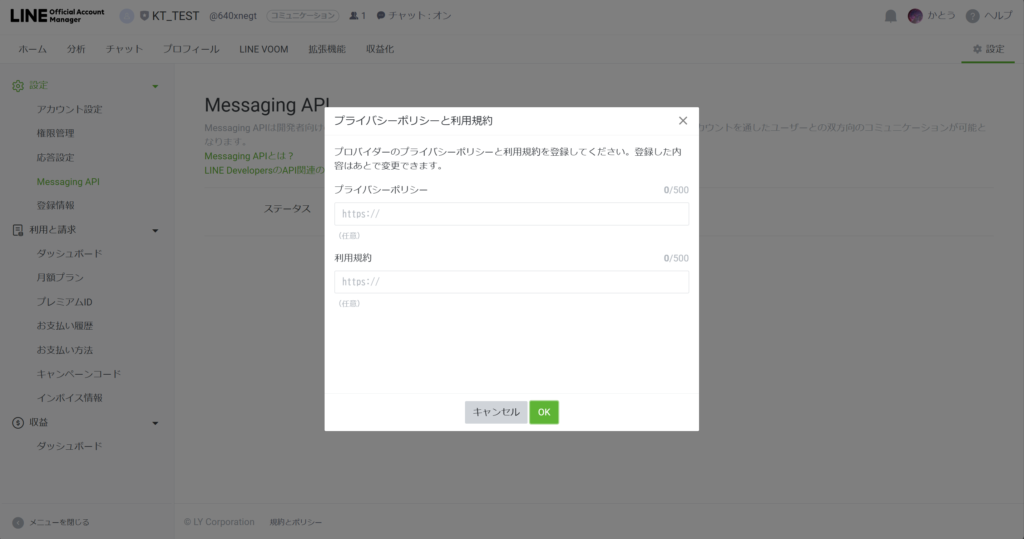
次に以下のような画面が出てきますが、任意のためそのままOKをクリックします。
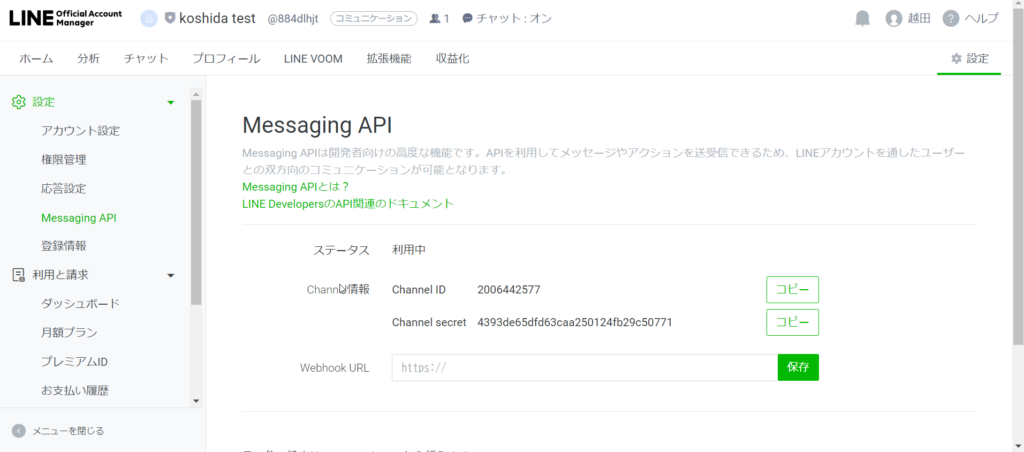
作成できると、以下のように表示されます。
こうなりましたら、次にnode-redの設定をしていきます。
node-red設定
まず、node-redを開き新しく以下のノードを追加します。
右上三本線をクリックし、パレットの管理を選択します。
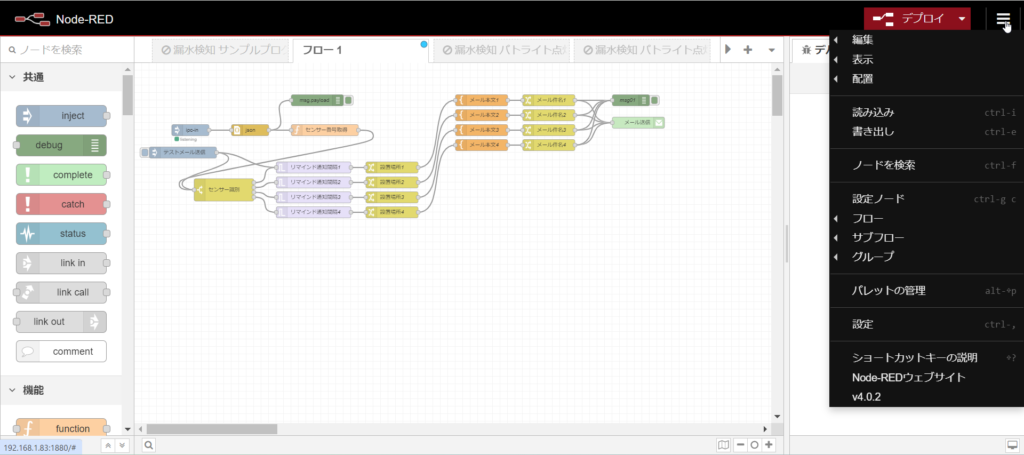

以下のような画面が開きましたら、右のノードを追加を選択します。
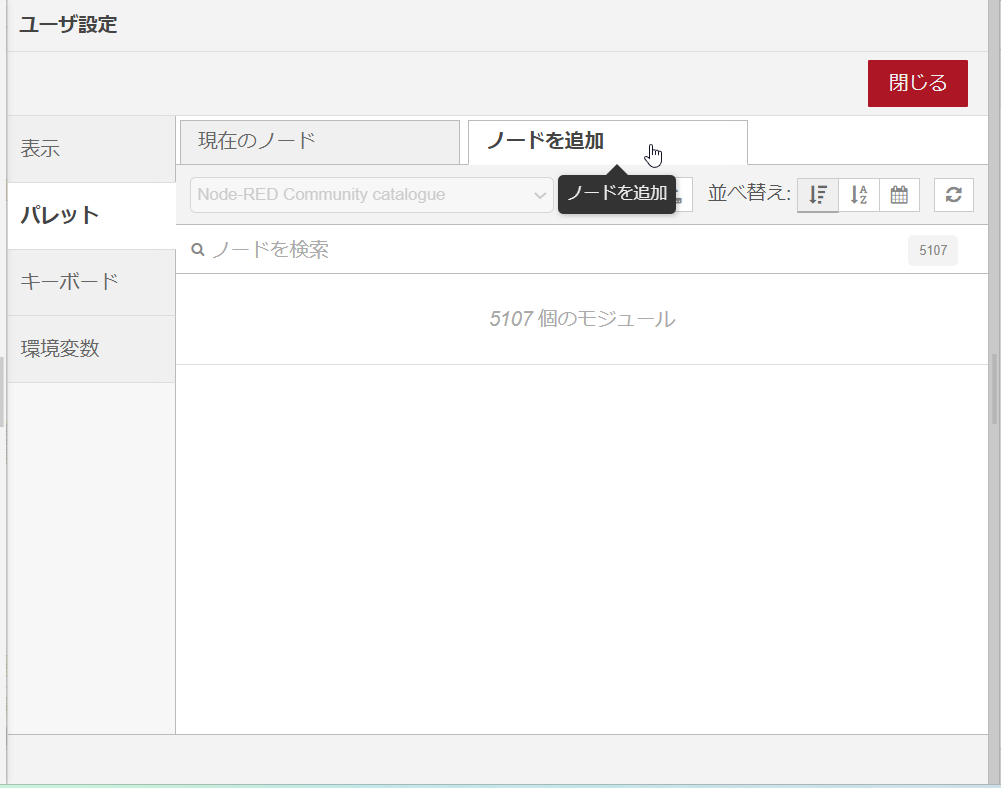
ここのノード検索内に
node-red-contrib-line-messaging-api
を入力し、出てきたものを追加してください。

すると以下のようなノードが左側に追加されます。
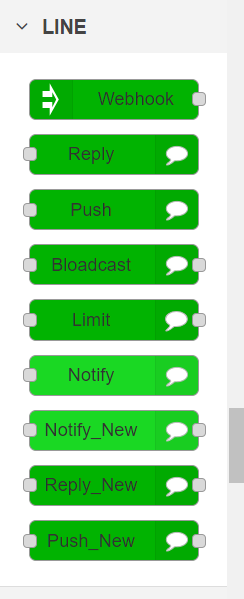
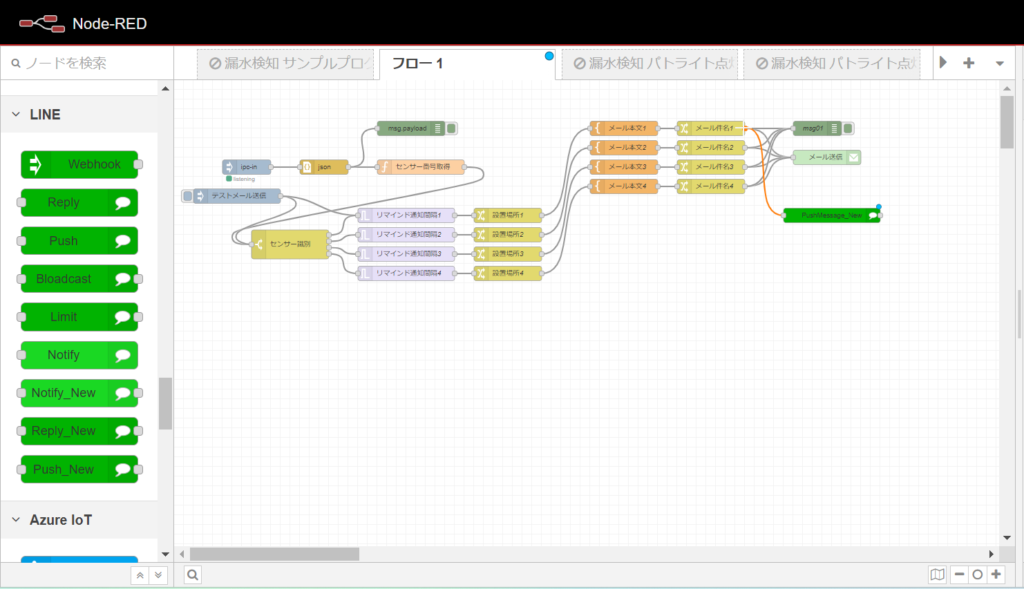
こちらの、Push_Newをドラック&ドロップしてください。
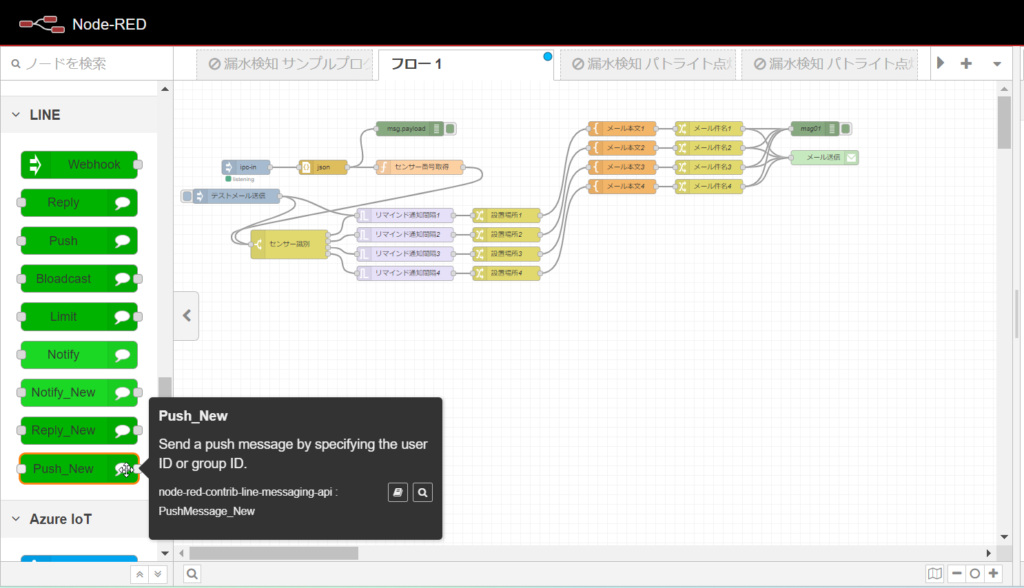
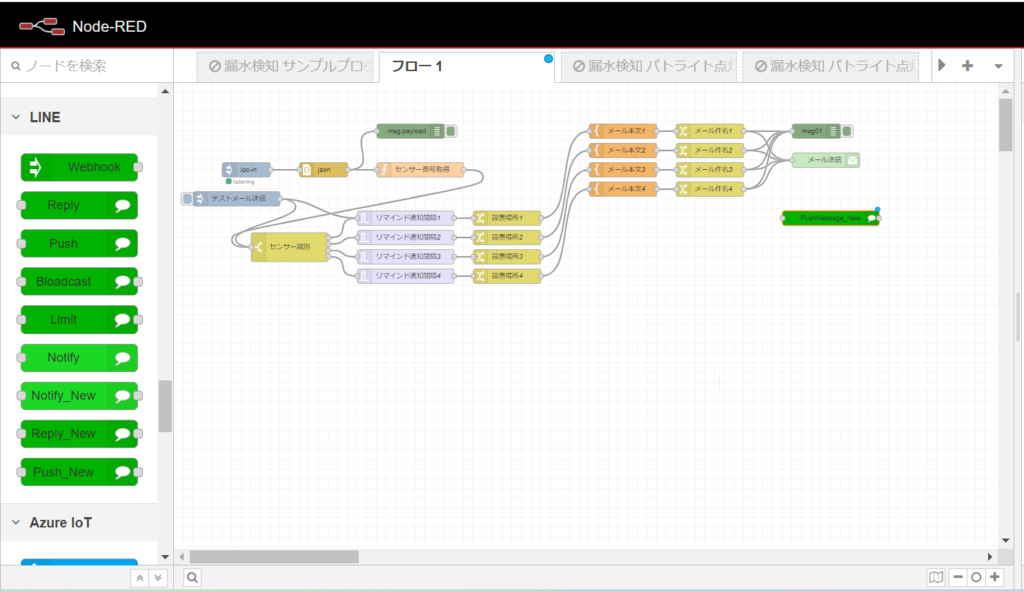
追加したノードをメール件名1と繋げます。
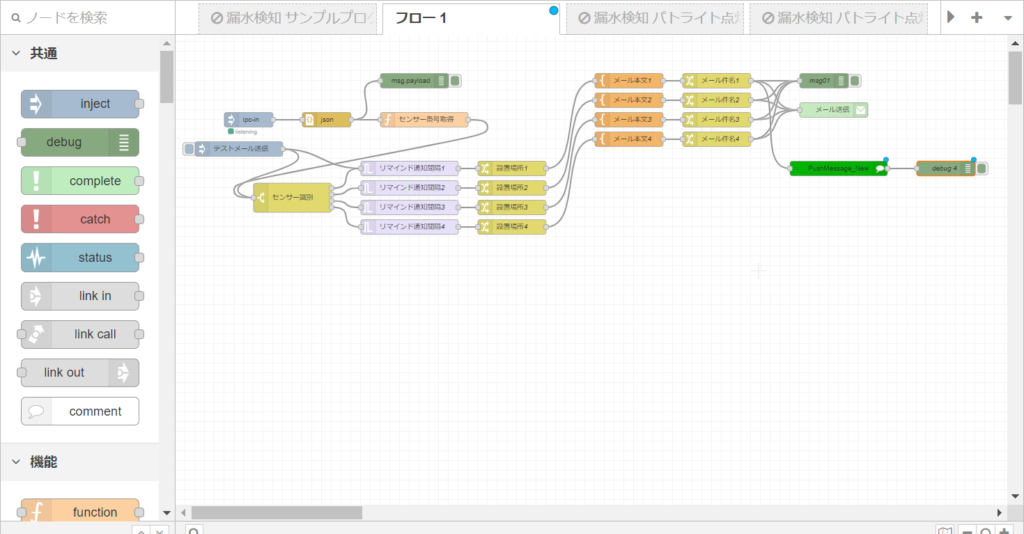
次にdebugノードを追加し、Push_Newの後ろに繋げます。
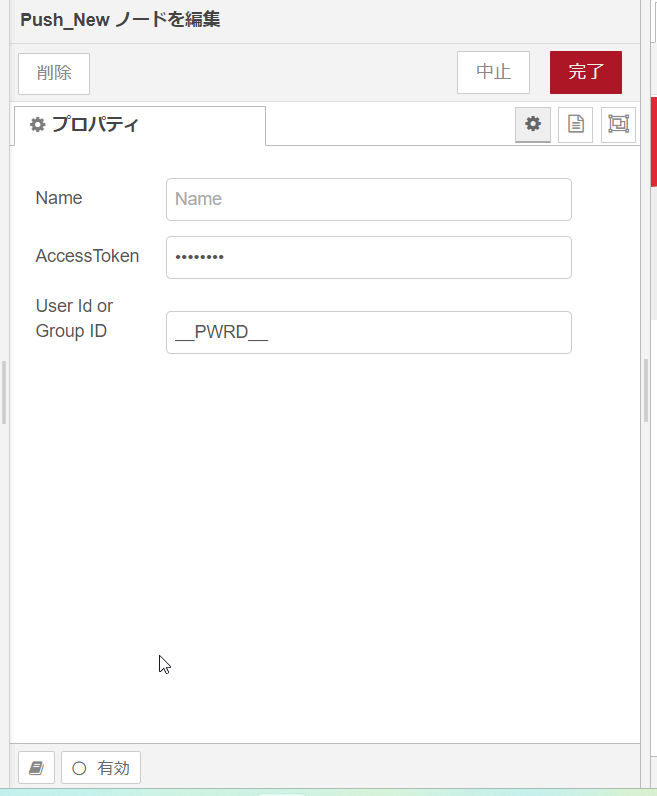
最後に、Push_New内の設定をしていきます。
Push_Newをダブルクリックで開きます。
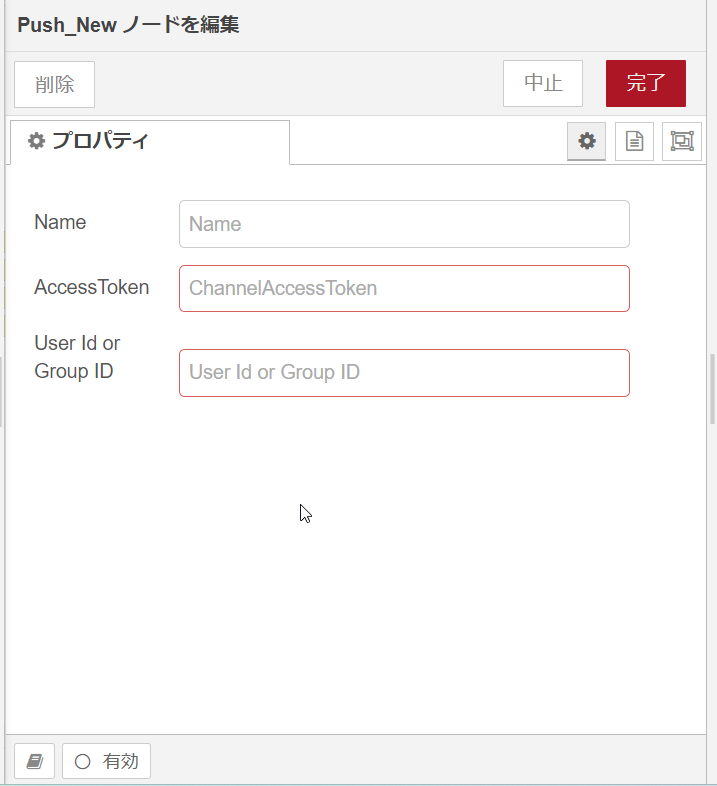
ここに、ユーザーIDとアクセストークンを入れるのですが、これはLINE Developersにあります。
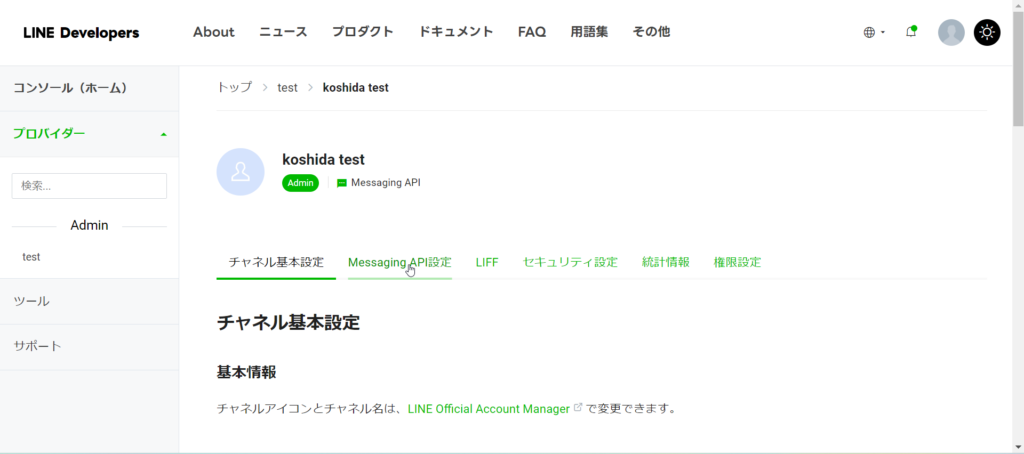
LINE Developersを開いて、作成したプロバイダーをクリックします。
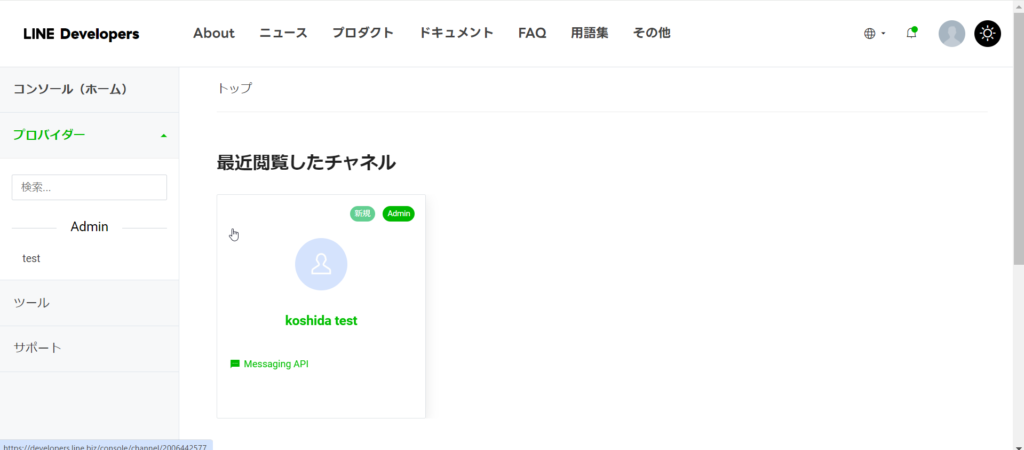
開くと、チャンネル基本設定が出てきますので、そのまま下にスクロールしてください。
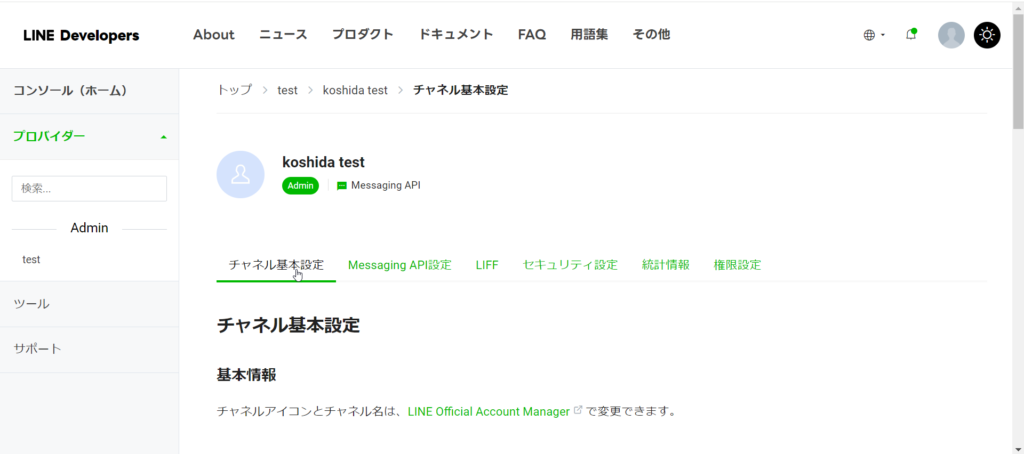
あなたのユーザーIDが出てきますので、これをnode-redのユーザーIDの部分に入れてください。
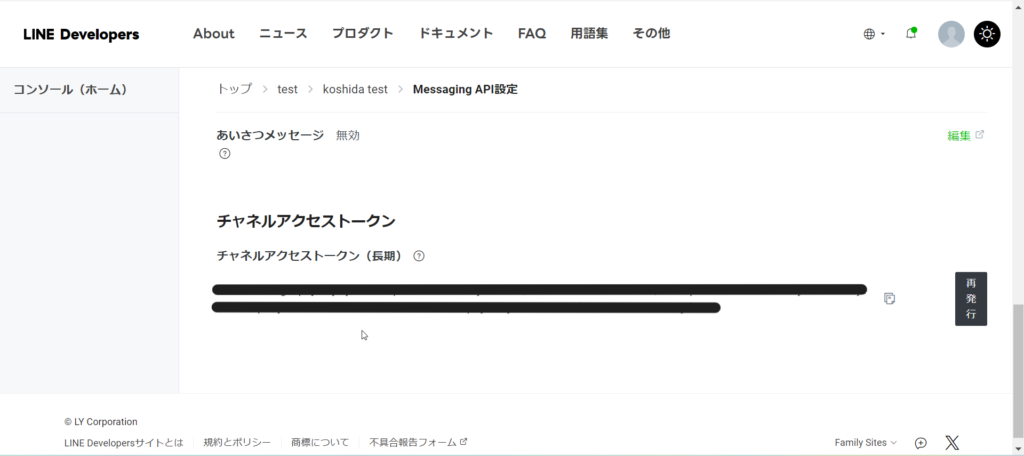
次にMessaging APIを開きます。
同じく下にスクロールするとチャンネルアクセストークンが出てきますので、発行をクリックします。
発行されたトークンをコピーしてnode-redのアクセストークンに貼ってください。
これで準備完了です。
デプロイを押し、injectノードの横をクリックします。
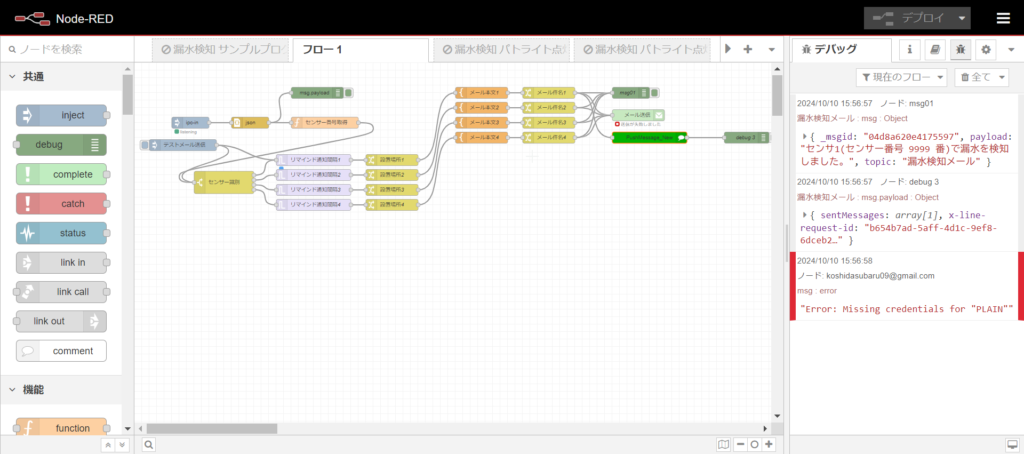
これでLINEにメッセージが届いてれば無事完了になります。