初台ラボ デジタルツインプロジェクト
PlayCanvasでボタンを作成し、そのボタンを押すとメッセージが表示されるようにします。
2D Screenの追加
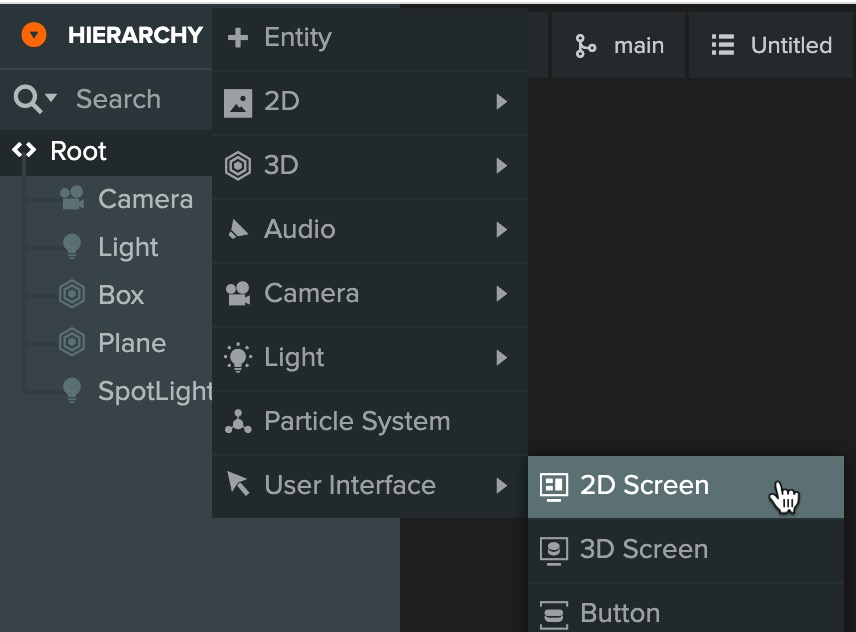
HIERARCYから2D SCREENを追加します。
Buttonの追加
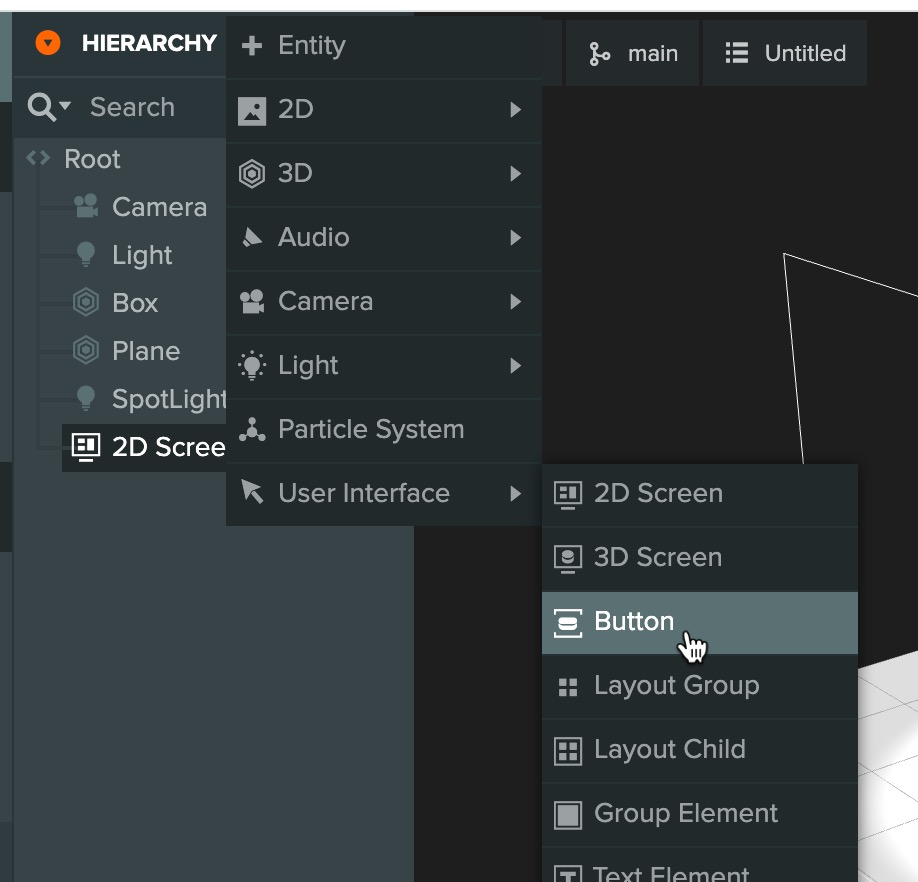
2D SCREENを選択した状態で、Buttonを追加します。
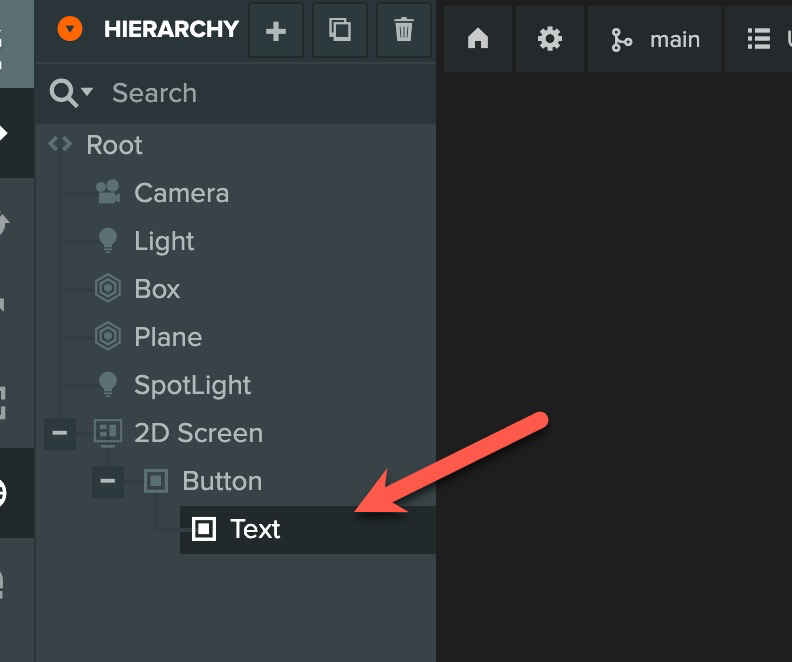
Buttonを展開してTextを表示させてクリックします。
PlayCanvasはFontデータを追加しないと文字を表示させることができないので、他のプロジェクトからもってきます。
他のプロジェクトからFontデータをコピー&ペースト
こちらのTutorialプロジェクトを開きます。
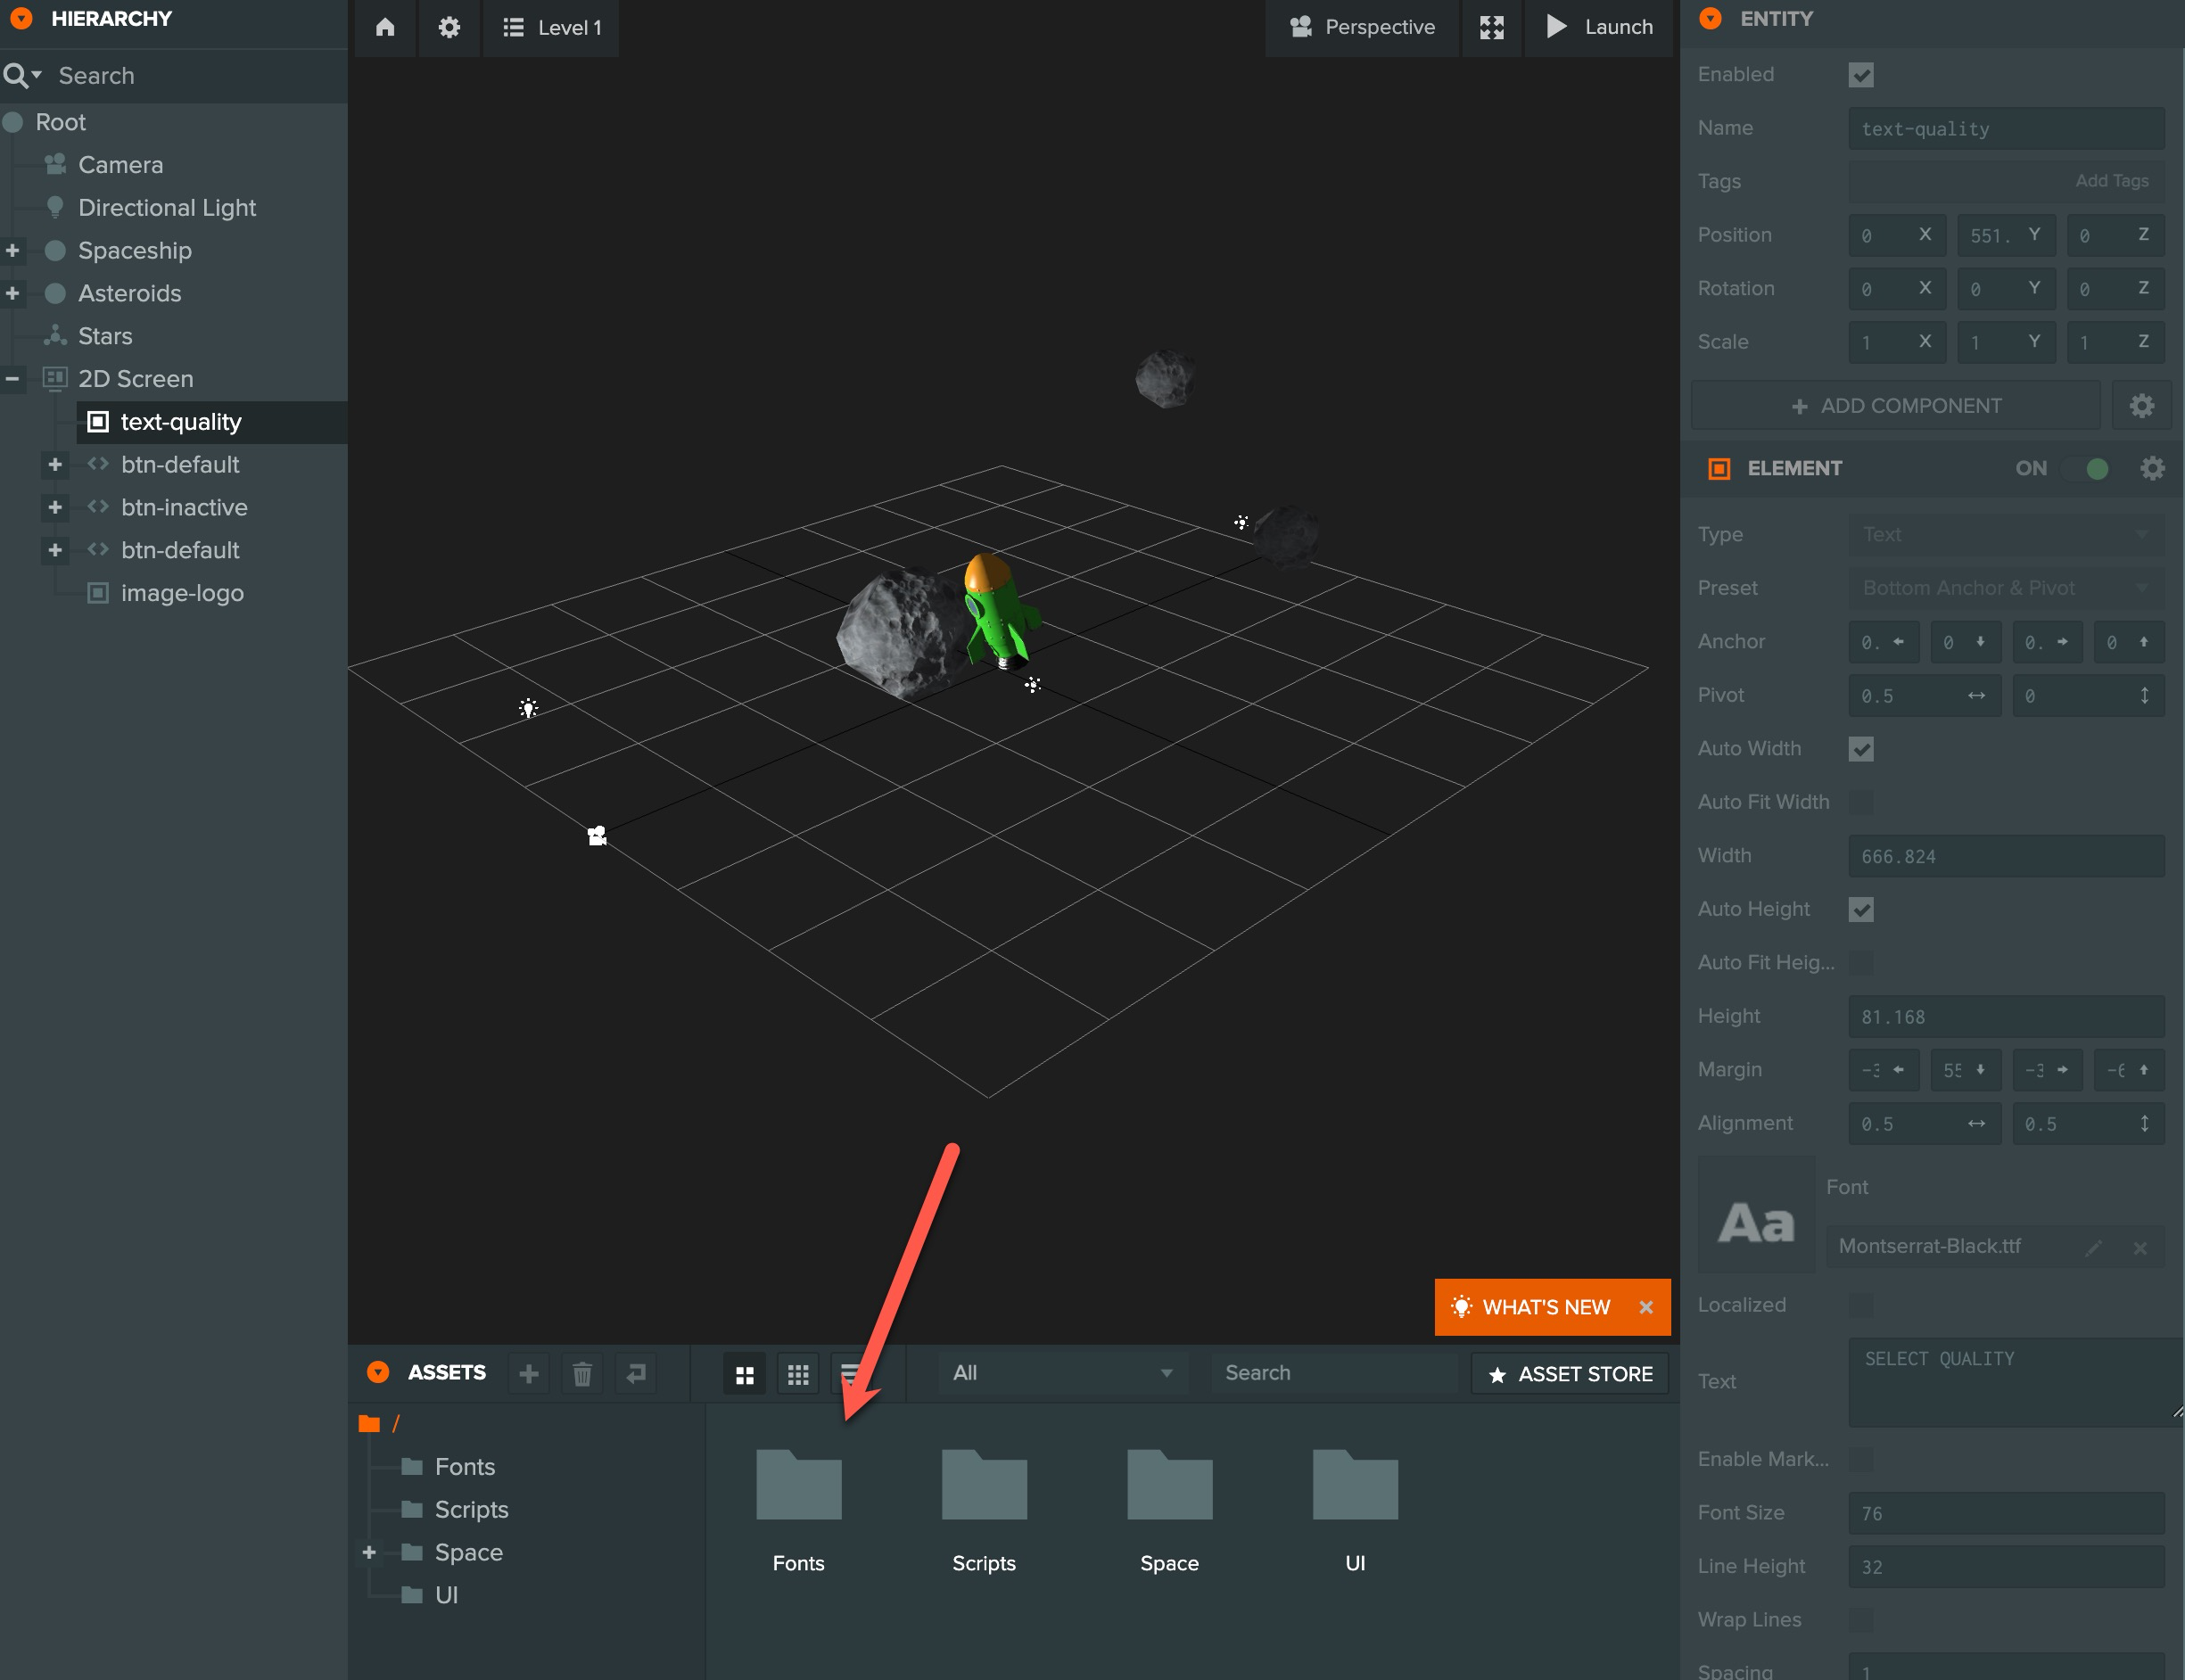
ASSETSにあるFontsフォルダをクリック。
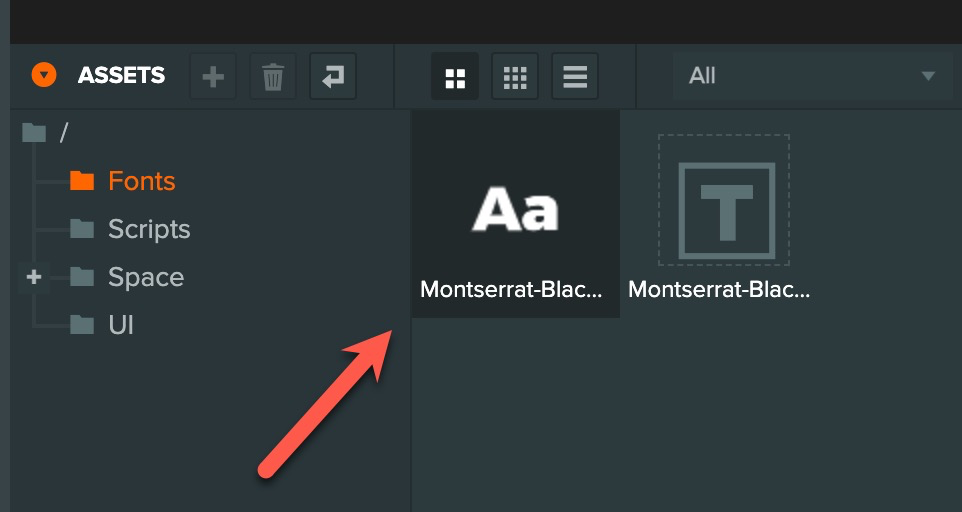
こちらのファイルをコピーします。
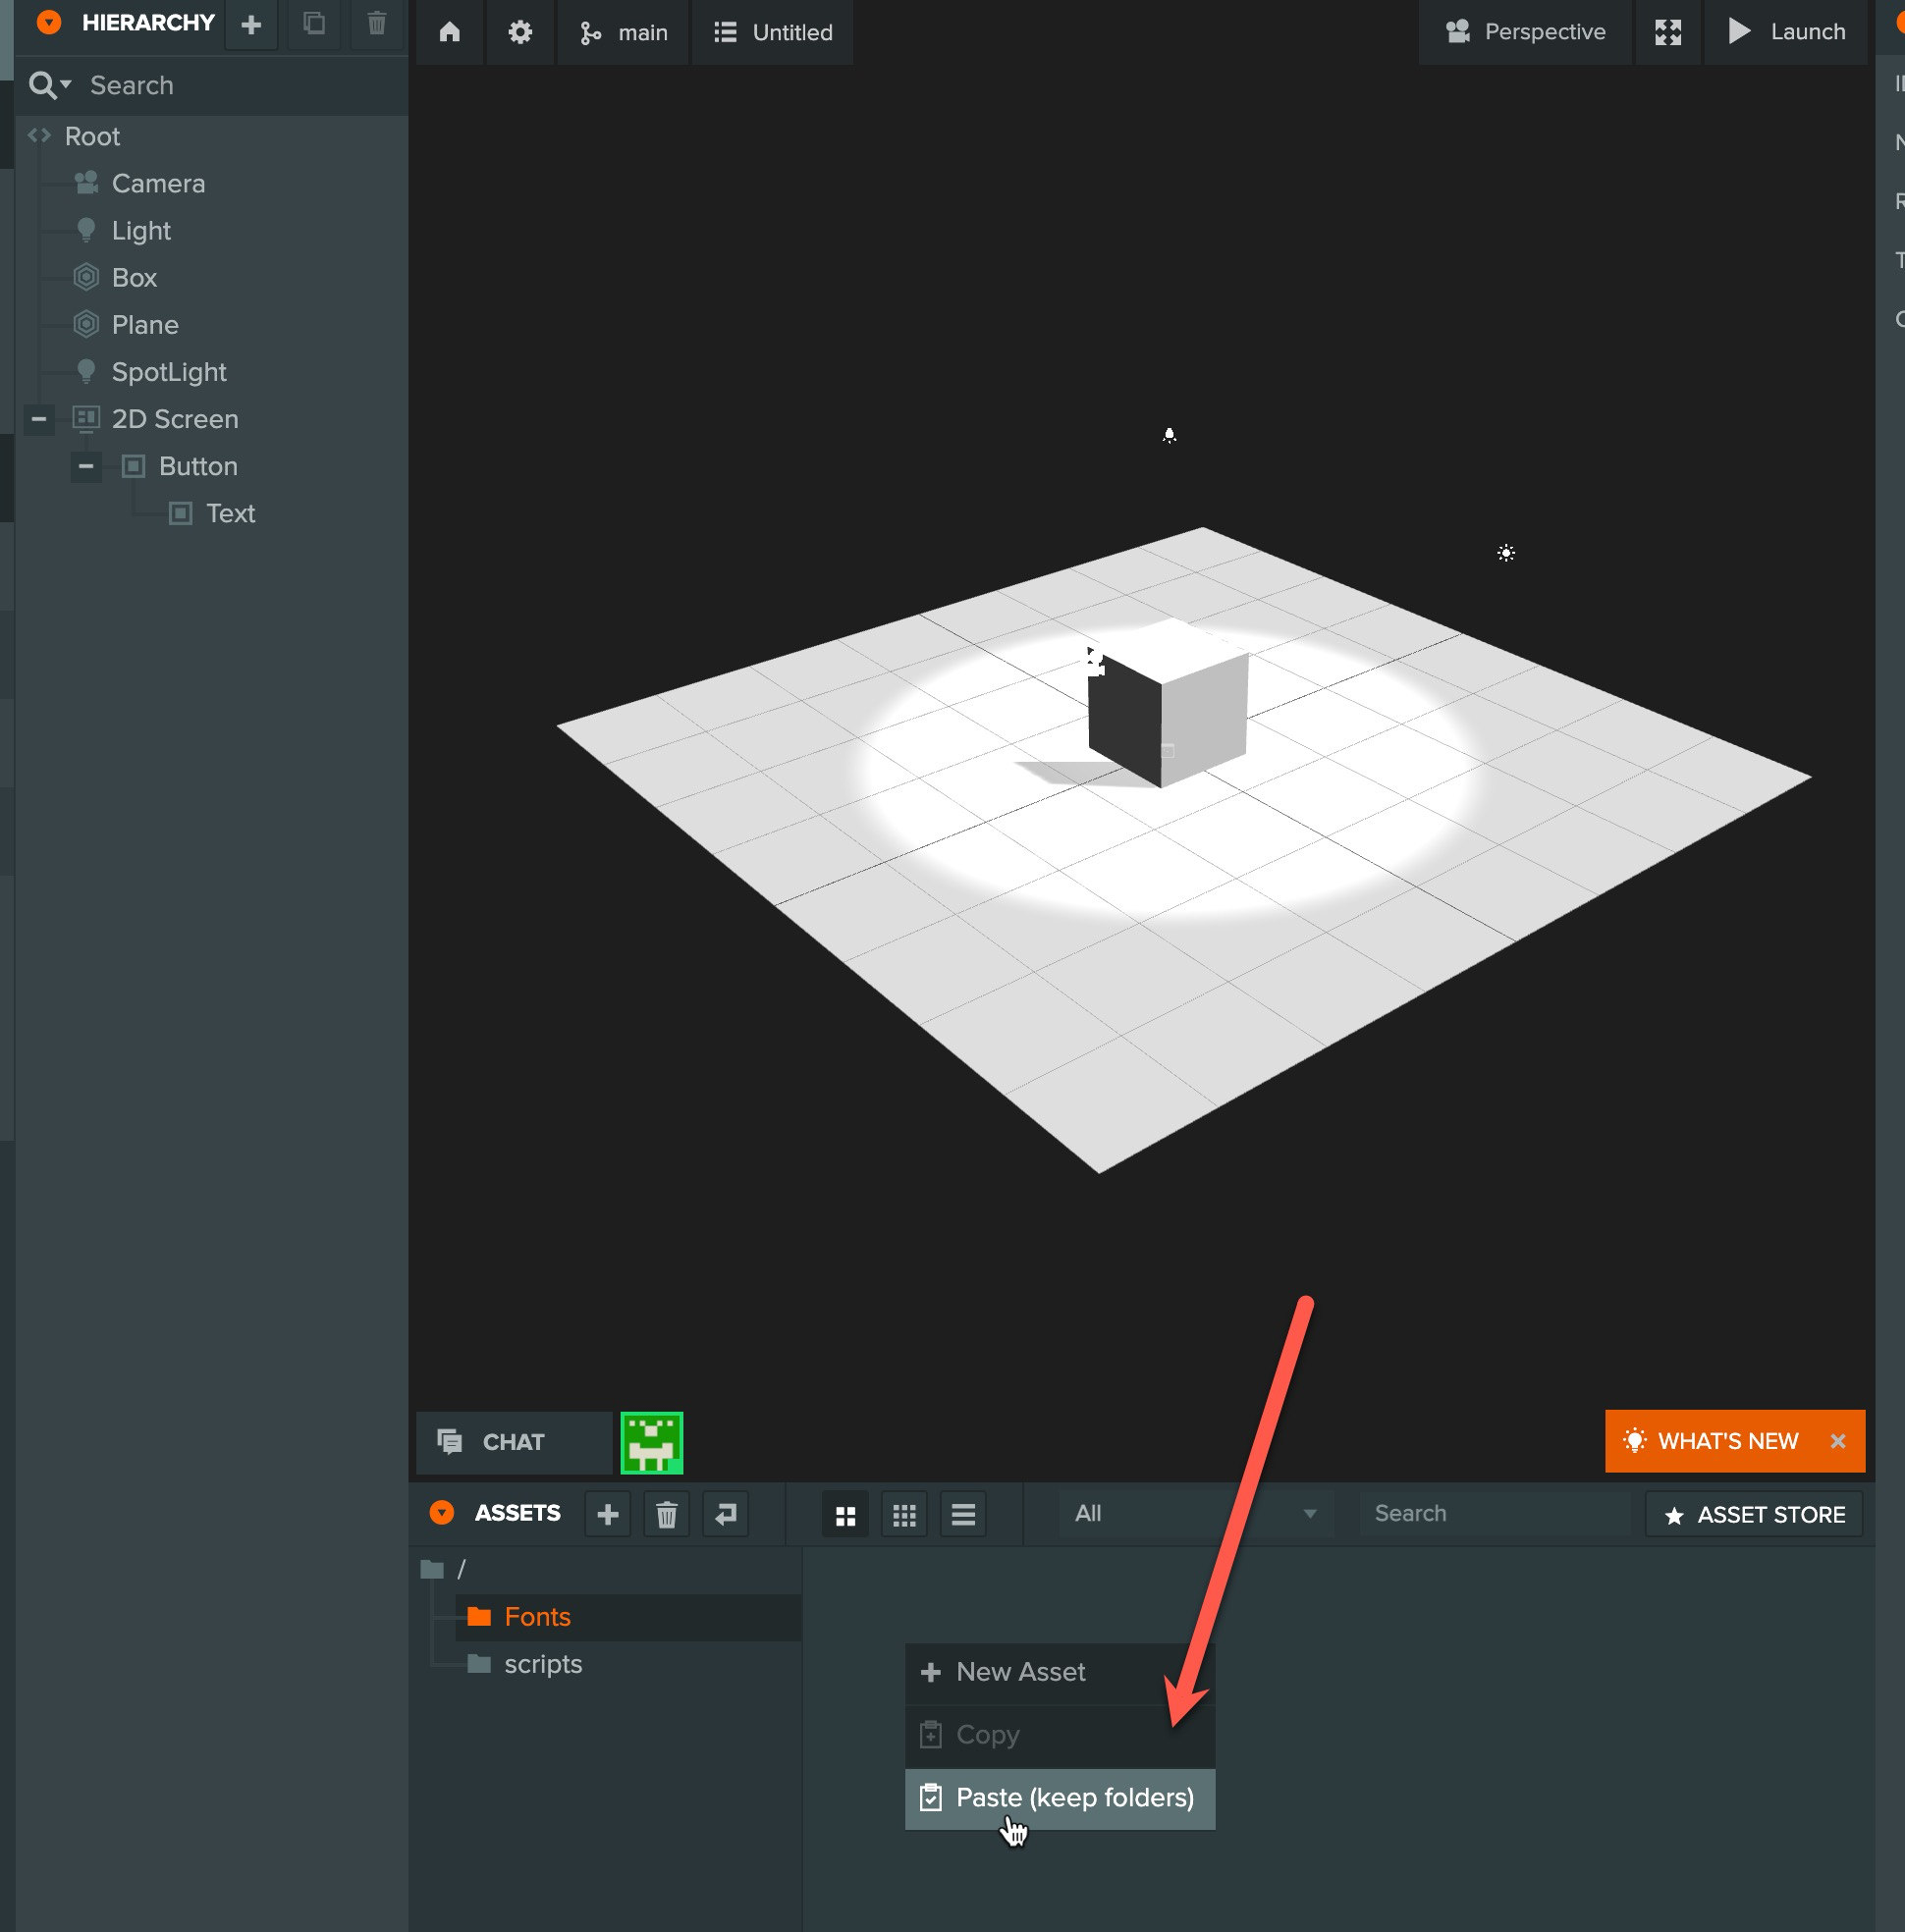
初台ラボのプロジェクトに戻り、ASSETSでFontsというフォルダを作成。右クリックでPasteします。
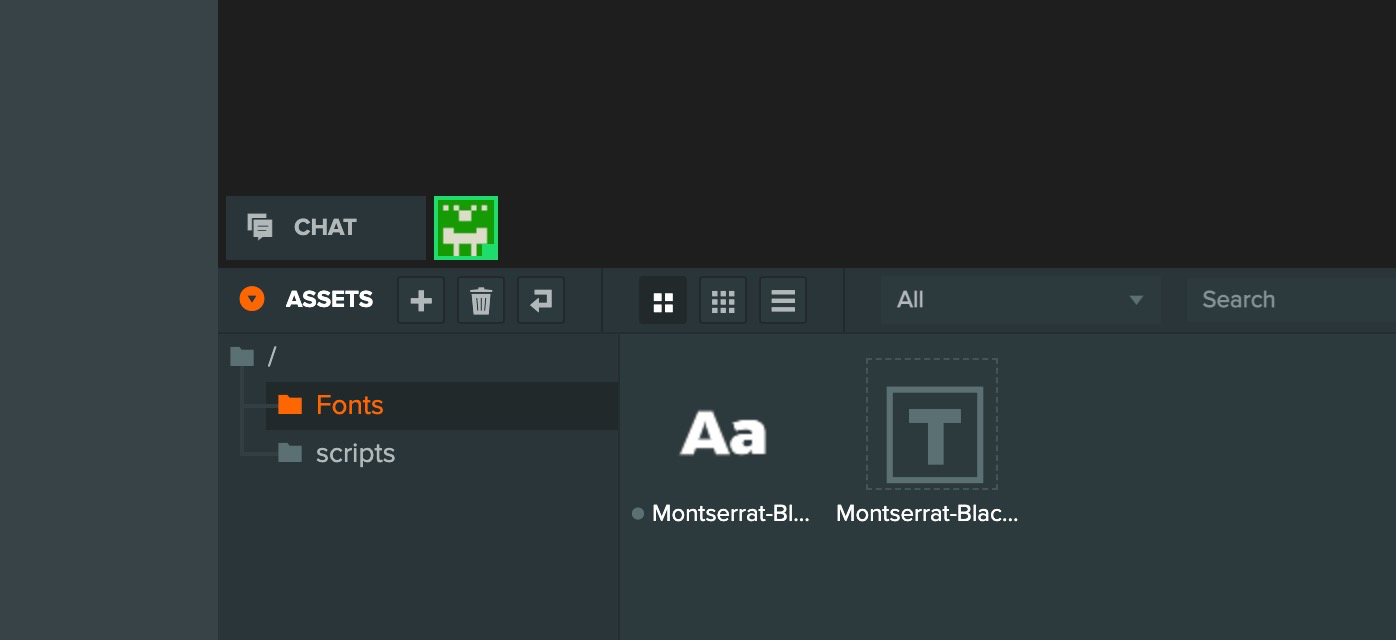
Fontファイルが準備できました。
Button/TextにFontを追加
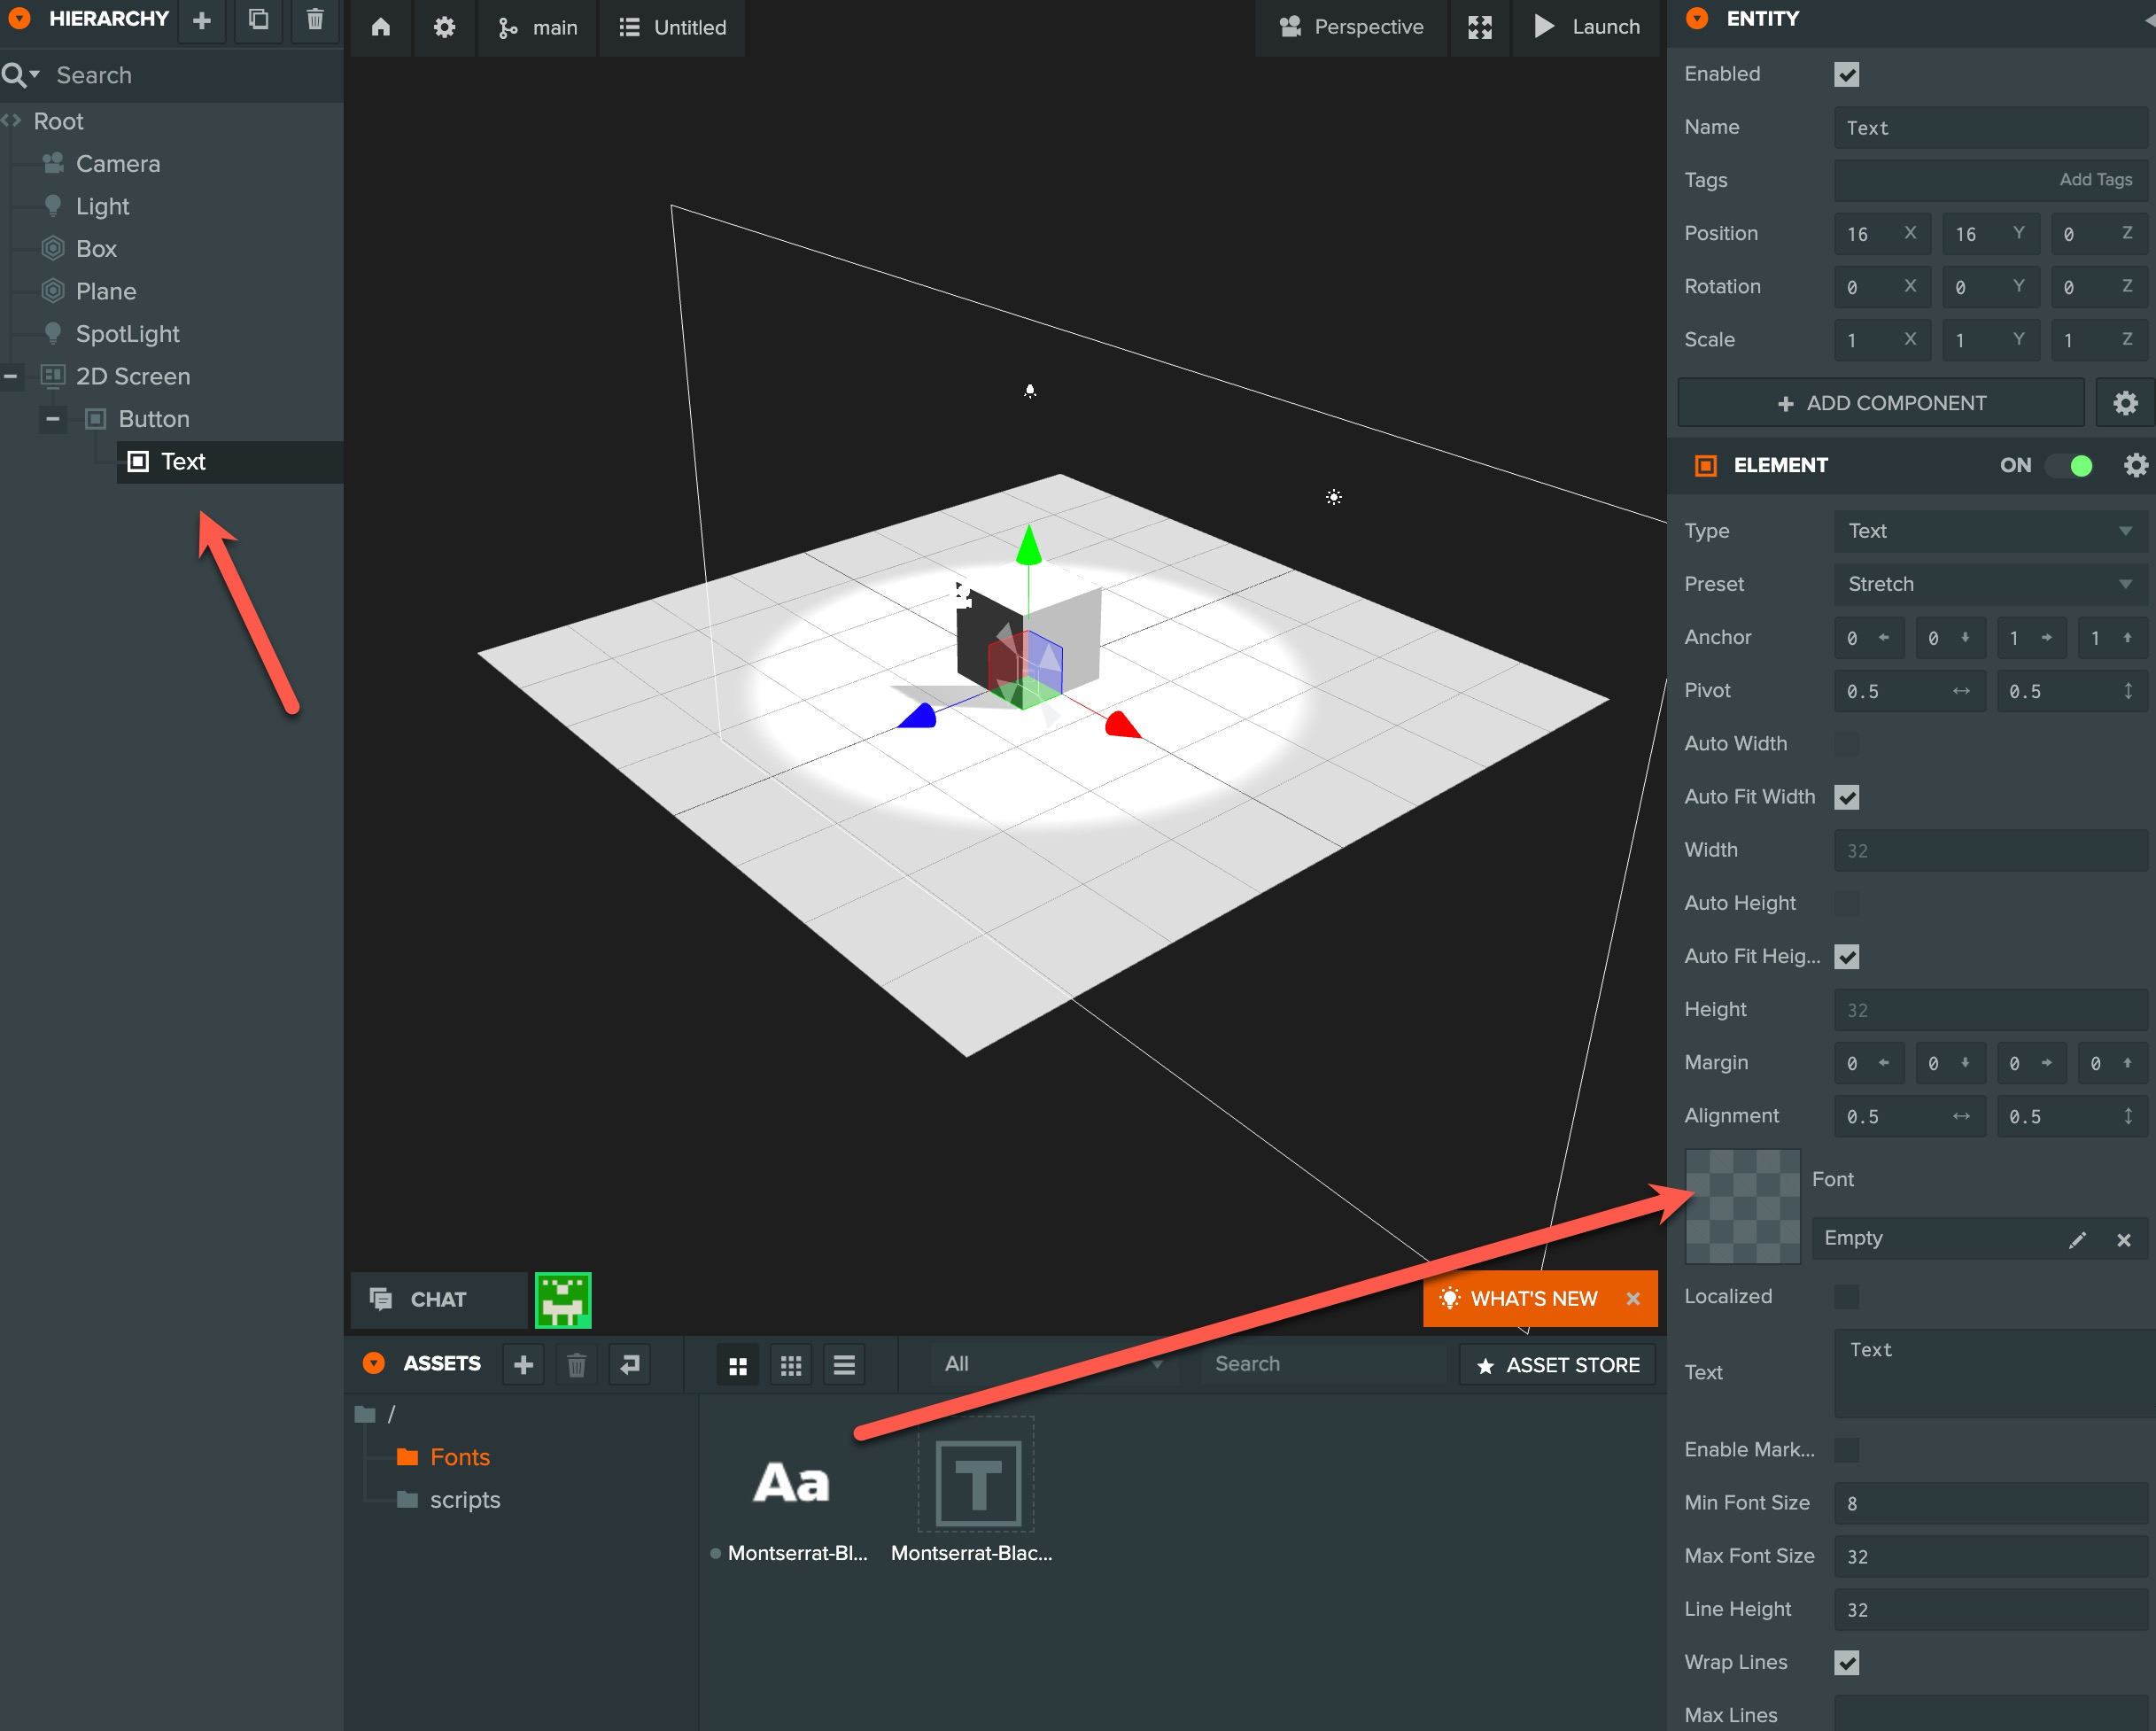
HIERARCHYでButton/Textを選択、EntityのElementの中のFontのところに、先程追加したFontファイルをAssetからドラッグ&ドロップします。
現状確認
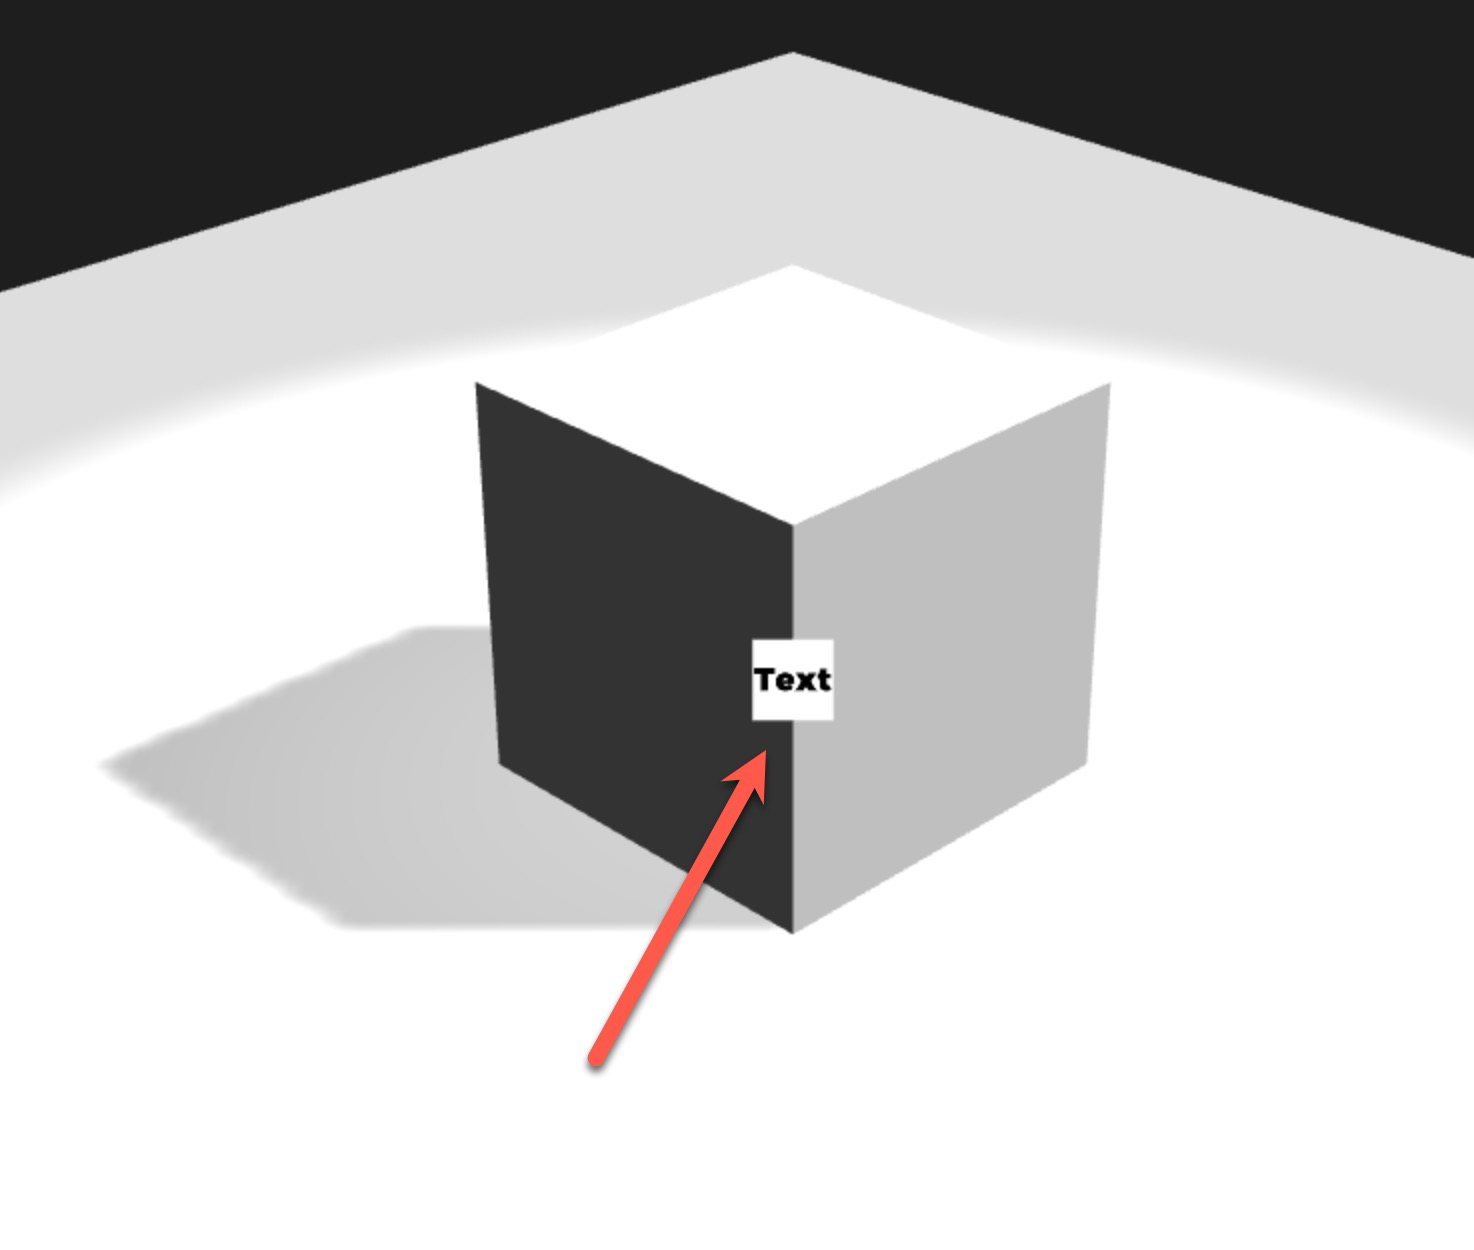
TEXTと文字が表示されました。
ボタンの調整
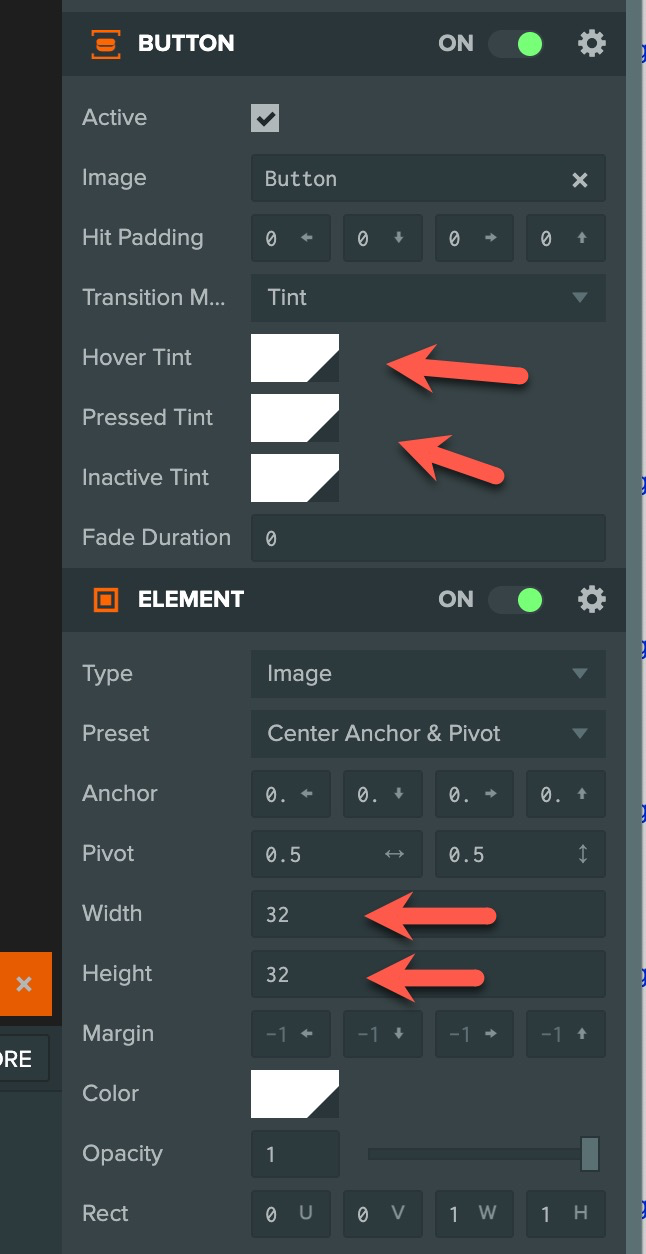
HIERARCHYでButtonをクリック。Entityをいじることで、ボタンをHoverした時の色やサイズの調整ができます。
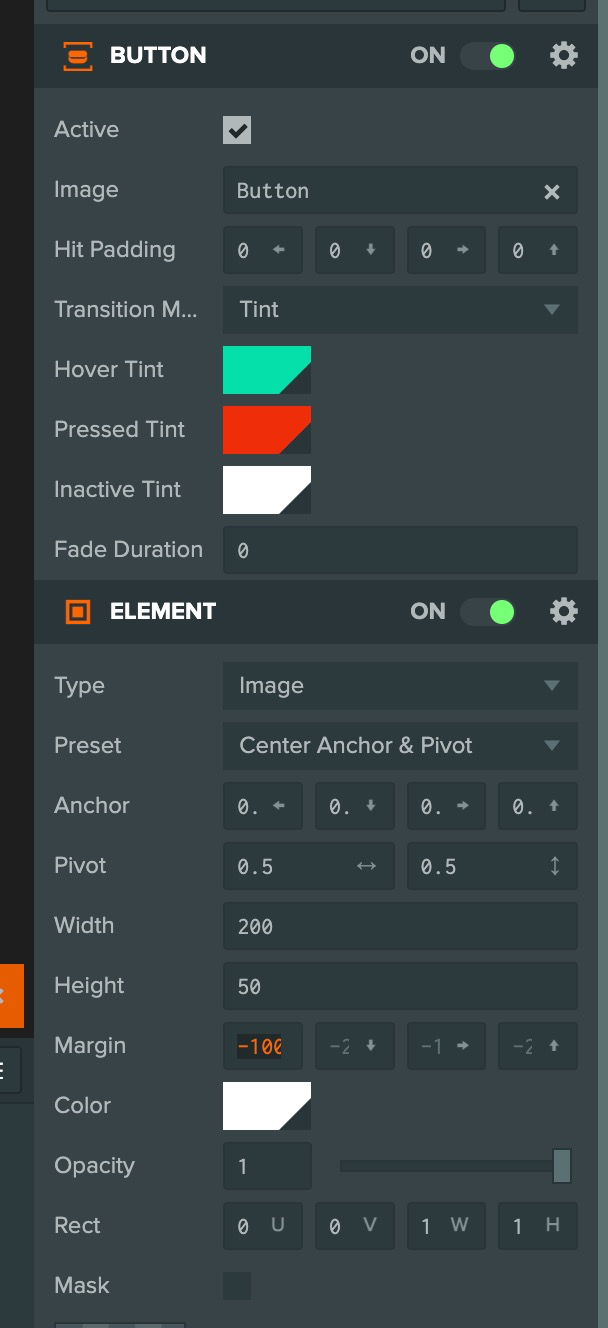
このように修正。
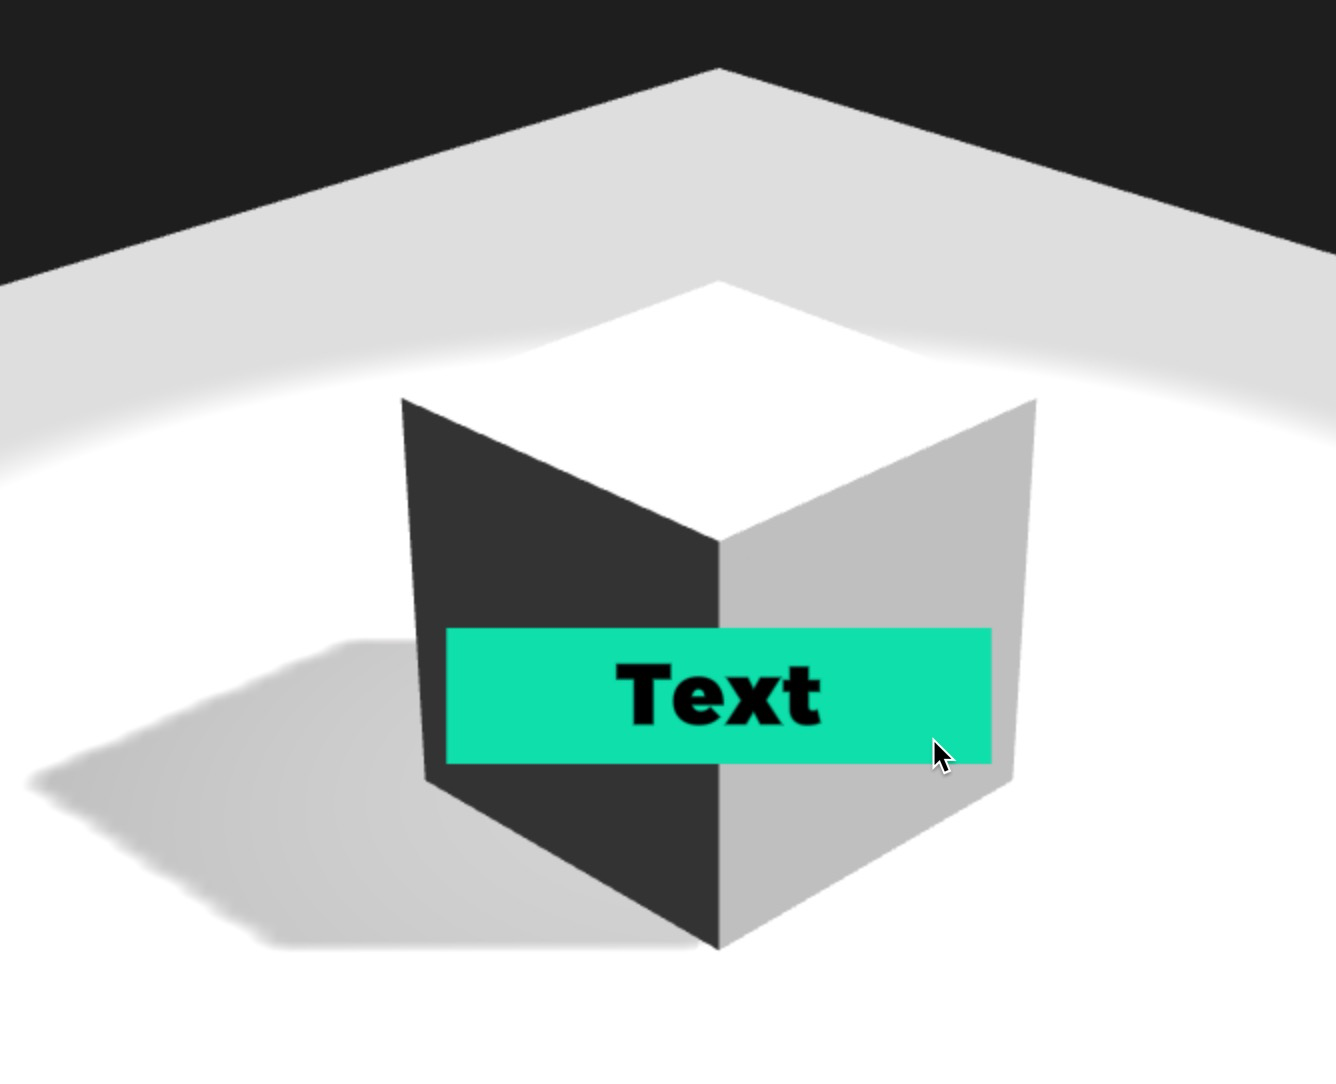
ボタンを押すと反応するのが確認できます。
ボタンにスクリプトを設定する
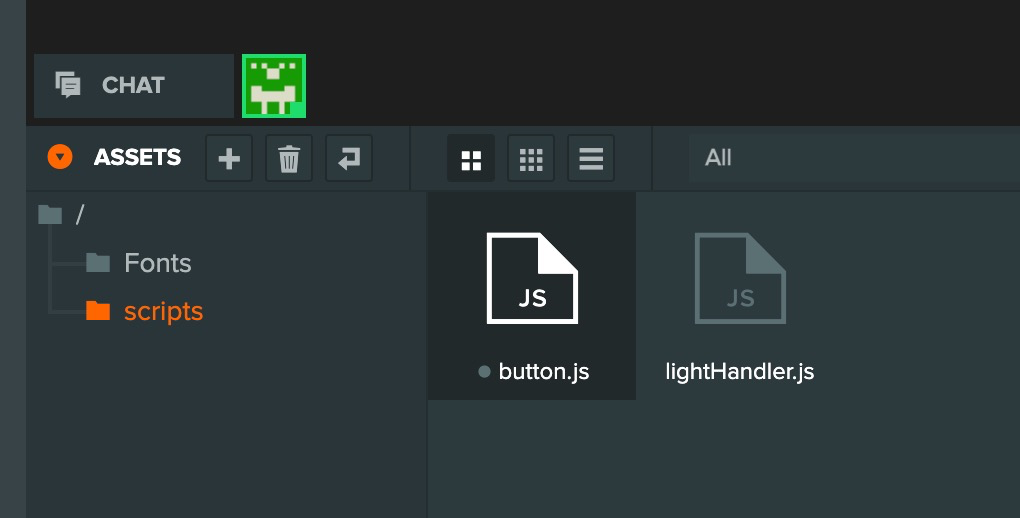
ASSETSのScriptsにbutton.jsを追加、下記とおりとします。
var Button = pc.createScript('button');

Button.attributes.add("message", {type: "string", default: "message"})


// initialize code called once per entity
Button.prototype.initialize = function() {

     // タッチできる端末だったら
    if(this.app.touch){
         // element componentがタッチされたらattributes: messageアラートとして表示する
        this.entity.element.on(pc.EVENT_TOUCHSTART, () => this.show(this.message))
    }else{
         // element componentがクリックされたらattributes: messageアラートとして表示する
        this.entity.element.on("click", () => this.show(this.message))
    }

};

// update code called every frame
Button.prototype.update = function(dt) {

};

Button.prototype.show = (message) => alert(message)
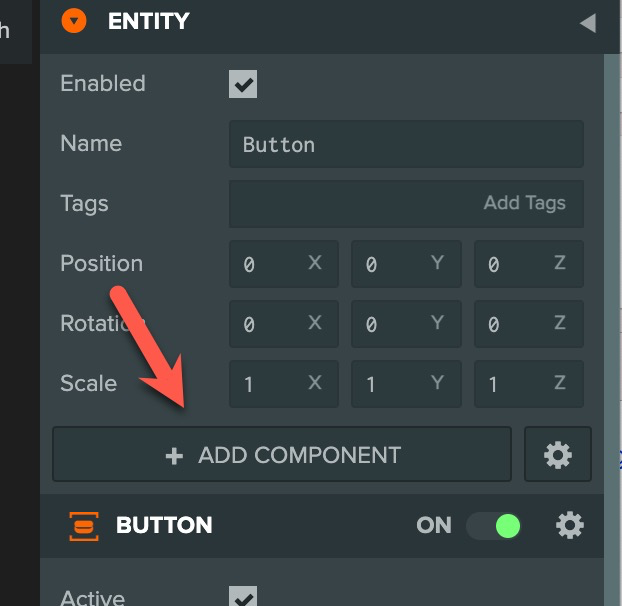
HIERARCHYでButtonをクリック。EntityでADD CONPONETからSCRIPTを追加。
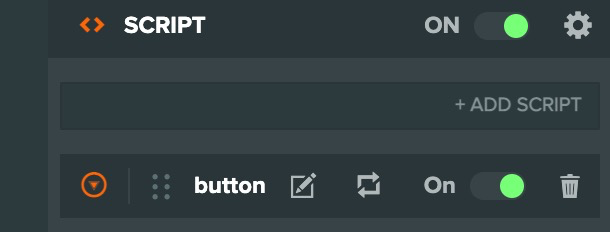
button.jsを追加。
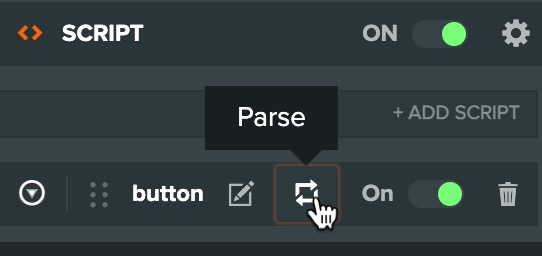
PARSEを押します。
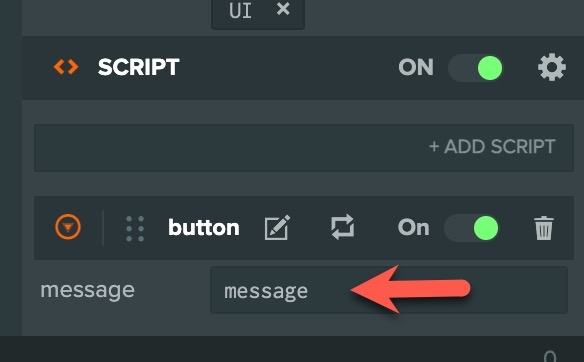
表示させるメッセージが変更できるので、好きに変更してください。
実行確認
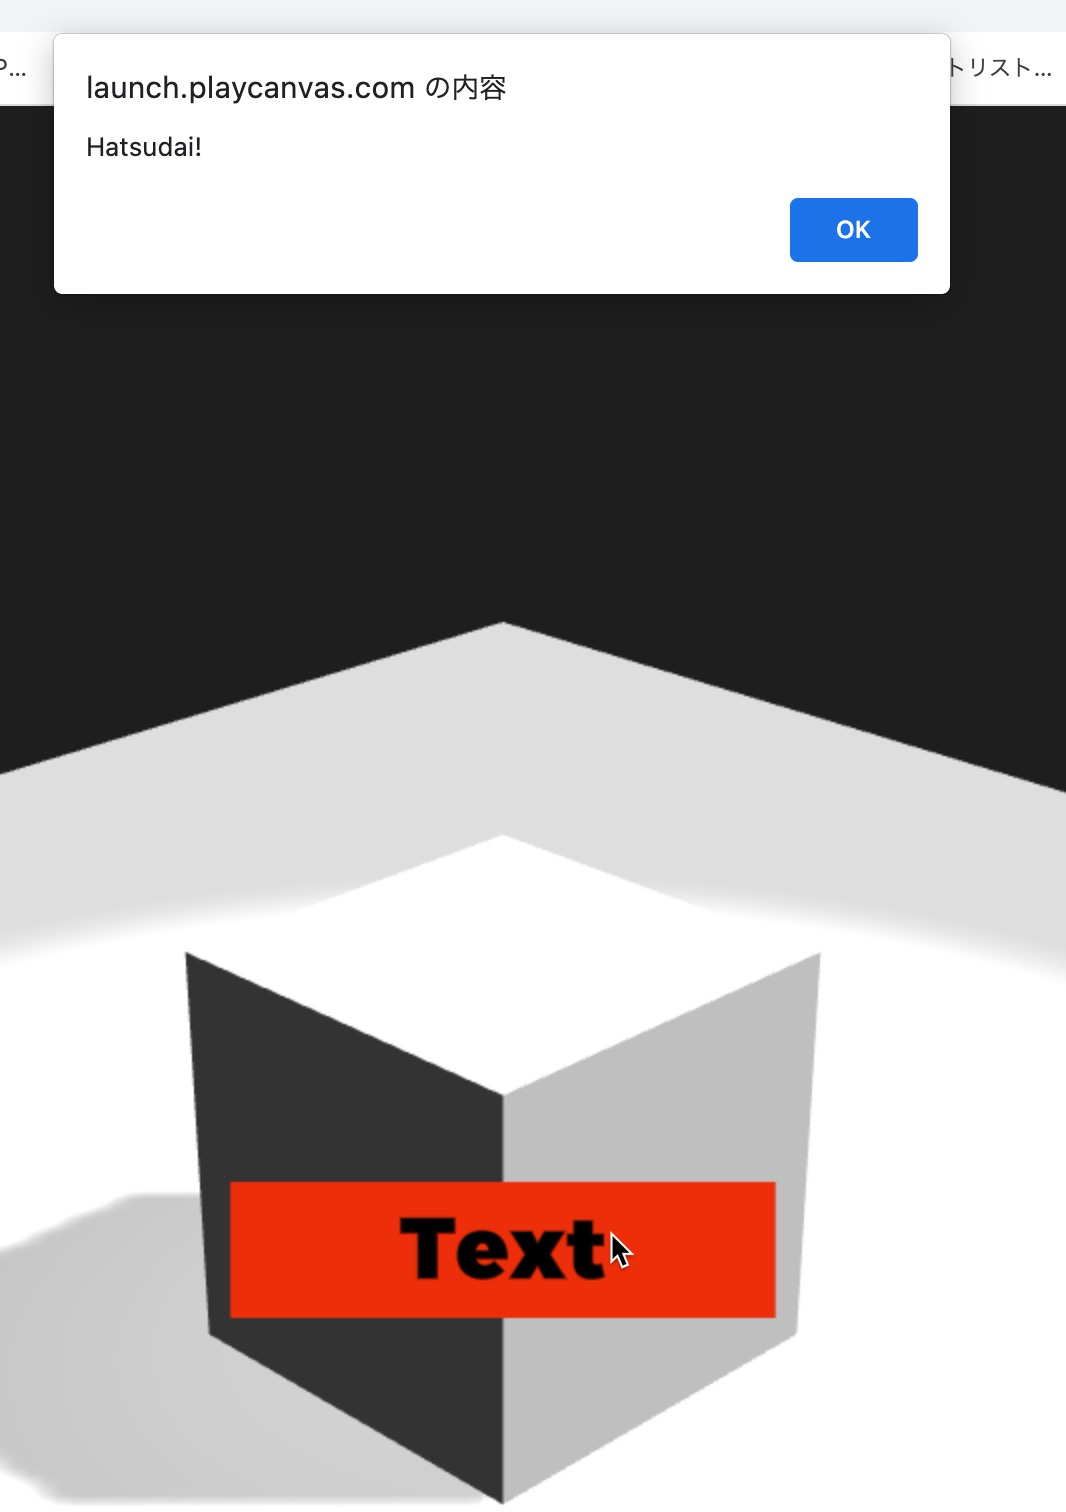
ボタンを押すと、このようにメッセージが表示されればOKです。
