今回はABLICのPH-Bシリーズを使って、異常検知された際にTeamsに通知が行くよう設定していきたいと思います。
teamsの設定
teamsのメッセージ送信設定は、個人チャットやグループではできず、チーム内でのみ設定できます。
そのため、まずチーム作成をします。
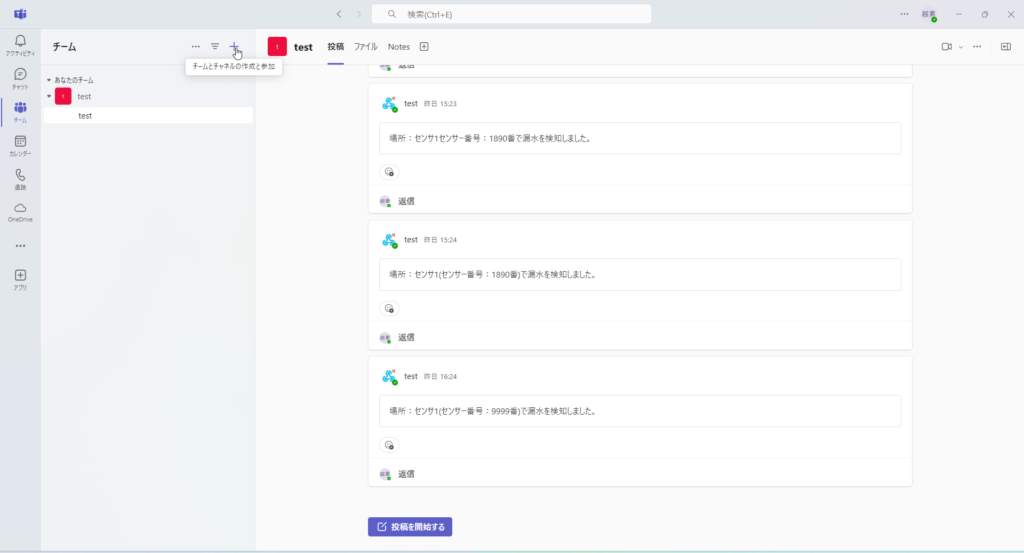
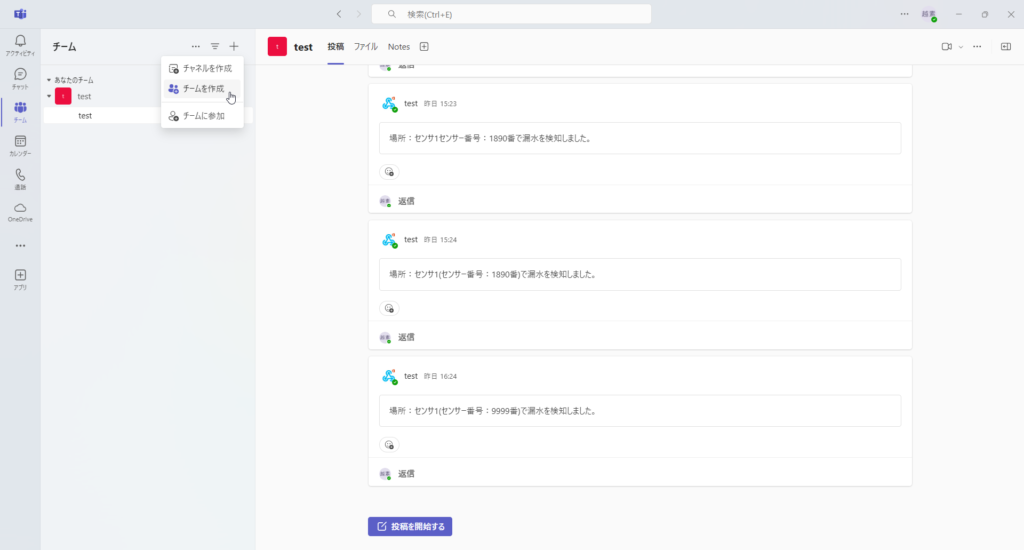
左のタブからチームを選択し、+ボタンでチームを作成を選択します。
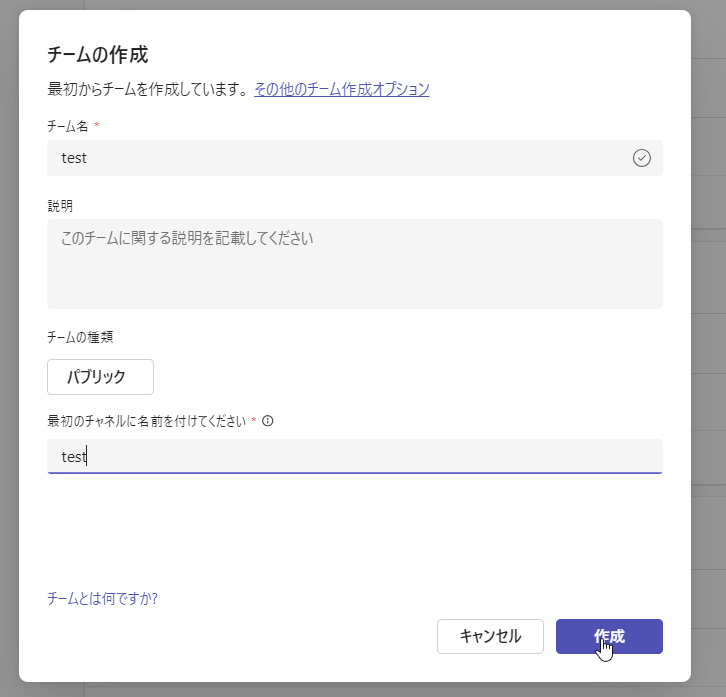
チーム名などは何でも大丈夫です。
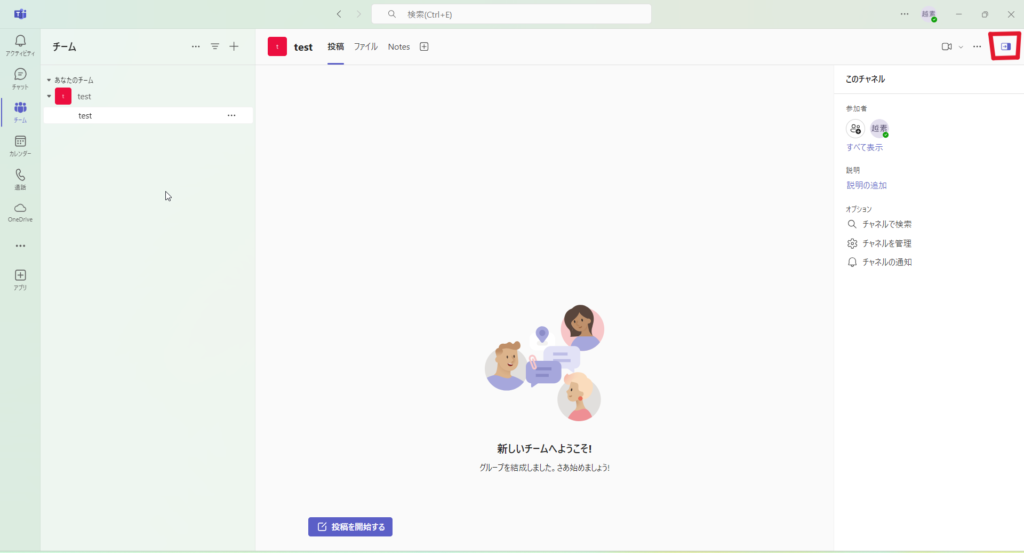
作成しましたら、下図の赤い四角い部分をクリックします。すると、右側にタブが出てきます。
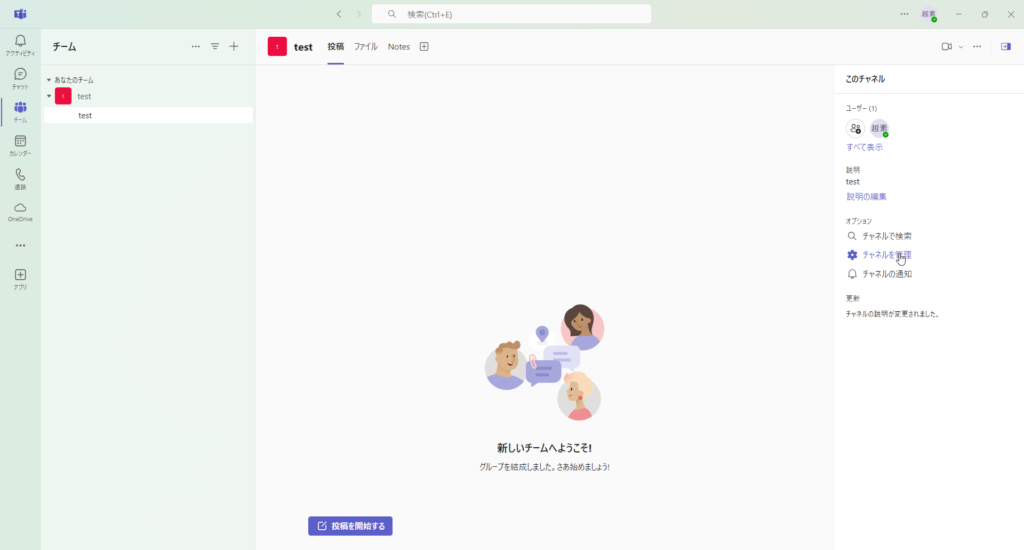
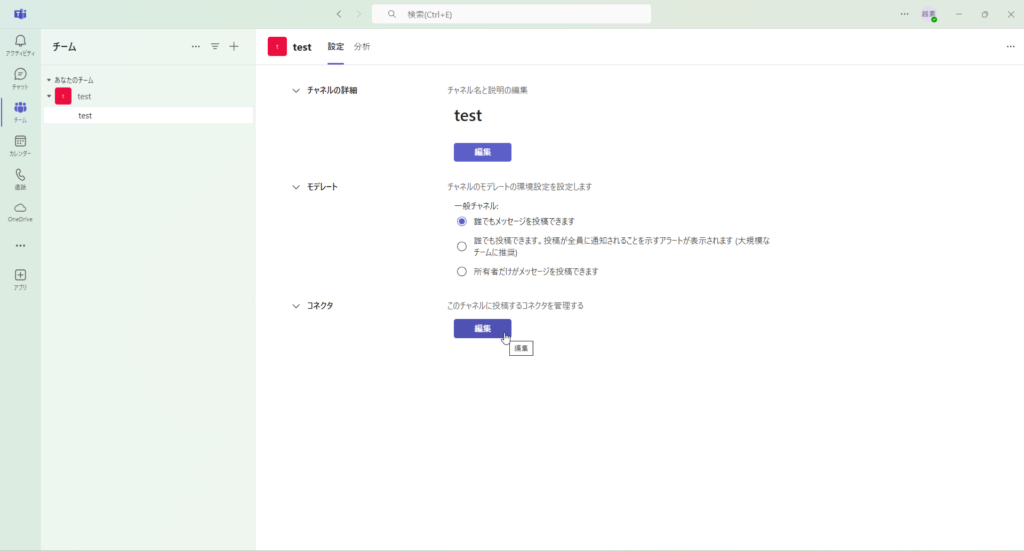
出てきたタブのチャンネルを管理をクリックします。一番下にあるコネクタの編集をクリックしてください。
「自分はこの後のすべての作業で、次のページに進まないことが何度かあり間違ったかと思いましたが、気長に待ったり何度かやり直したらできました。特に何もせずただやり直しただけです。」
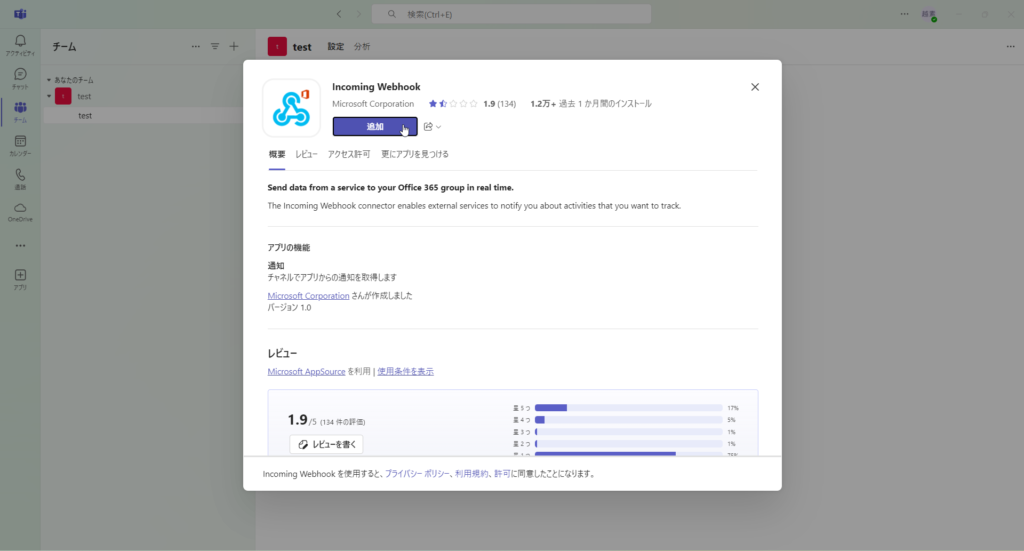
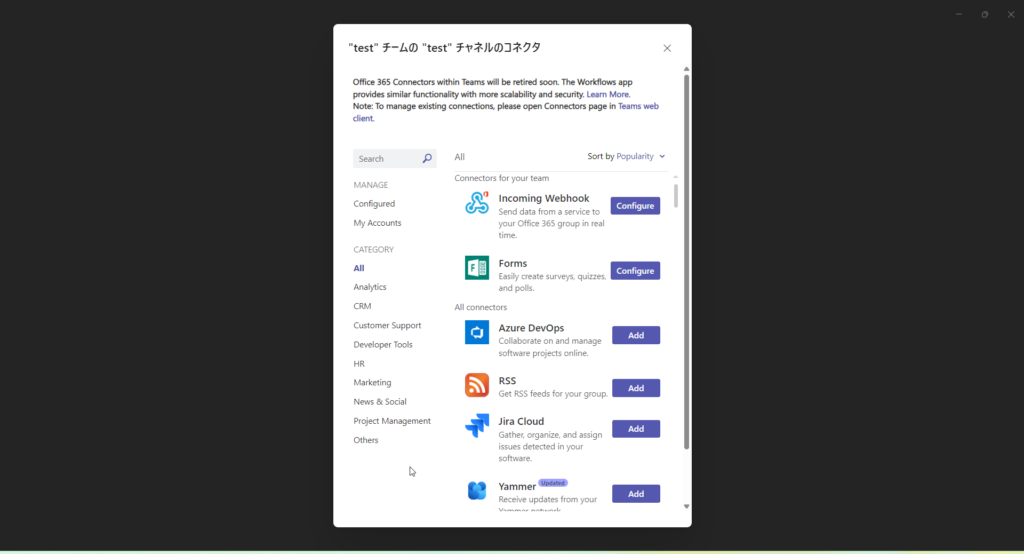
すると複数のコネクタが出てきますので、左の検索欄から「incoming」と入れると「Incoming Webhook」が出てきますので、Addをクリック。
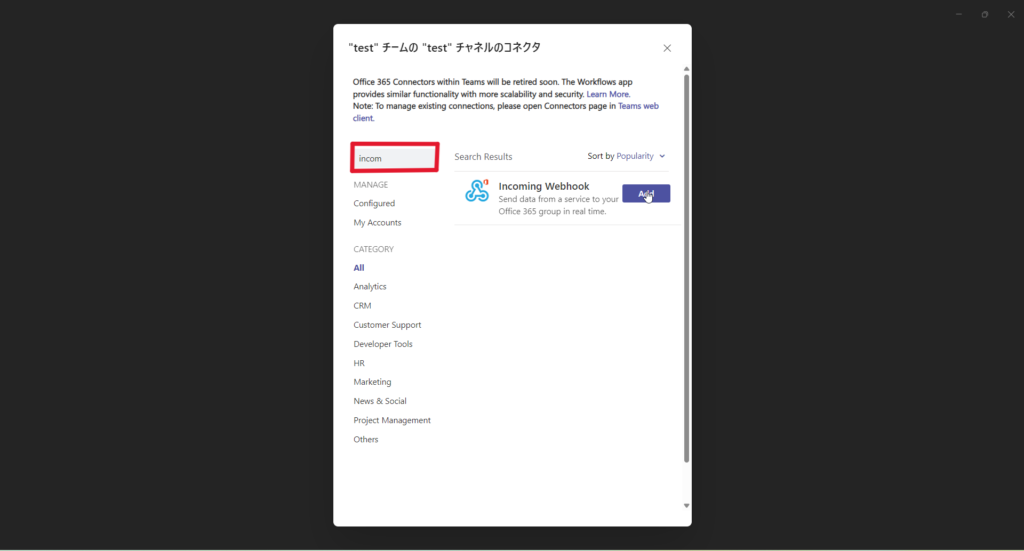
追加をクリックします。
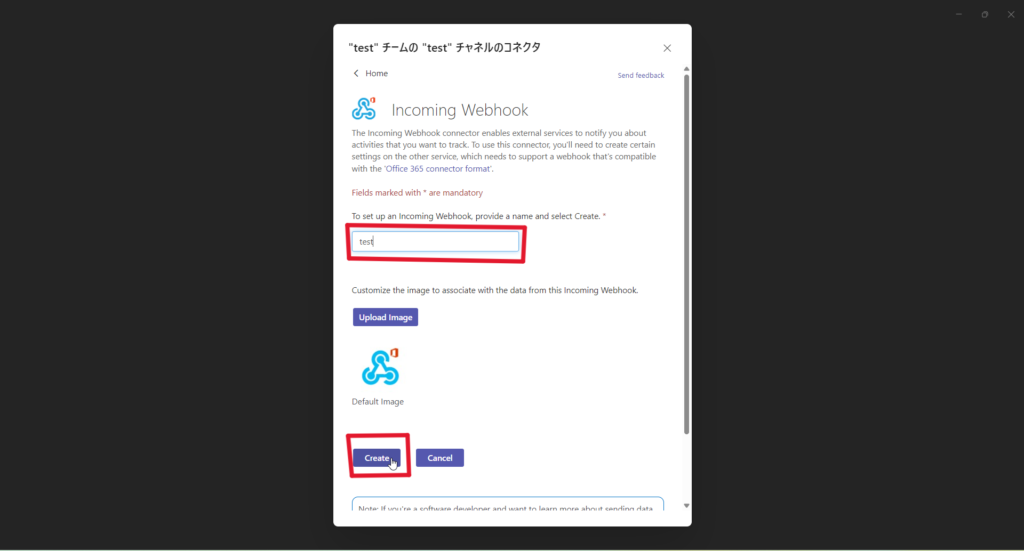
下図のページになりましたら、赤い四角の中に「追加したいチャンネル名」をいれてCreateをクリックします。
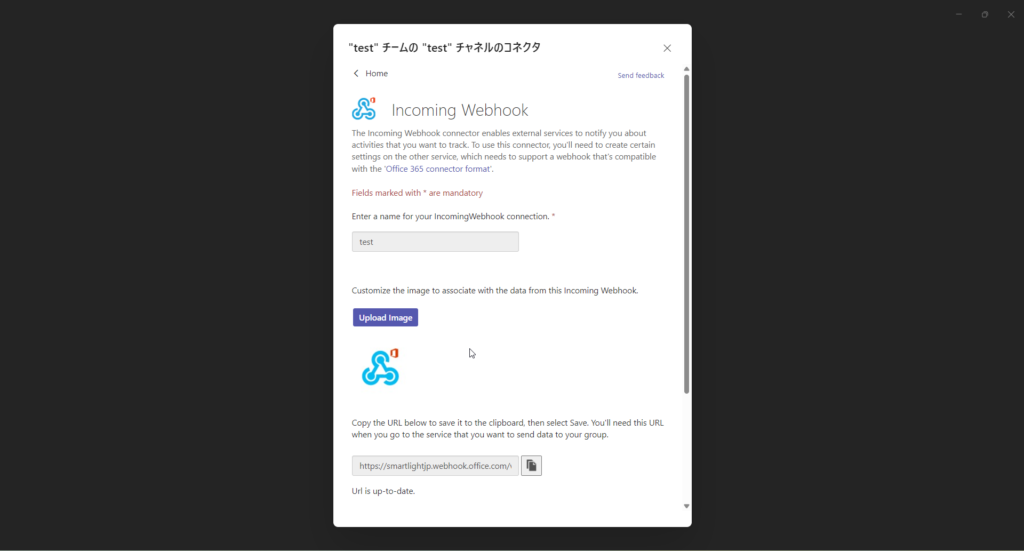
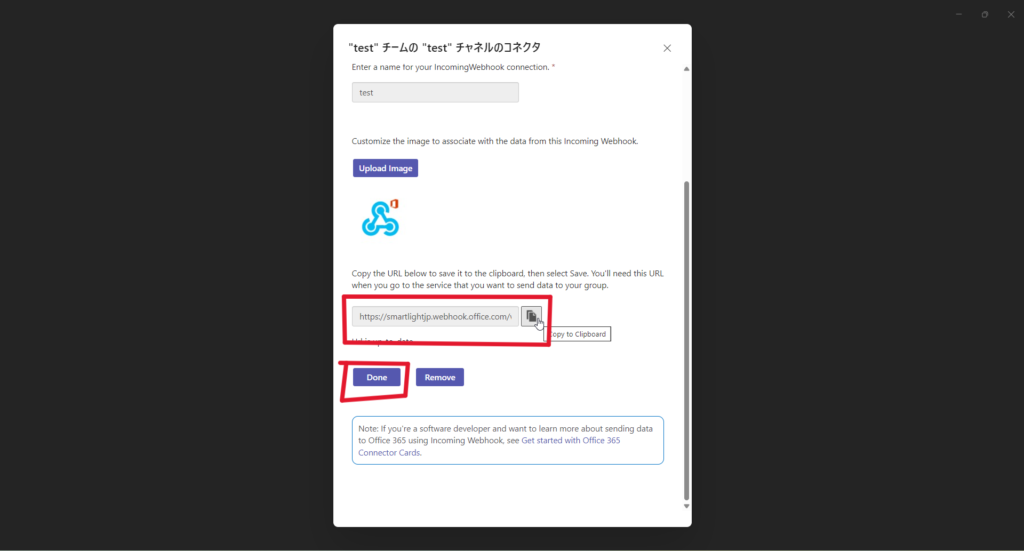
すると下にURLが発行されますので、これをコピーしてメモしてください。メモが終わったら、下にあるDoneをクリックします。
すると元のページに戻ってきますので、Incoming WebhookがConfigureとなっていることを確認し、ページを閉じてください。
これでTeamsの設定は完了になります。
OpenBlockの設定
今回はPH-Bの中身を変えていきます。
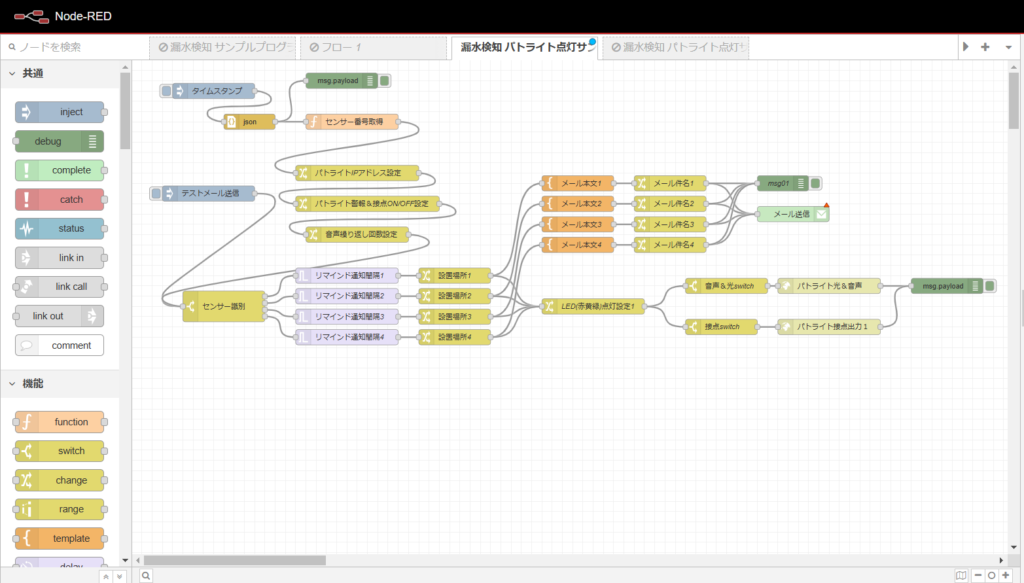
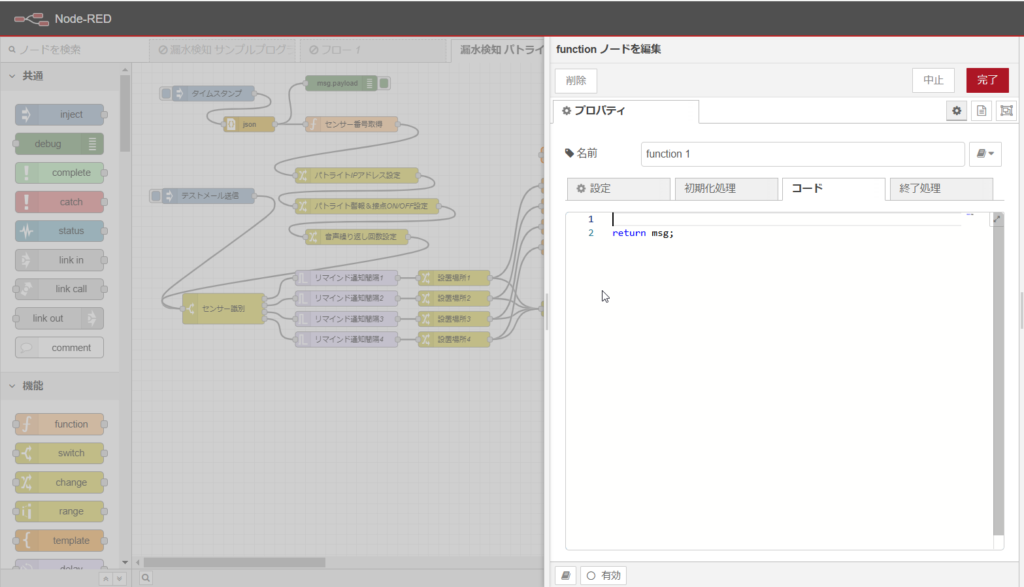
まずは必要な下図の3つのノードを追加していきます。
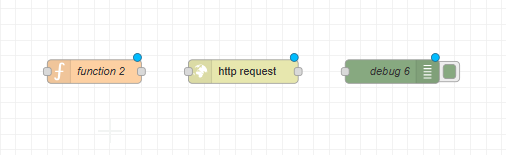
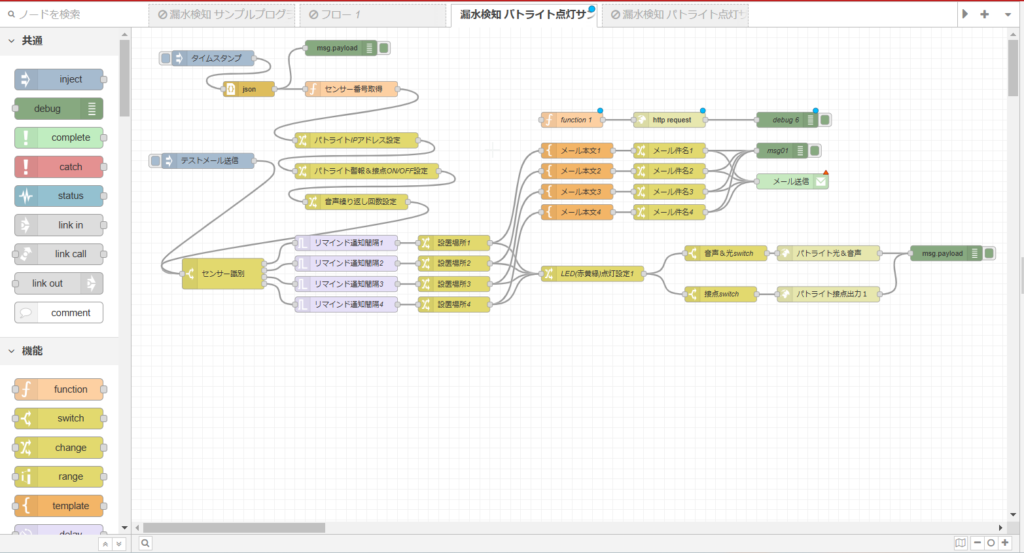
3つのノードをメール本文1の上に追加し、ノードを接続します。
次にfunctionノードの中身を開き、下記の内容を書きます。
このfunctionの理由は、webhookではJavaScriptで送るのが基本のためメール本文が使えないためです。
const location = msg.payload.sensor_location;
const data = msg.payload.data_Dec;

const test = {"text": "場所:" +location+ "(センサー番号:" +data+ "番)で漏水を検知しました。"};
msg.payload = test;
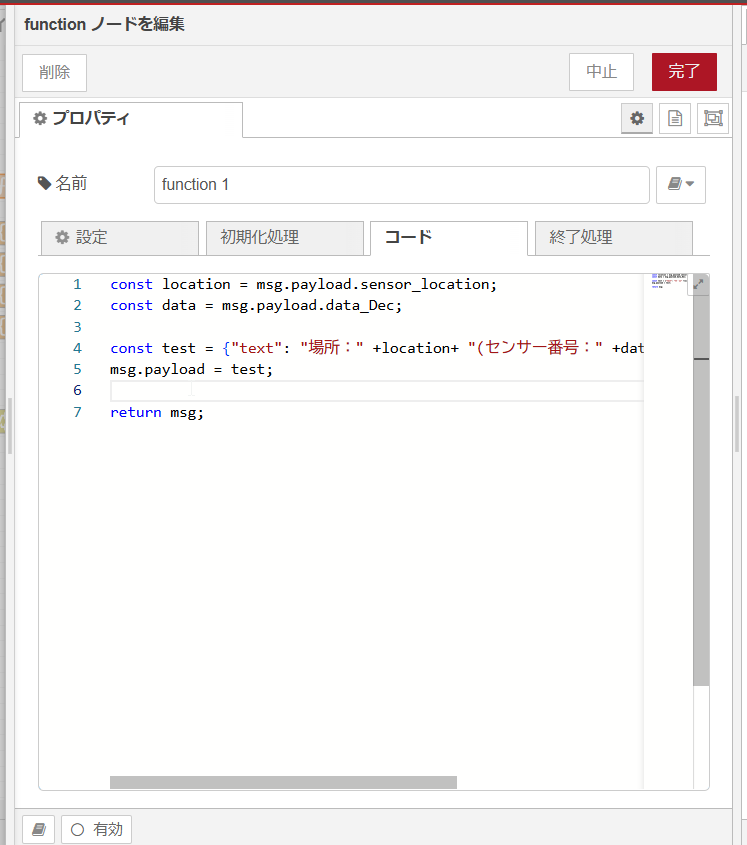
中身を簡単に説明しますと、設置場所のノードで「msg.payload.sensor_location」、センサー識別のノードで「msg.payload.data_Dec」が決まっていますので、2つをデータとして移し替えtest部分で文字として表示しています。
要するにメールの中身を作っています。
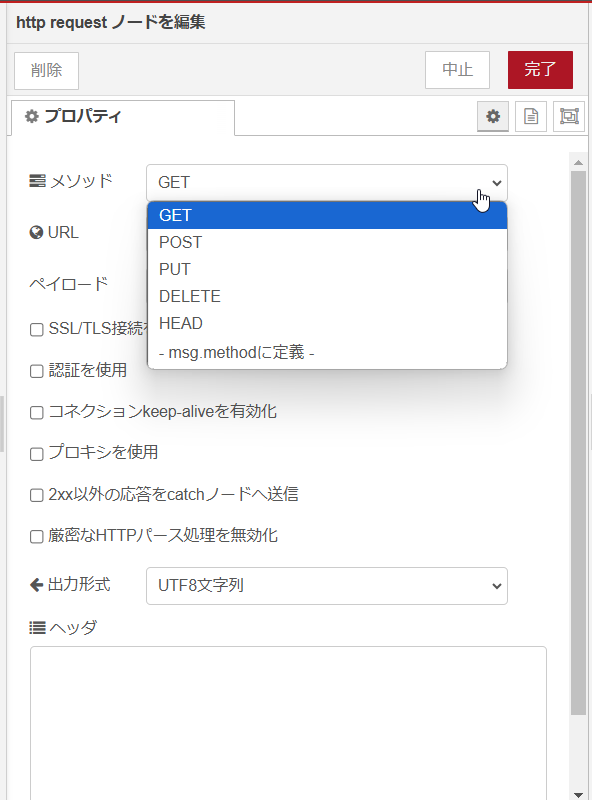
次にhttp requestを開きます。
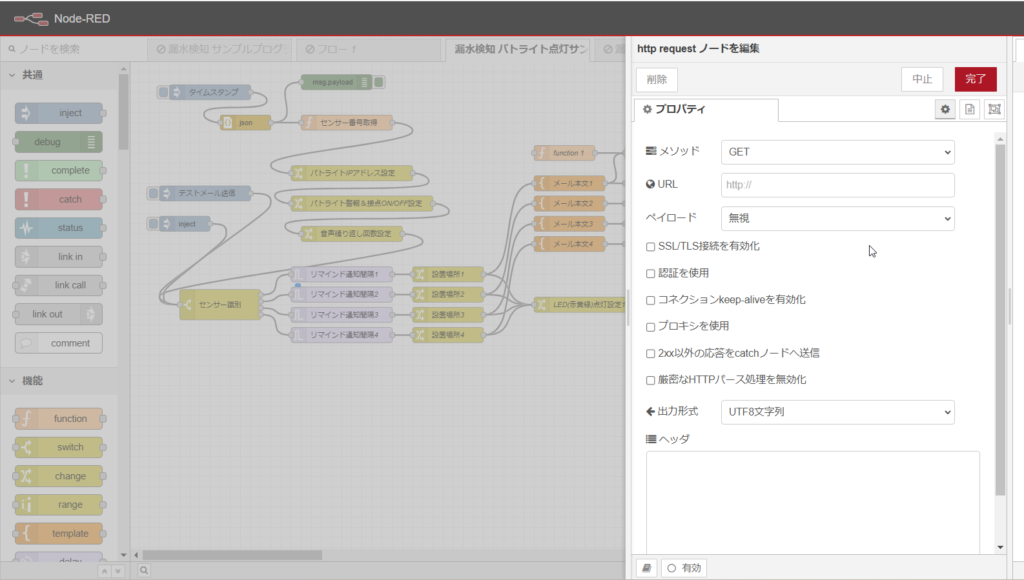
この中の、メソッドをGETからPOSTに変更し、URLをTeamsでコピーしたURLにしてください。
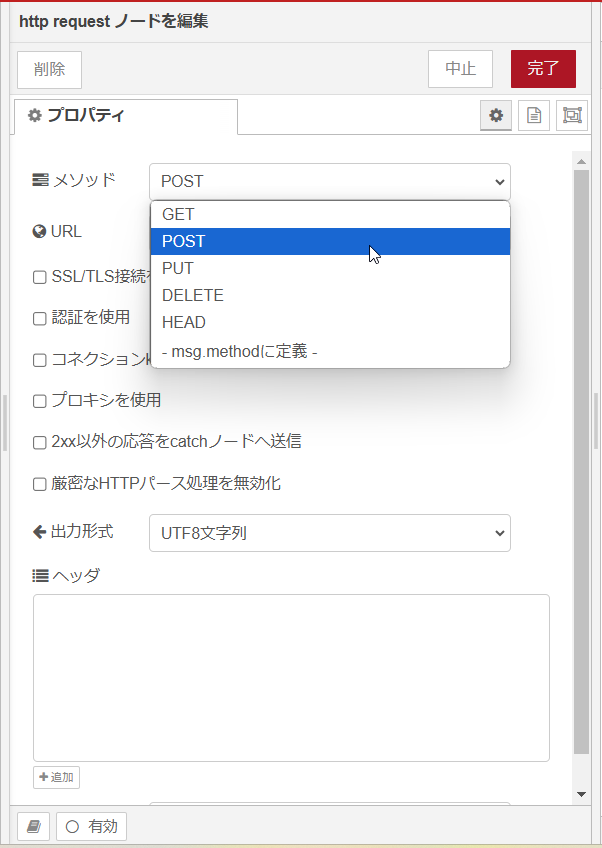

http requstはこれで完了です。
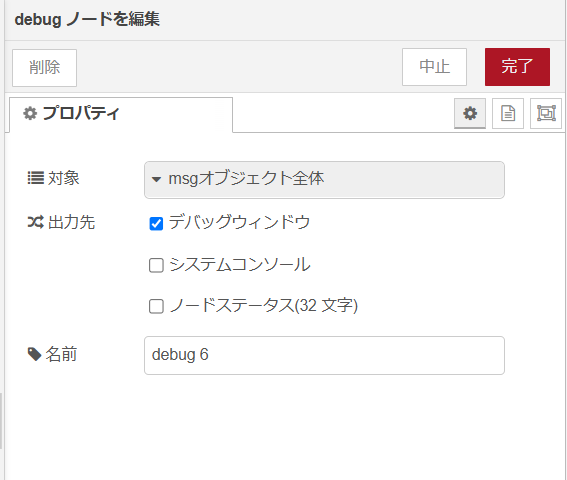
次にdebugノードを開き、対象をmsgオブジェクト全体に設定します。

最後にfunctionノードと設置位置のノードを繋げて、右上のデプロイをクリックします。

これで完成になります。
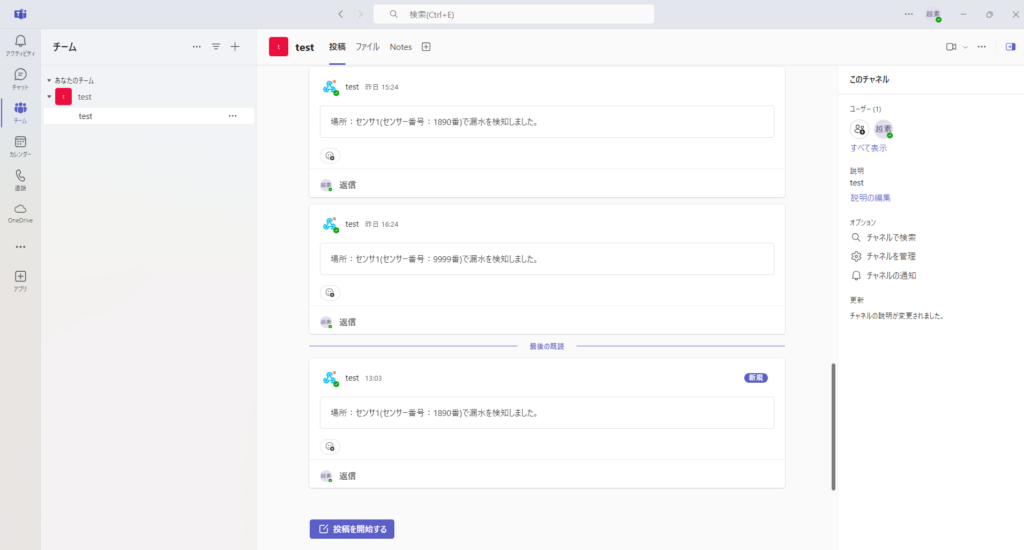
デバックとして、テストメール送信をクリックしていただき、Teamsにメッセージが届いていれば成功です。