はじめに
https://smartlight.co.jp/2025/05/27/mediapipe-python_realtime_app
内容としては上記記事の続きの内容となっております。
実行環境
・VisualStudio Code
・Python 3.9.0 (Windows)
・WEBカメラ (ノートPCに内蔵されているものでも可)
※Pythonの仮想環境に必要なライブラリ(mediapipe, deepface)をインストールしてください。
ソースコード:FaceStatus-Camera_Score-Frame.py
import cv2
import mediapipe as mp
from deepface import DeepFace
from collections import deque, Counter

# Mediapipe 初期化
mp_face_mesh = mp.solutions.face_mesh
face_mesh = mp_face_mesh.FaceMesh(
    static_image_mode=False,
    max_num_faces=1,
    refine_landmarks=True,
    min_detection_confidence=0.5,
    min_tracking_confidence=0.5
)

cap = cv2.VideoCapture(0)

# 感情履歴のバッファ
emotion_history = deque(maxlen=120)
emotion_score = 0.0  # 表情のスコア(信頼度)

# 検出枠のサイズ(画像の中央に縦長)
def get_detection_rect(frame):
    h, w = frame.shape[:2]
    rect_w = int(w * 0.3)
    rect_h = int(h * 0.6)
    x1 = (w - rect_w) // 2
    y1 = (h - rect_h) // 2
    x2 = x1 + rect_w
    y2 = y1 + rect_h
    return (x1, y1, x2, y2)

def face_within_rect(face_landmarks, frame_width, frame_height, rect):
    x1, y1, x2, y2 = rect
    for lm in face_landmarks:
        x = int(lm.x * frame_width)
        y = int(lm.y * frame_height)
        if x < x1 or x > x2 or y < y1 or y > y2:
            return False
    return True

def estimate_fatigue(landmarks, frame_width, frame_height):
    left_eye = [landmarks[159], landmarks[145]]
    right_eye = [landmarks[386], landmarks[374]]

    def eye_openness(eye):
        y1 = int(eye[0].y * frame_height)
        y2 = int(eye[1].y * frame_height)
        return abs(y2 - y1)

    left_open = eye_openness(left_eye)
    right_open = eye_openness(right_eye)

    eye_score = (left_open + right_open) / 2
    if eye_score < 5:
        return "tired"
    elif eye_score < 8:
        return "fine"
    else:
        return "fine?"

while True:
    ret, frame = cap.read()
    if not ret:
        break

    current_emotion = "unknown"
    fatigue = "unknown"
    emotion_score = 0.0

    frame_rgb = cv2.cvtColor(frame, cv2.COLOR_BGR2RGB)
    results = face_mesh.process(frame_rgb)

    h, w = frame.shape[:2]
    detect_rect = get_detection_rect(frame)
    cv2.rectangle(frame, (detect_rect[0], detect_rect[1]), (detect_rect[2], detect_rect[3]), (255, 255, 255), 2)

    if results.multi_face_landmarks:
        landmarks = results.multi_face_landmarks[0].landmark
        if face_within_rect(landmarks, w, h, detect_rect):
            # 表情分析(範囲内でのみ)
            try:
                result = DeepFace.analyze(frame, actions=['emotion'], enforce_detection=False)
                current_emotion = result[0]['dominant_emotion']
                emotion_score = result[0]['emotion'][current_emotion]
                emotion_history.append(current_emotion)
            except:
                pass
            fatigue = estimate_fatigue(landmarks, w, h)

    # 感情履歴から最頻出を取得
    if emotion_history:
        most_common_emotion = Counter(emotion_history).most_common(1)[0][0]
    else:
        most_common_emotion = "unknown"

    # テキスト描画
    cv2.putText(frame, f"emotion: {most_common_emotion}", (30, 40), cv2.FONT_HERSHEY_SIMPLEX, 1, (50, 255, 50), 2)
    cv2.putText(frame, f"fatigue: {fatigue}", (30, 80), cv2.FONT_HERSHEY_SIMPLEX, 1, (255, 200, 0), 2)
    cv2.putText(frame, f"score: {emotion_score:.2f}", (30, 120), cv2.FONT_HERSHEY_SIMPLEX, 1, (200, 200, 255), 2)

    cv2.imshow('Face Status', frame)

    if cv2.waitKey(5) & 0xFF == 27:
        break

cap.release()
cv2.destroyAllWindows()
実行結果
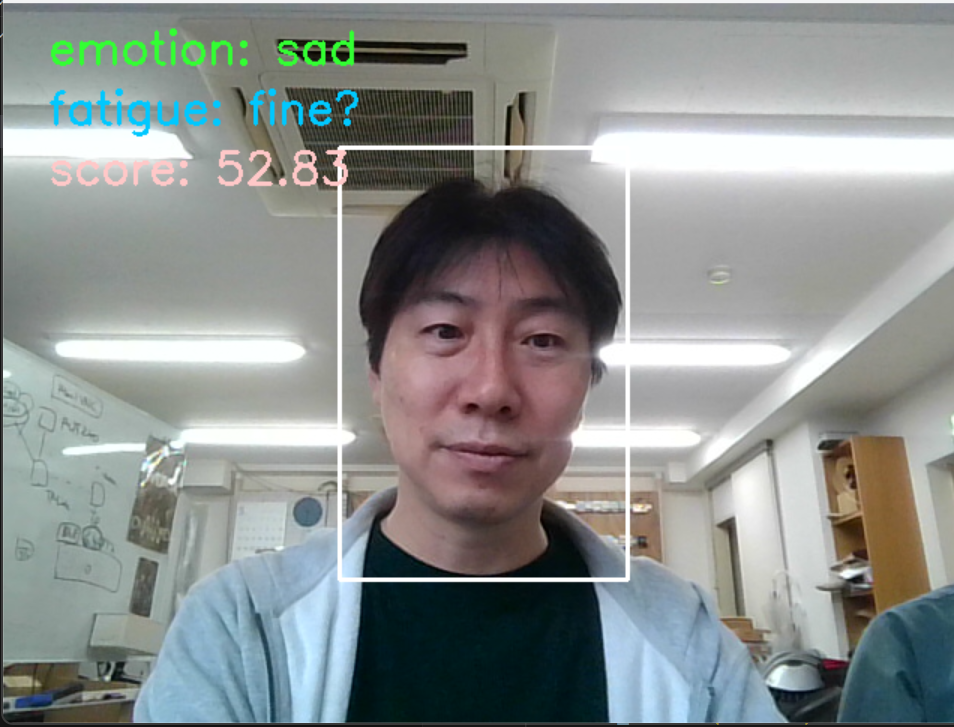
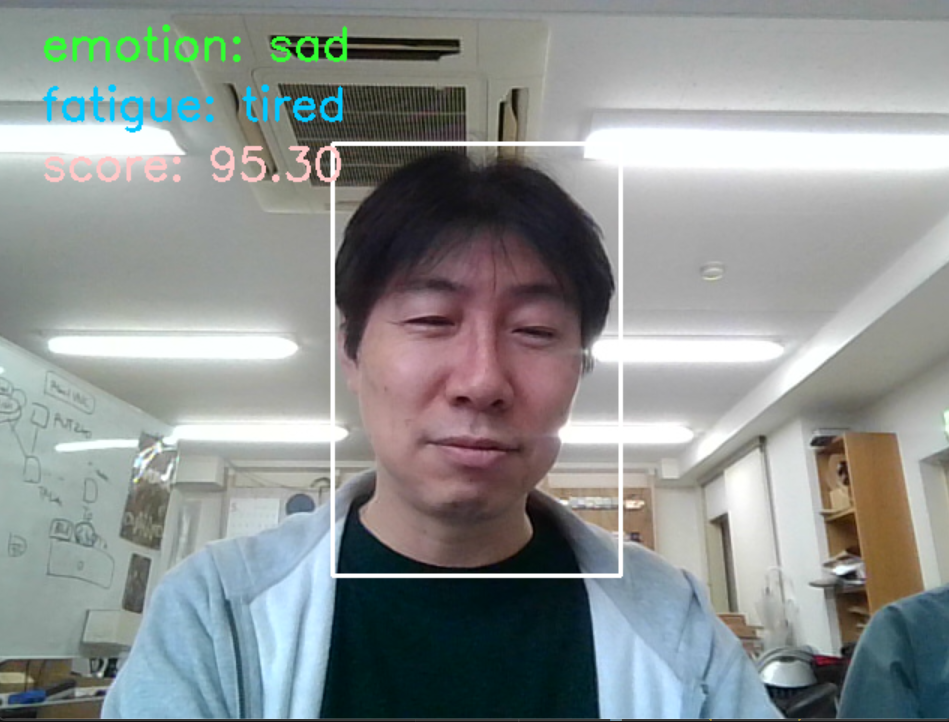
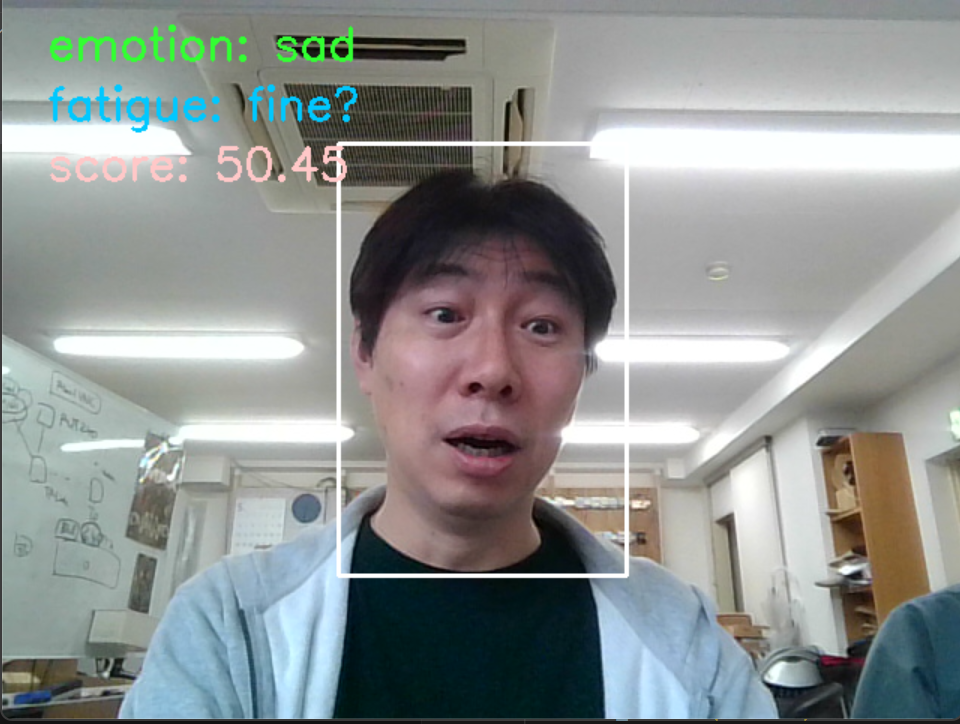
実行すると、実行画面の中央に白い枠が表示されます。この白い枠の中に顔面が認識されると表情分析が開始されます。分析結果の表情データとスコアが左上にリアルタイムで出力されます。
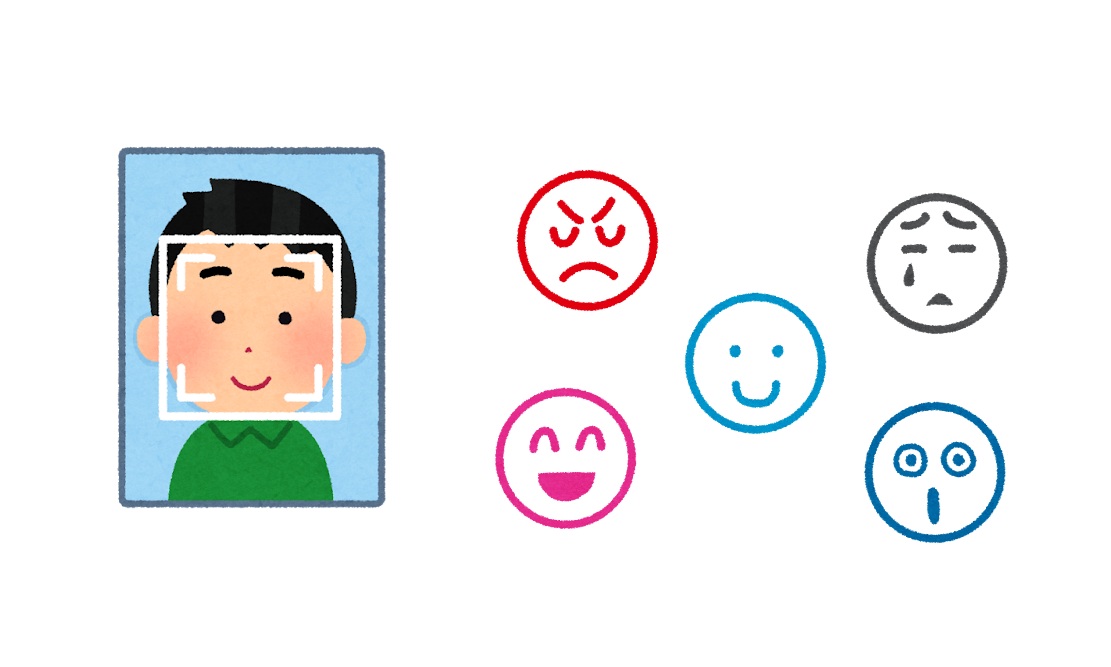
認識可能な表情の種類として、「angry(怒り), disgust(嫌悪), fear(恐怖), happy(幸福), sad(悲しみ), surprise(驚き)」が存在しているようです。
ライブラリを実行できるように環境を整えて、受け取れた細かいデータの精度調整などはまだこれからという状態です。しかし、ここまで実行できていればあとは調整次第で精度を上げていけば良さそうです。
まとめ
無料で公開されているライブラリを用いて表情分析のアプリケーションを作ってみました。これを主軸に何かと組み合わせることで、多機能なアプリケーションシステムとして役立てられそうです。